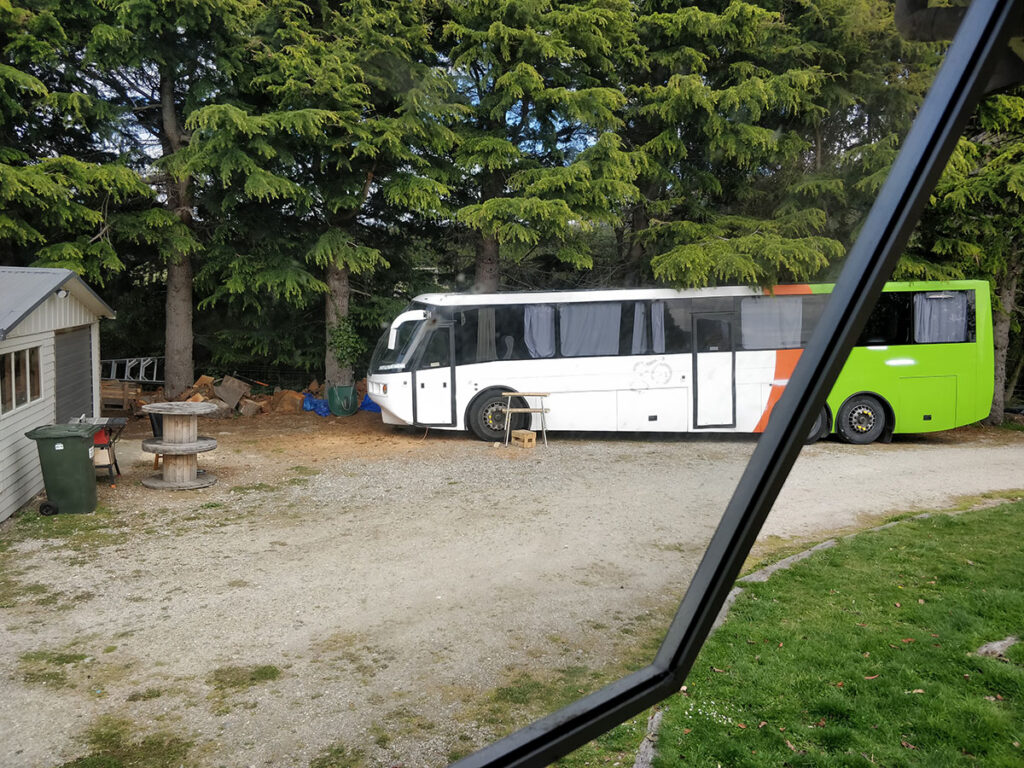
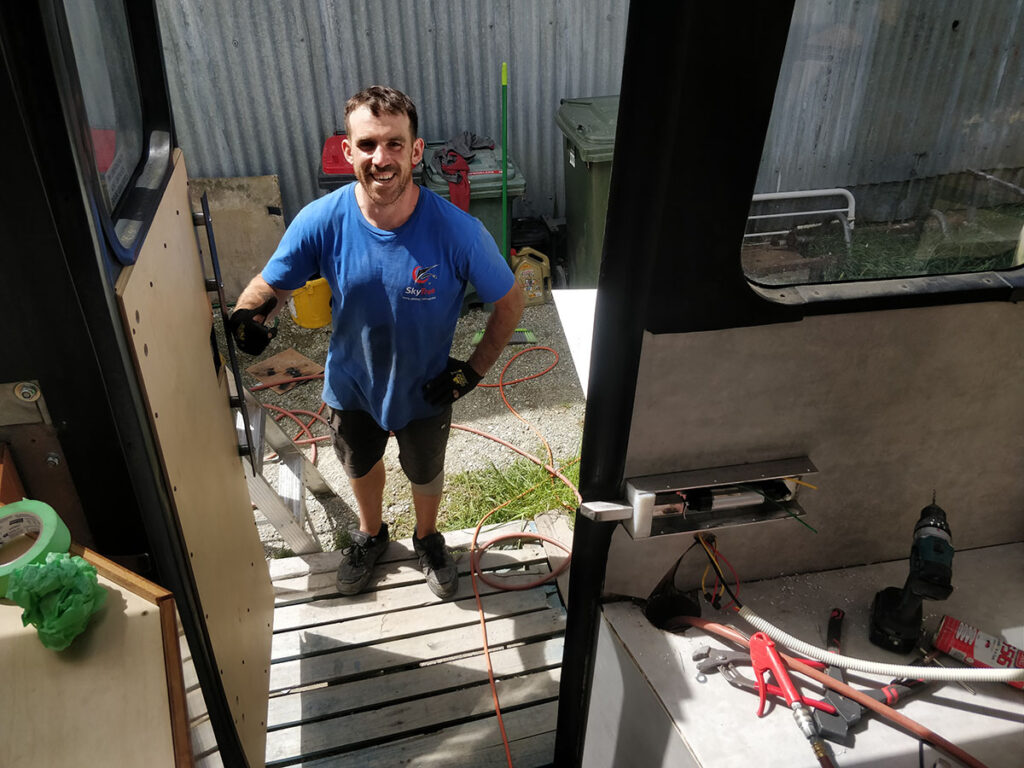
When Chris first contacted us in 2020 there was no way we could have imagined the final outcome of his bus project would end like this!
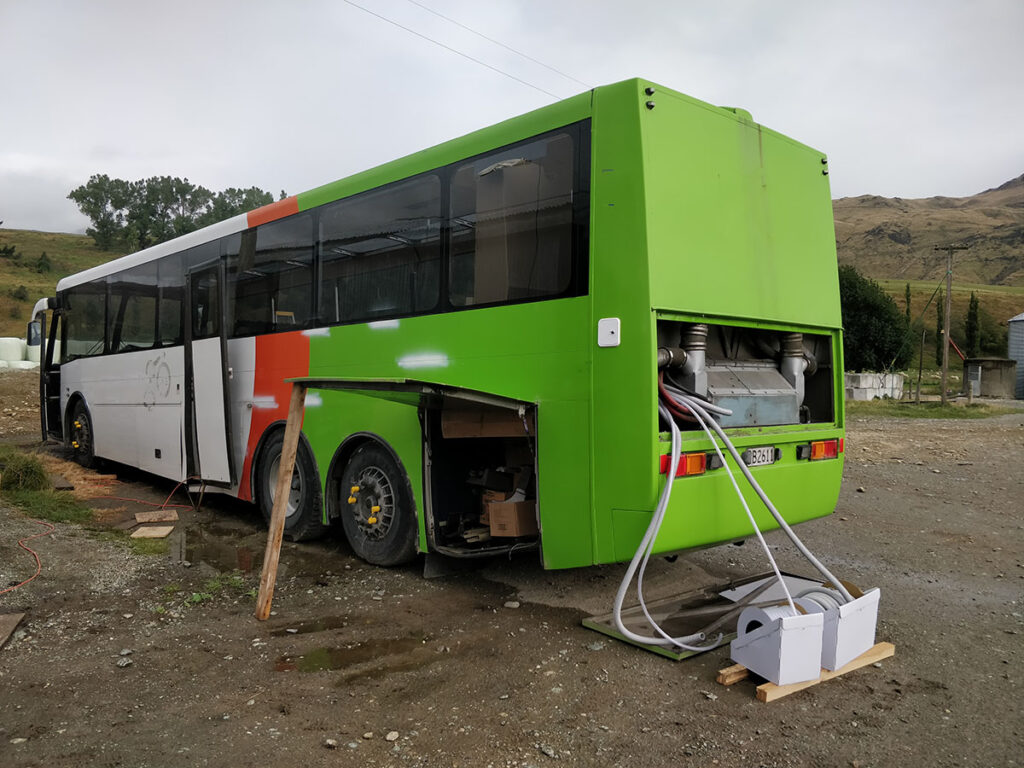
1991 Volvo B10
He had purchased a 12m long 1991 Volvo B10, of which had the body built in Ashburton NZ by Designline. This particular bus we have learned was actually the prototype for the new body shape that was originally made exclusively for the tour company “Real Journeys” for their Milford sound tours.
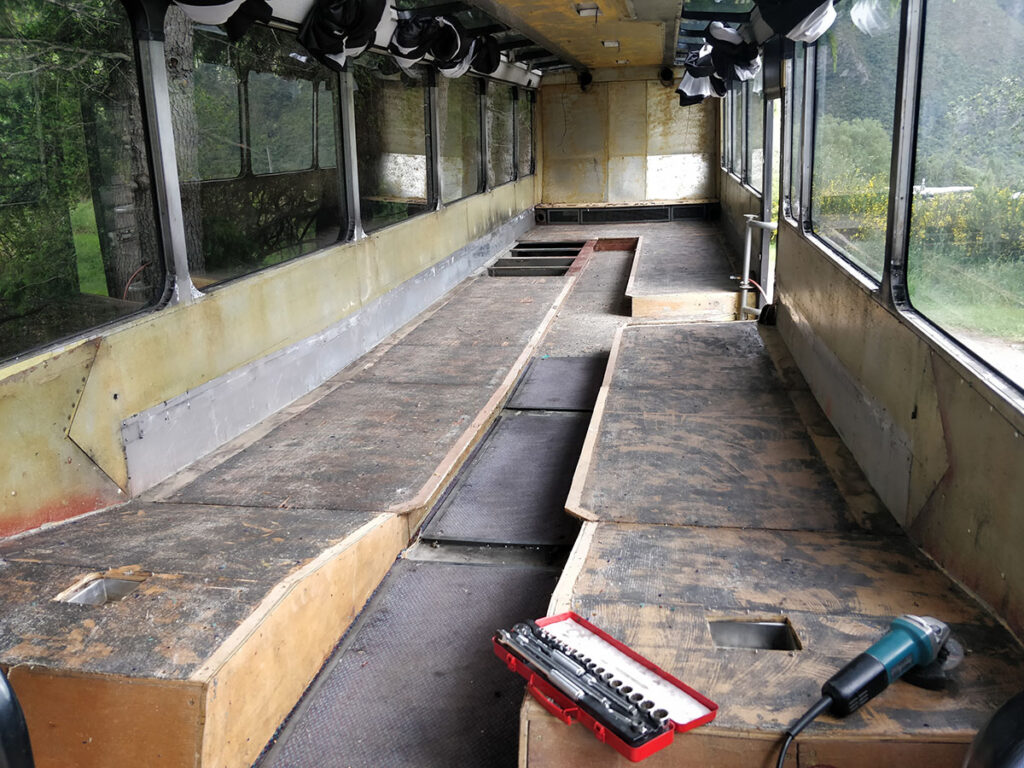
The Volvo B10 stripped out
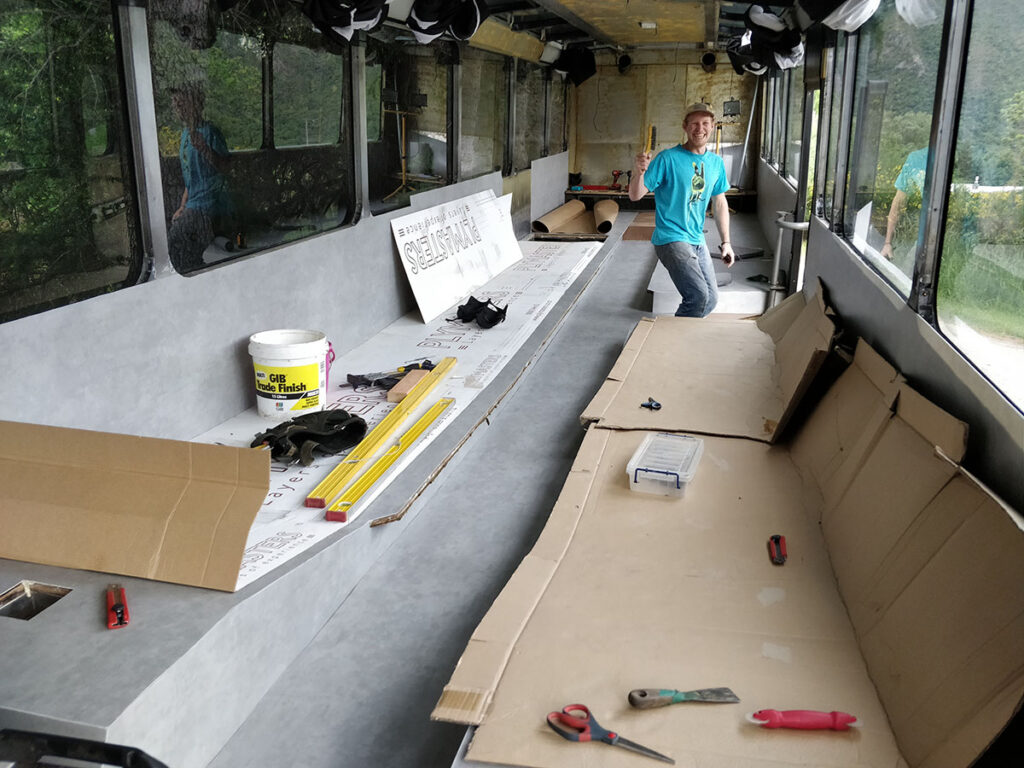
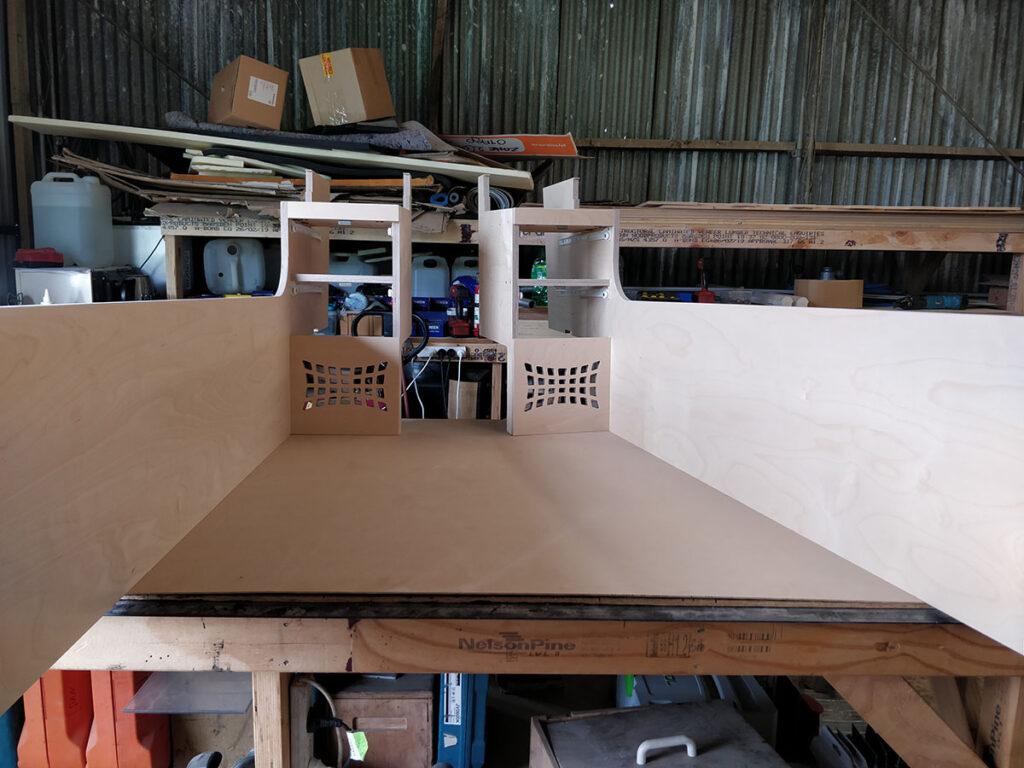
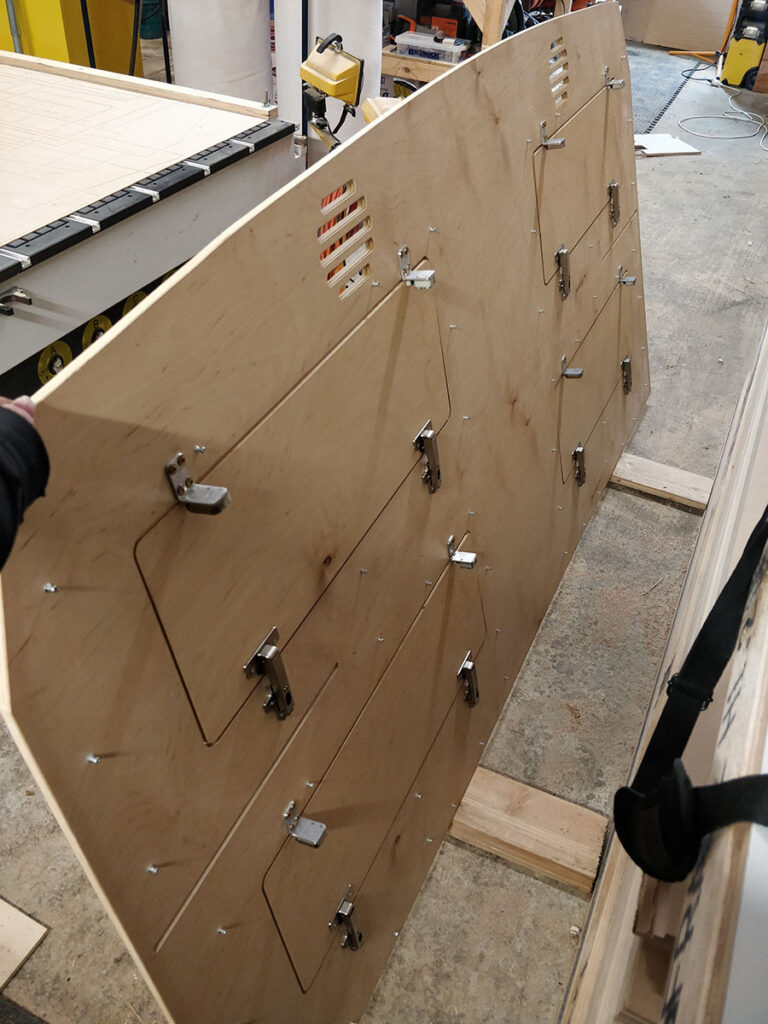
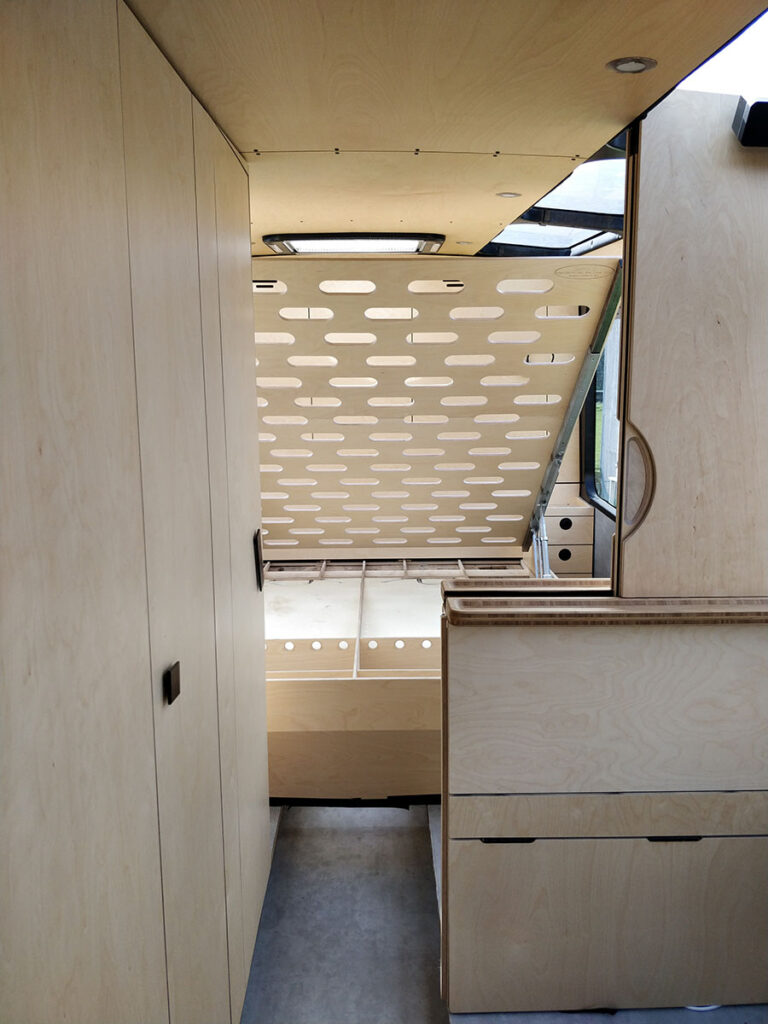
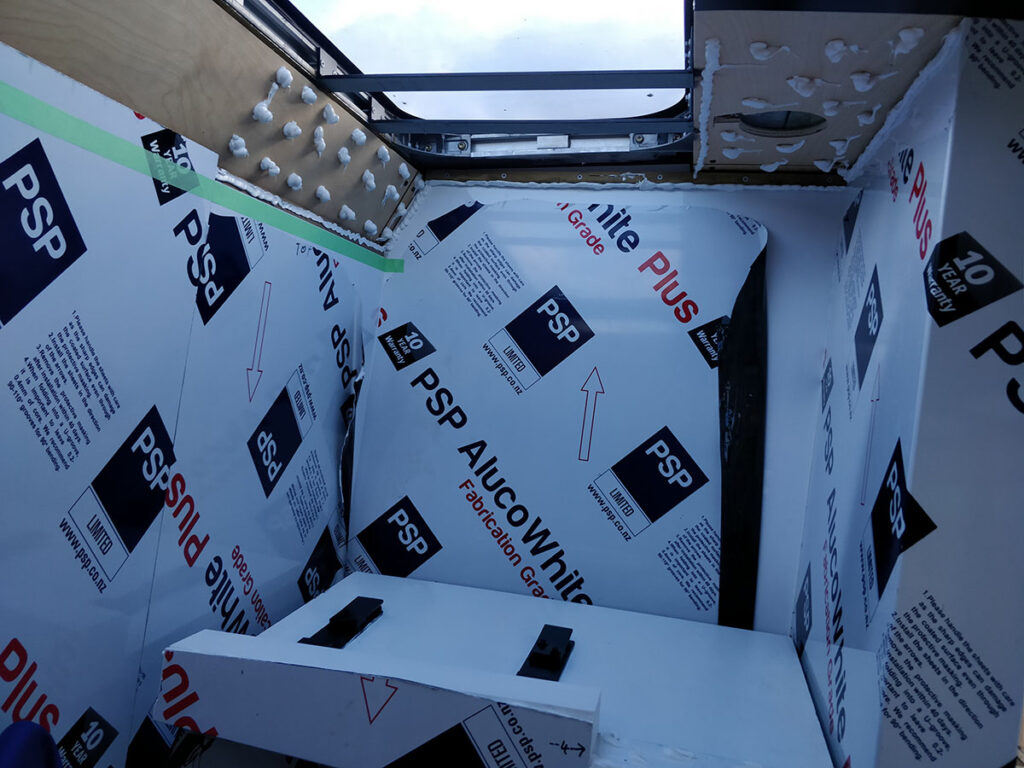
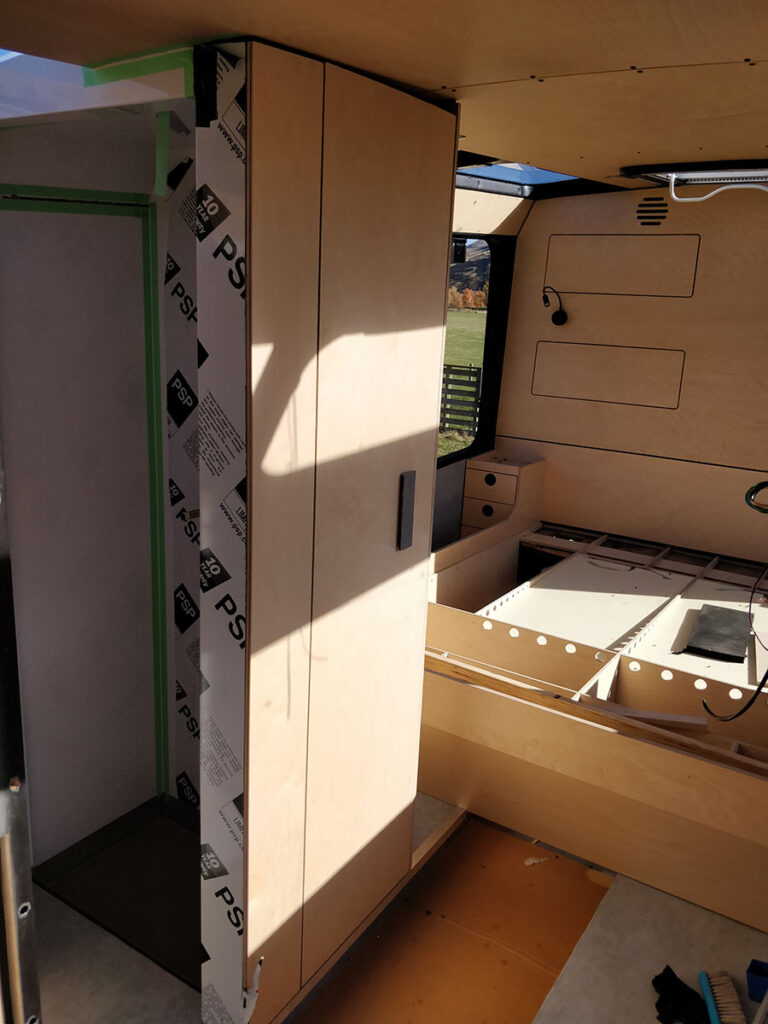
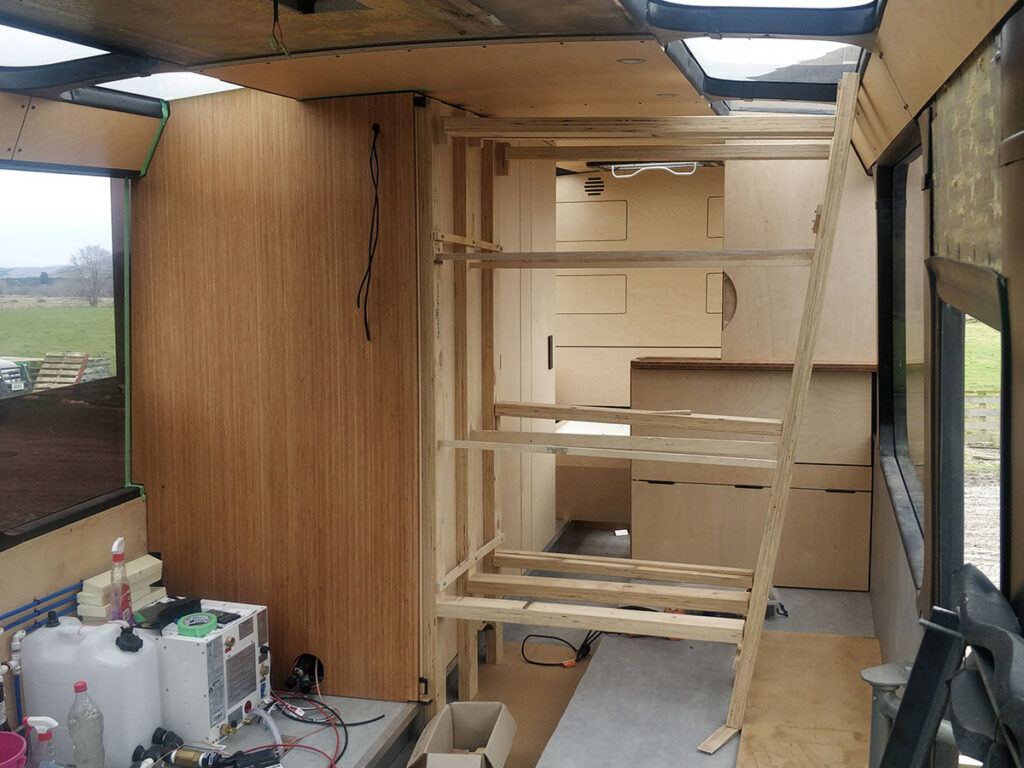
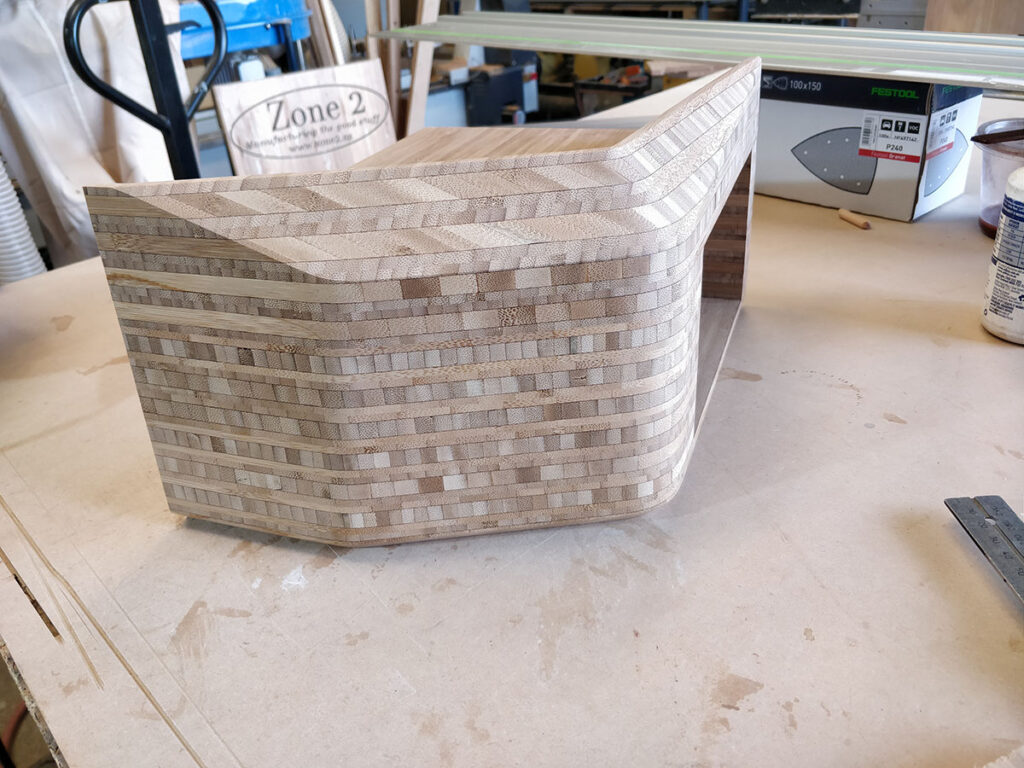
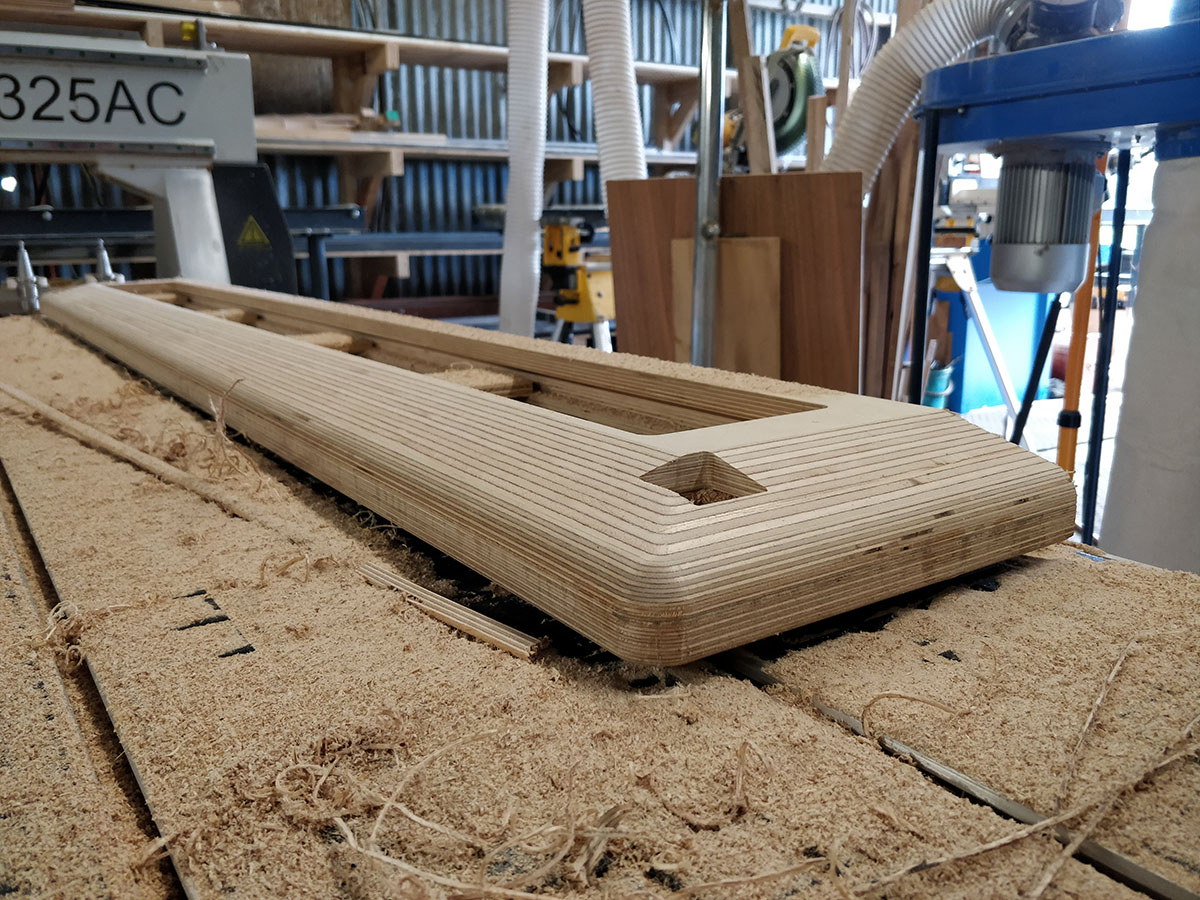
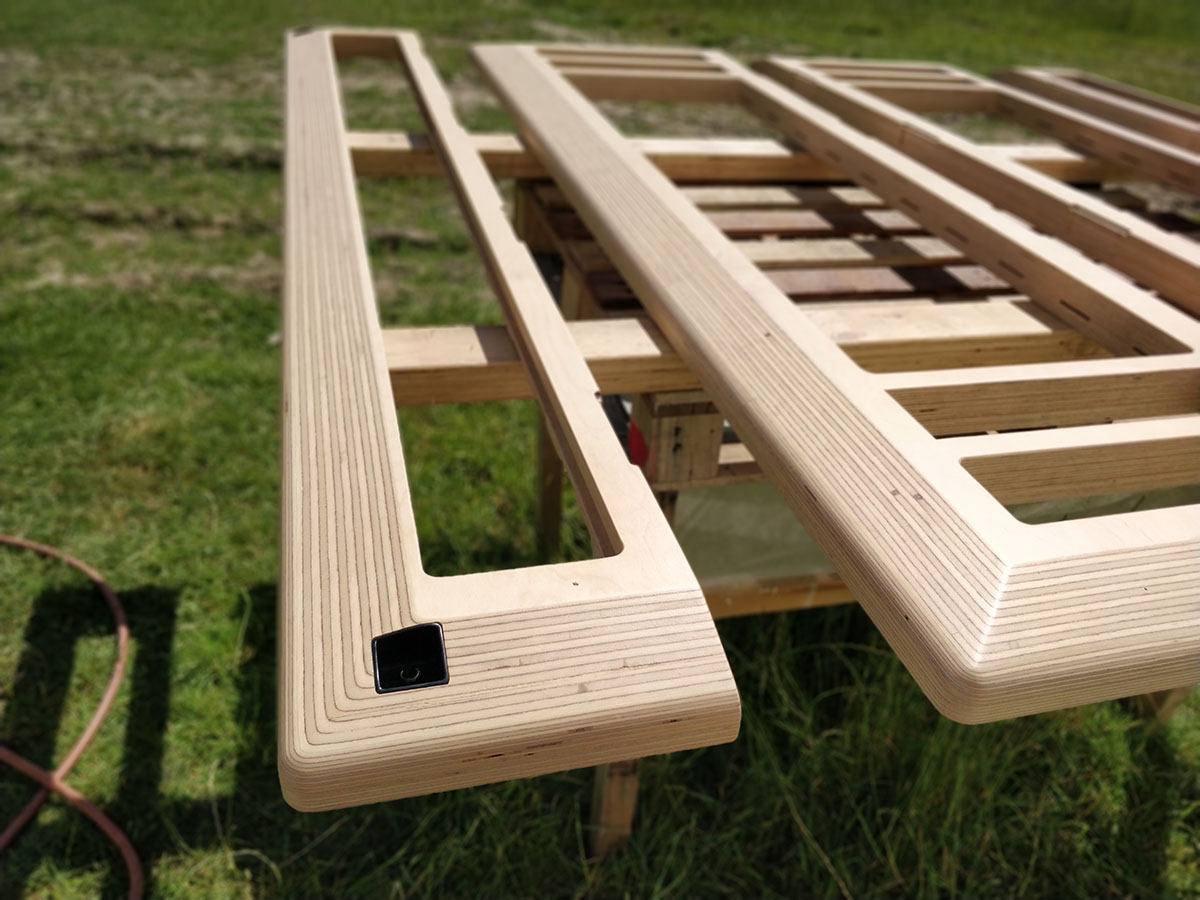
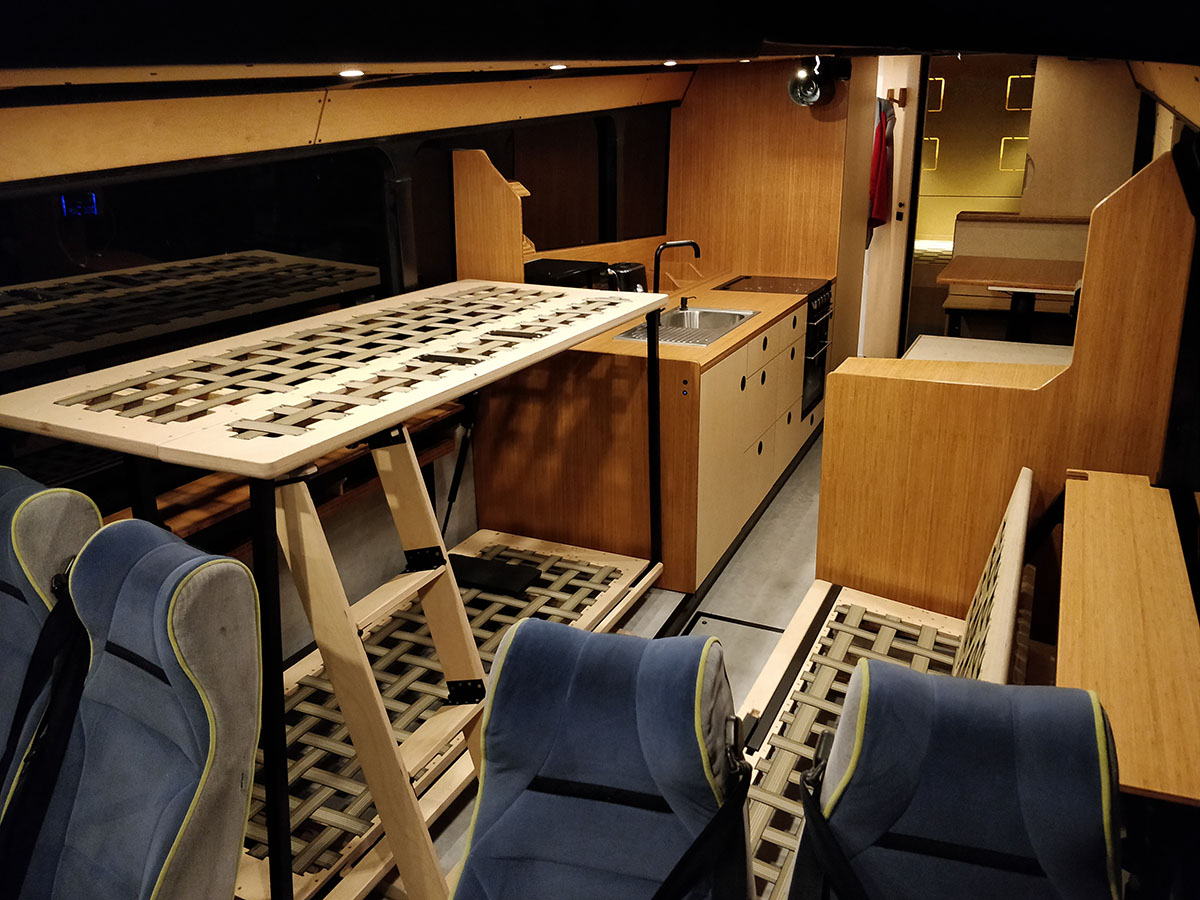
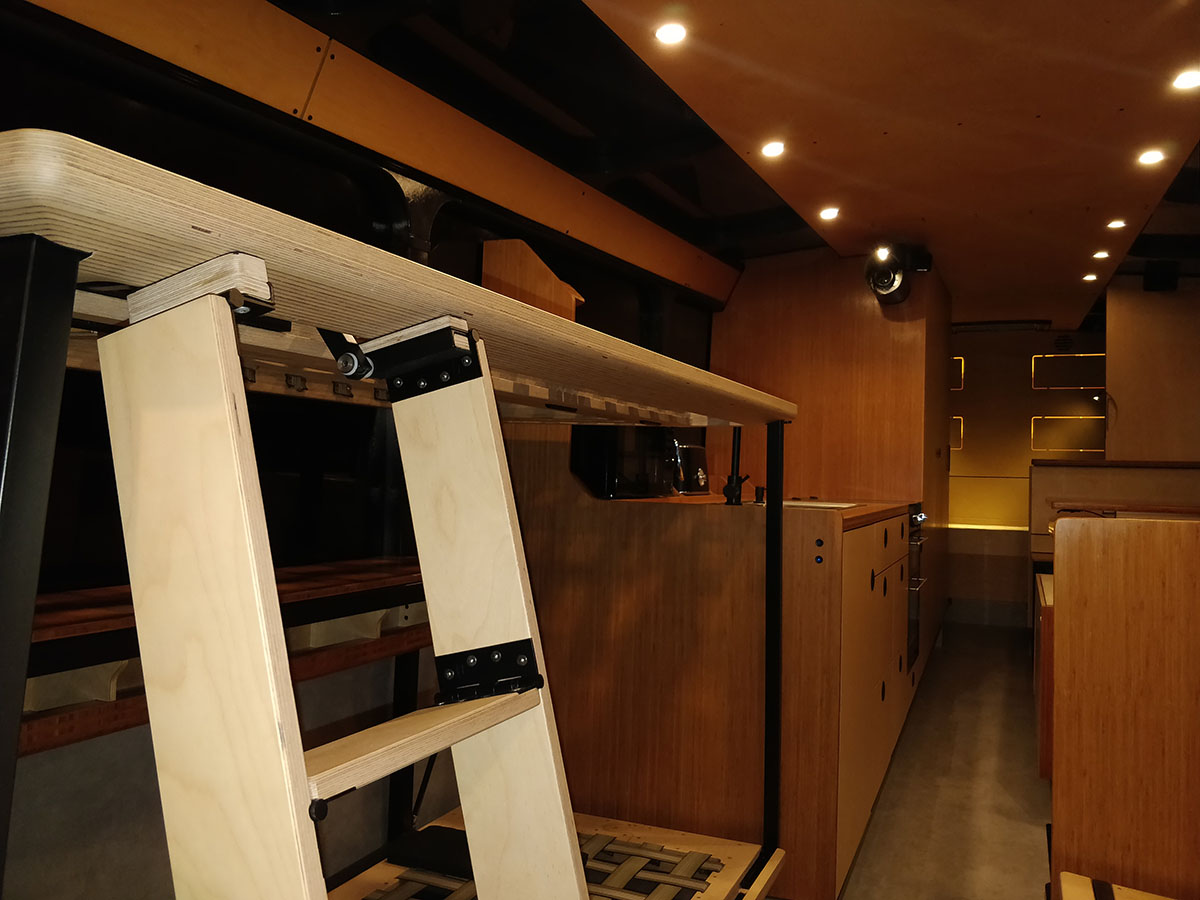
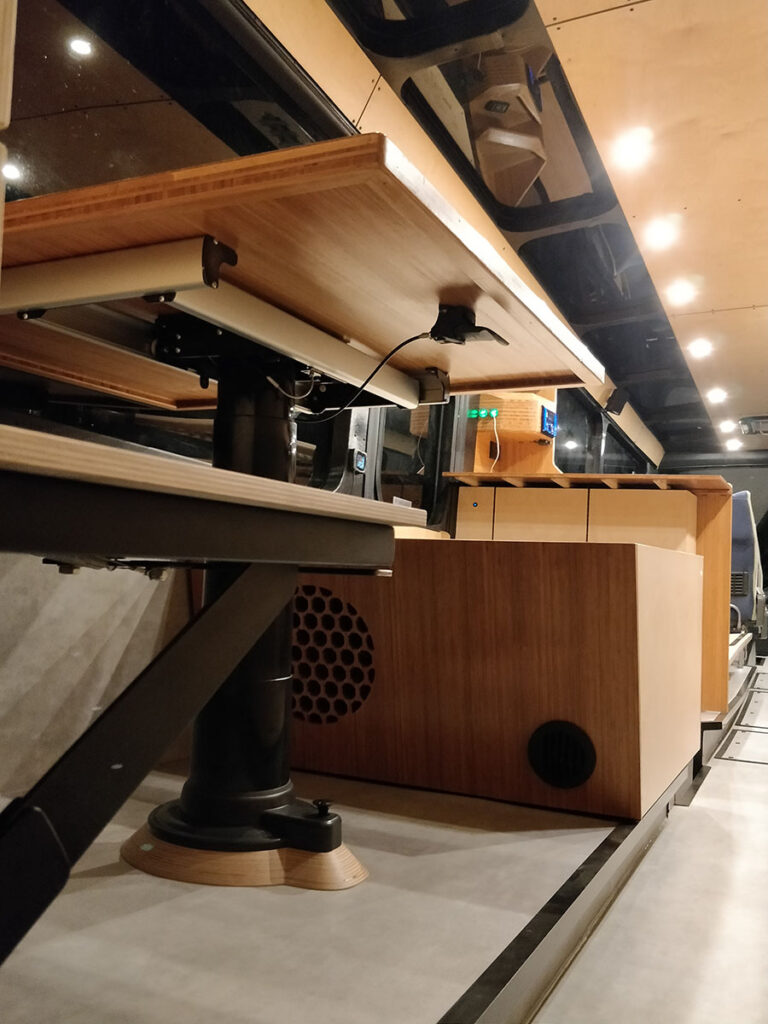
The shape of this bus is a bit funky to say the least. The floor is on a 3 degree slope and the ceiling runs parallel to the floor making it look like a big wedge. This 3 degree slope had to be factored in to every furniture piece that we designed, built and installed on this project. It kept things things spicy!
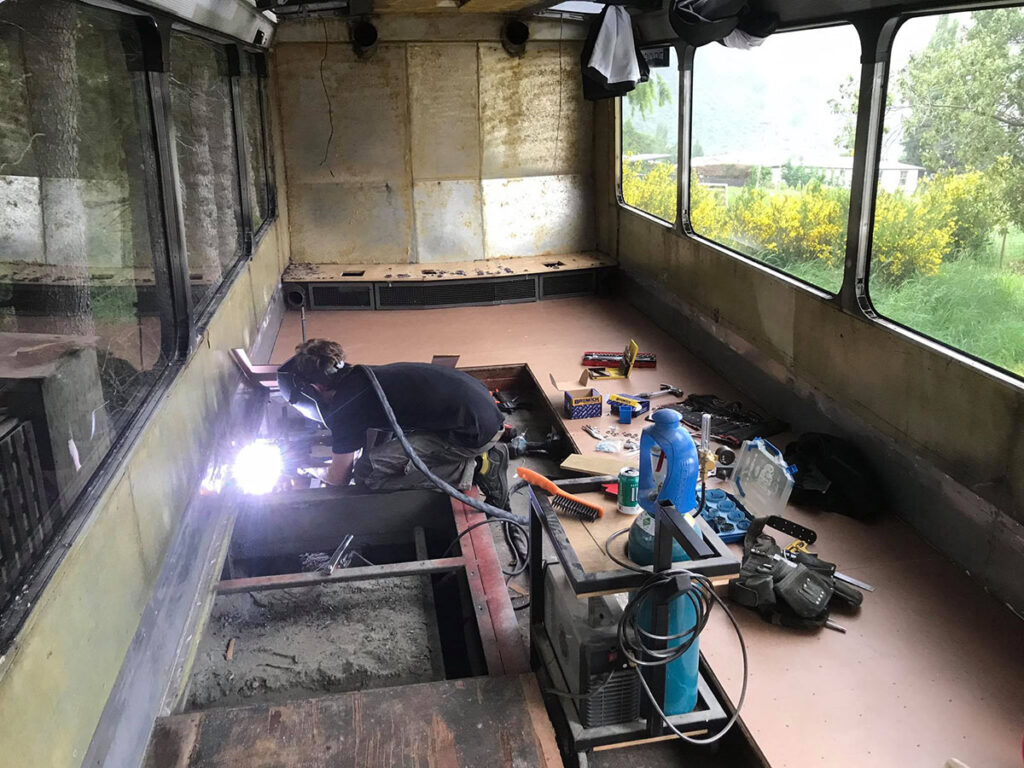
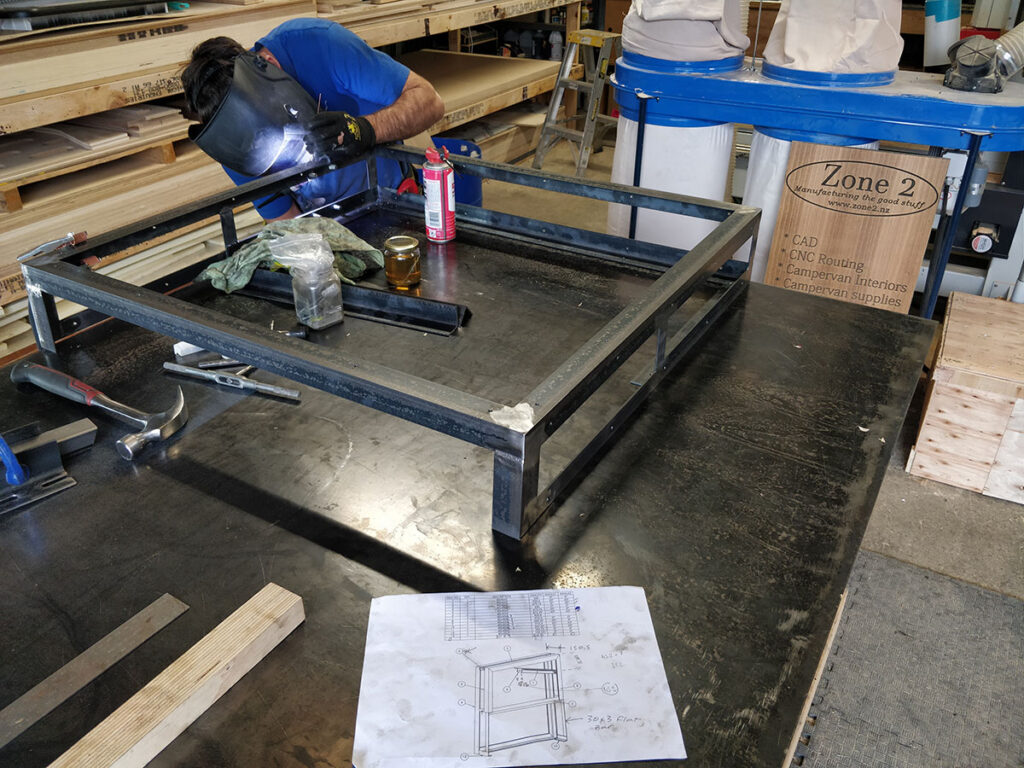
Dan welding the shower tray support into place
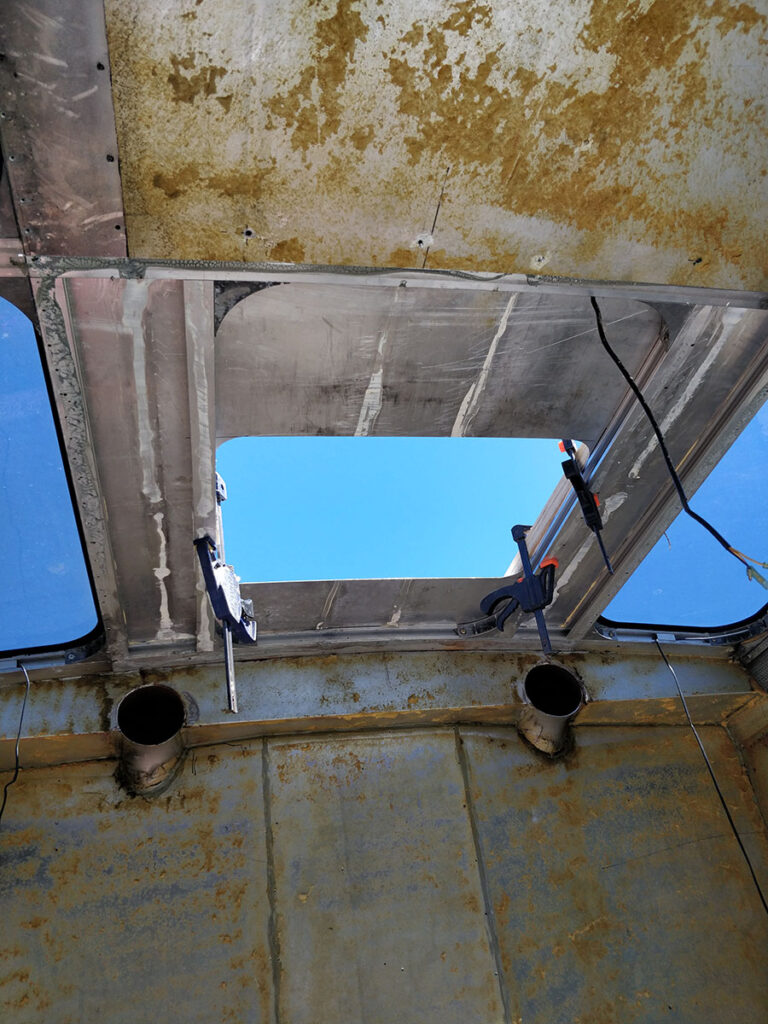
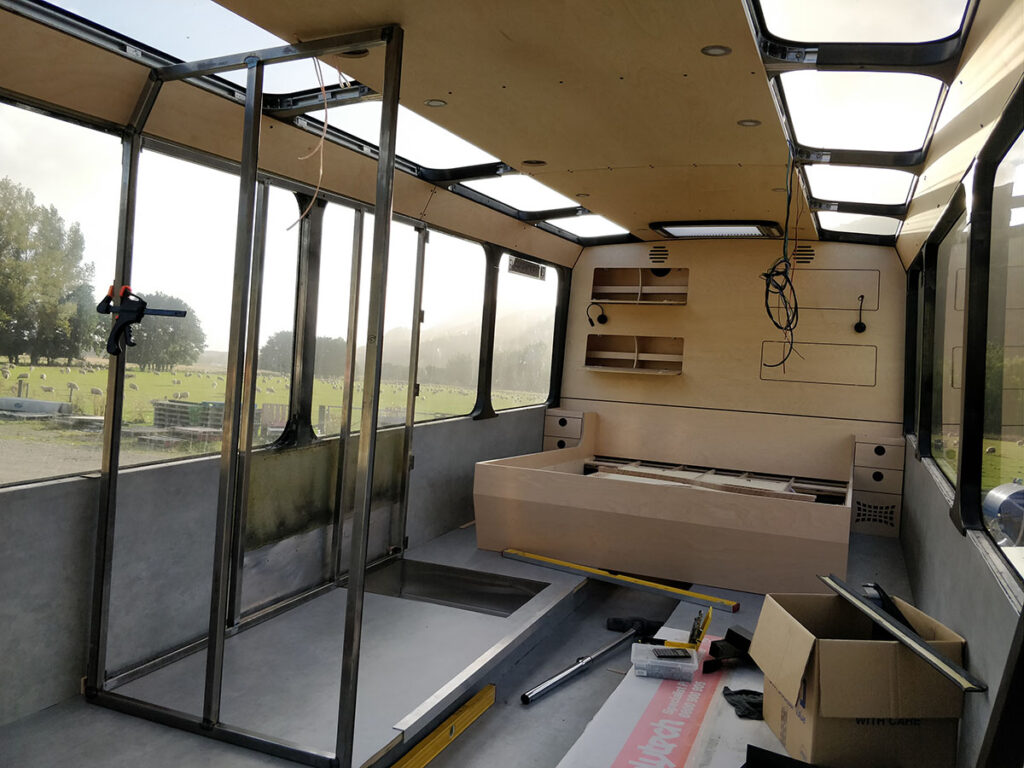
The bus also has skylights running the entire length of the bus above the seat rows which would make for epic views on a Milford sound tour as originally intended by Designline & RJ’s.
Chris’s original requirements for the interior we were to build are as follows:
The requirements – pretty simple really.
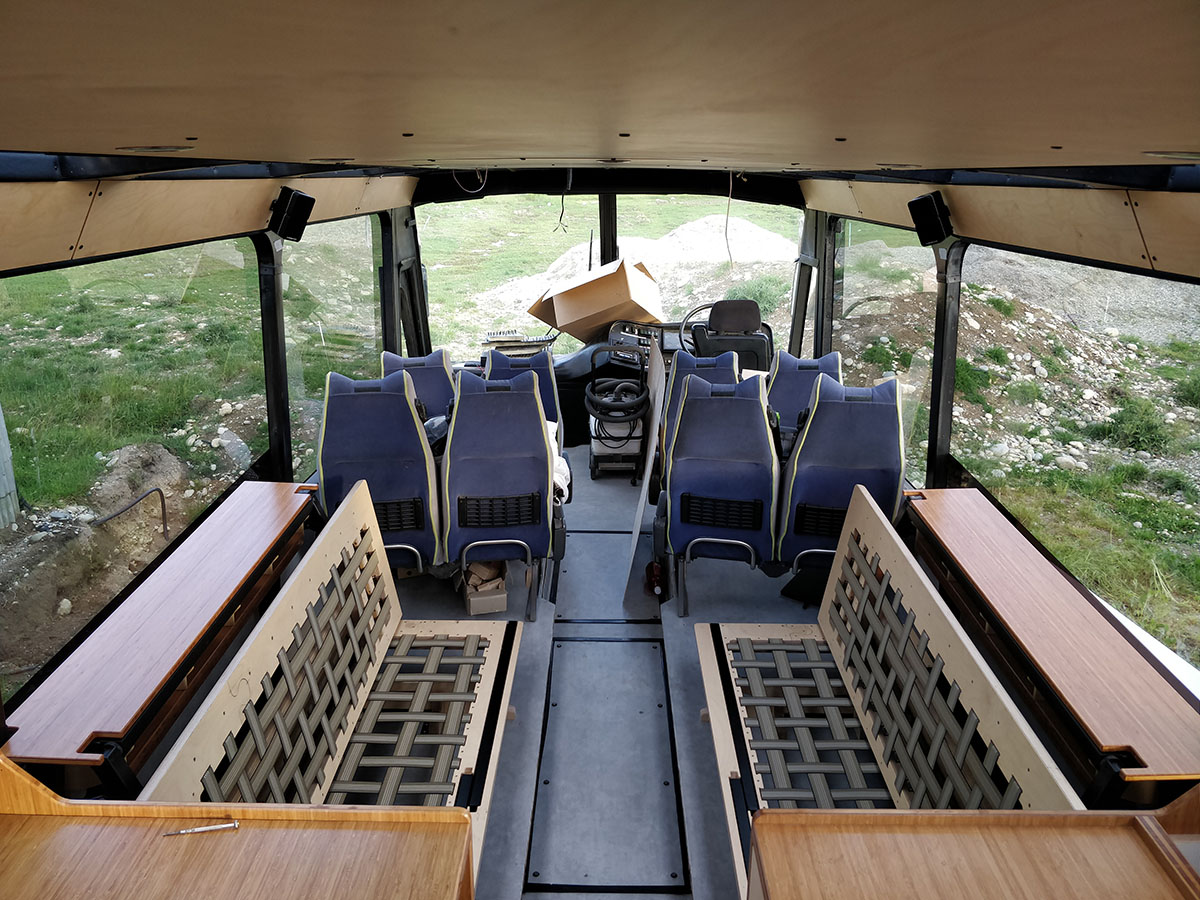
Front of the bus remains as is, including the two rows of seats. I don’t want to strip areas unless absolutely necessary.
Double (king) bed in the back, with a door.
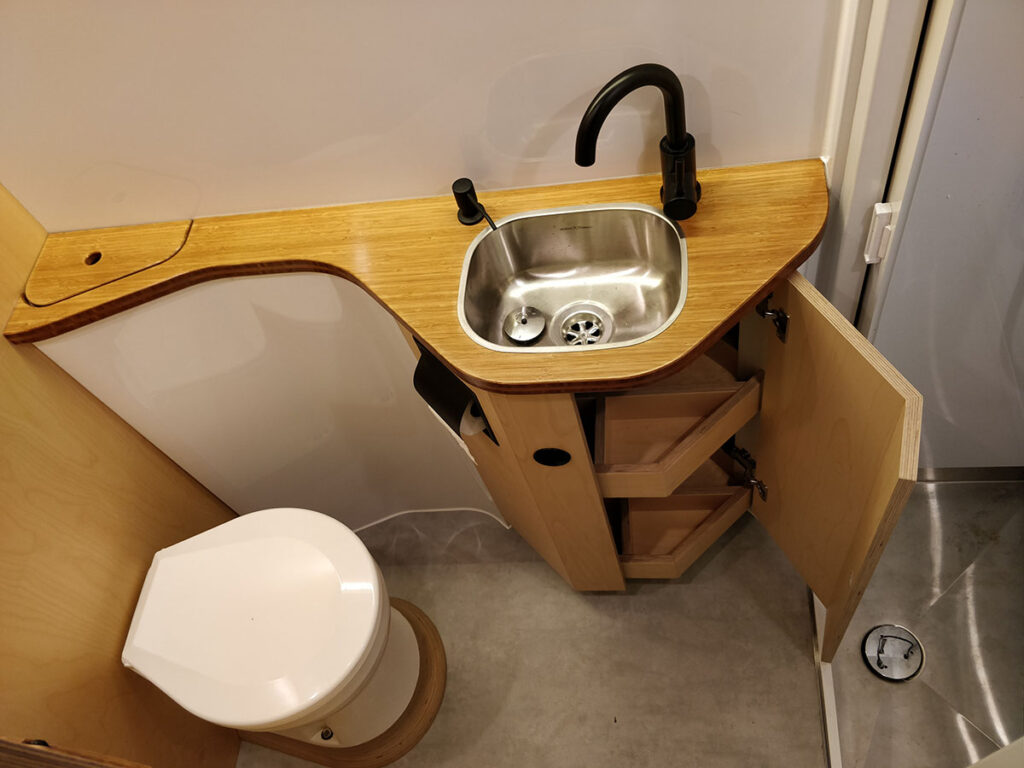
Shower toilet somewhere not above the rear axles as the raised side floor will need to be altered (I’m north of 6 foot). Happy to be innovative here.
Simple Kitchen bench and plumbing. Think boat galley sized…
Fresh/grey/black tankage and plumbing for the above.
We have teenagers but we don’t want the bus to be so comfortable (for them) to want to come along all the time, so some bunks that can be folded up and down and used for seating when not in use and a folding table.
“Copy that Chris. Lets take a walk through the bus together when it arrives and mark some area’s out on the floor with tape once we have stripped it out completely”
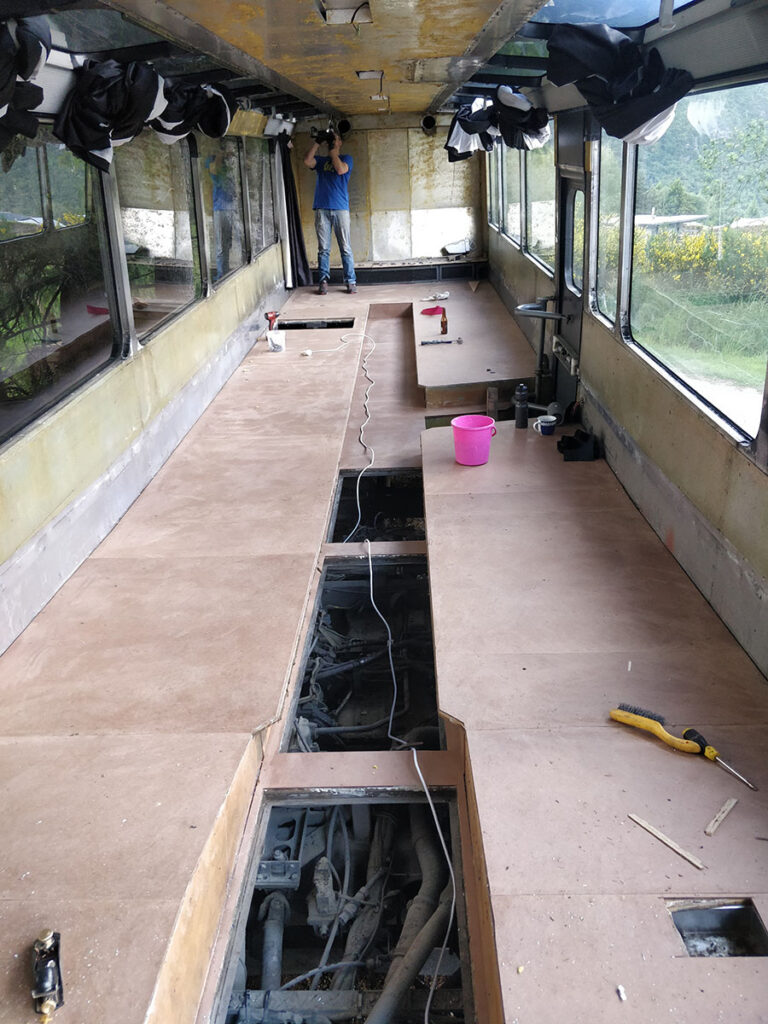
Theo helping to strip the bus out
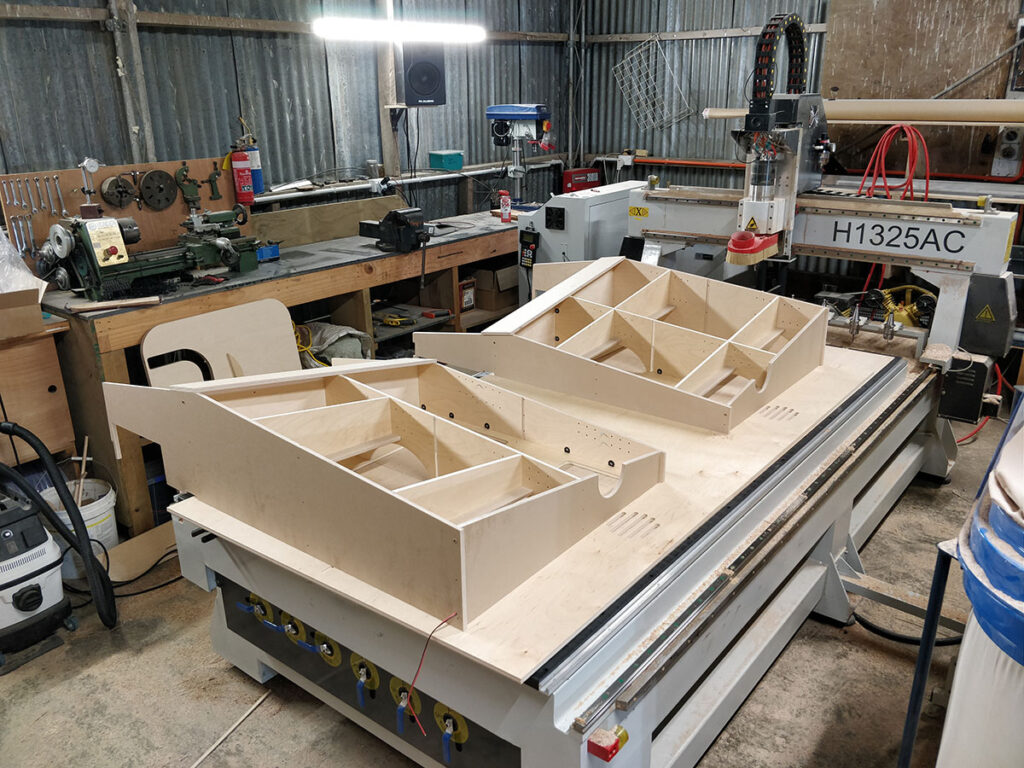
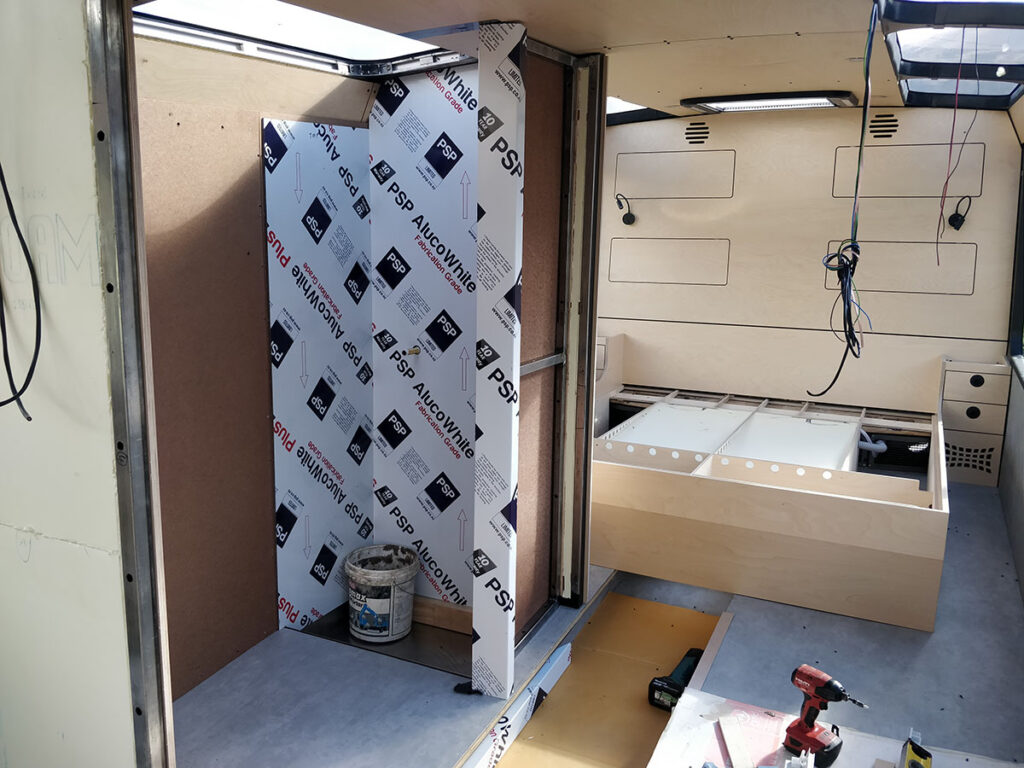
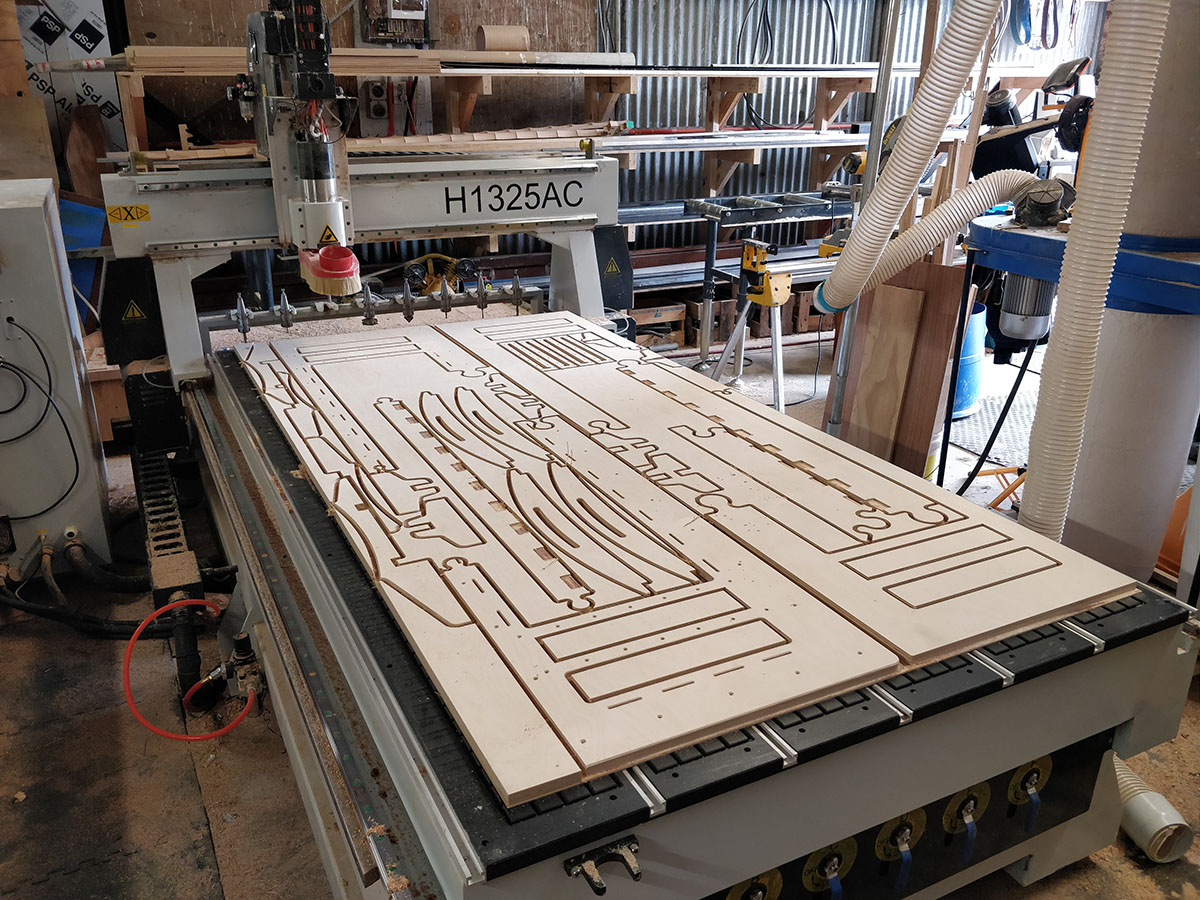
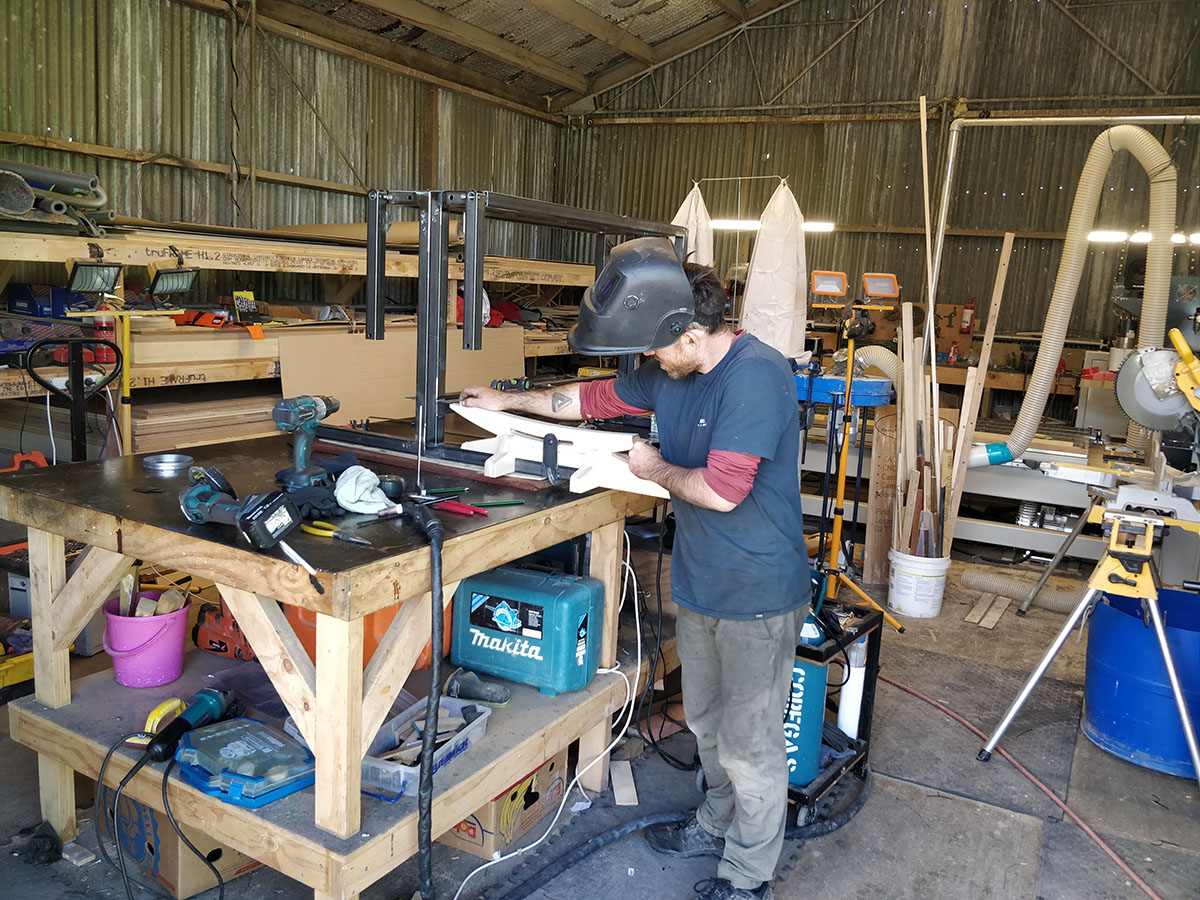
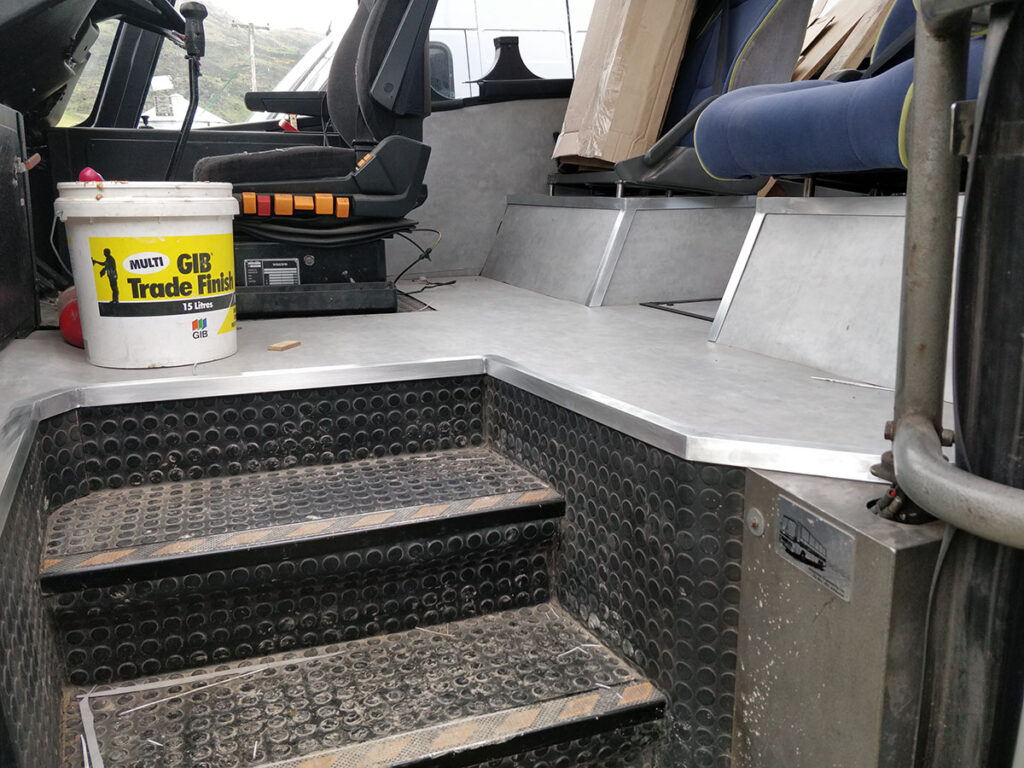
The bus arrived and I had arranged for my friend Theo Clement to come and help with the strip out, laying of the hardboard and vinyl.
Theo Clement
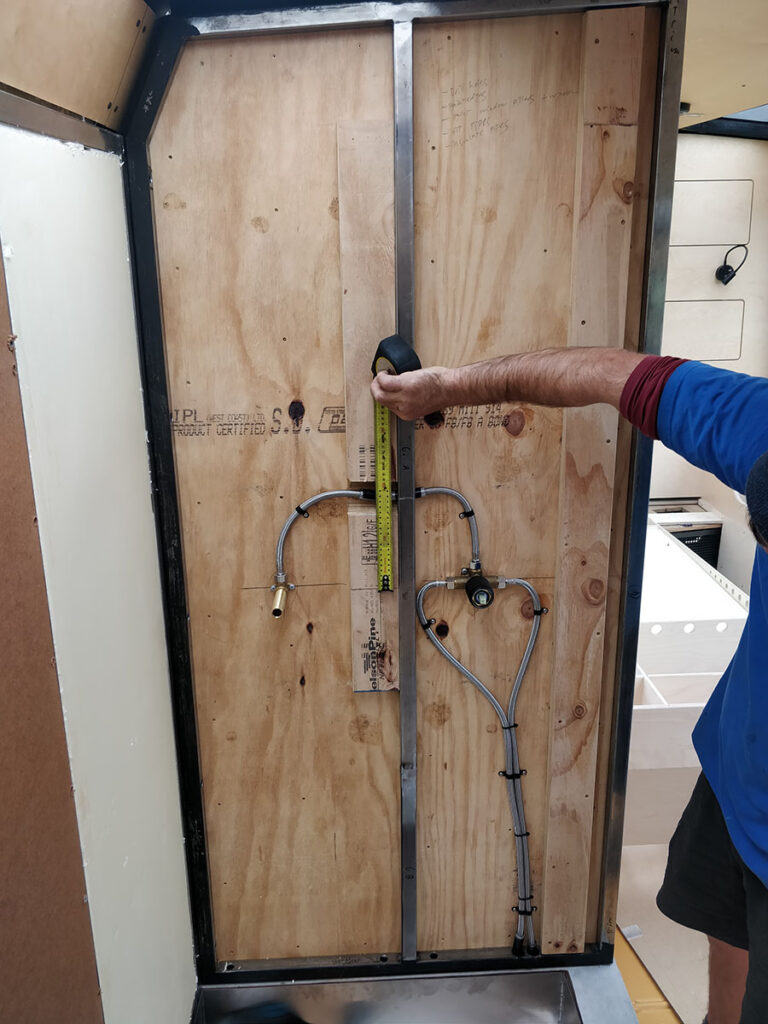
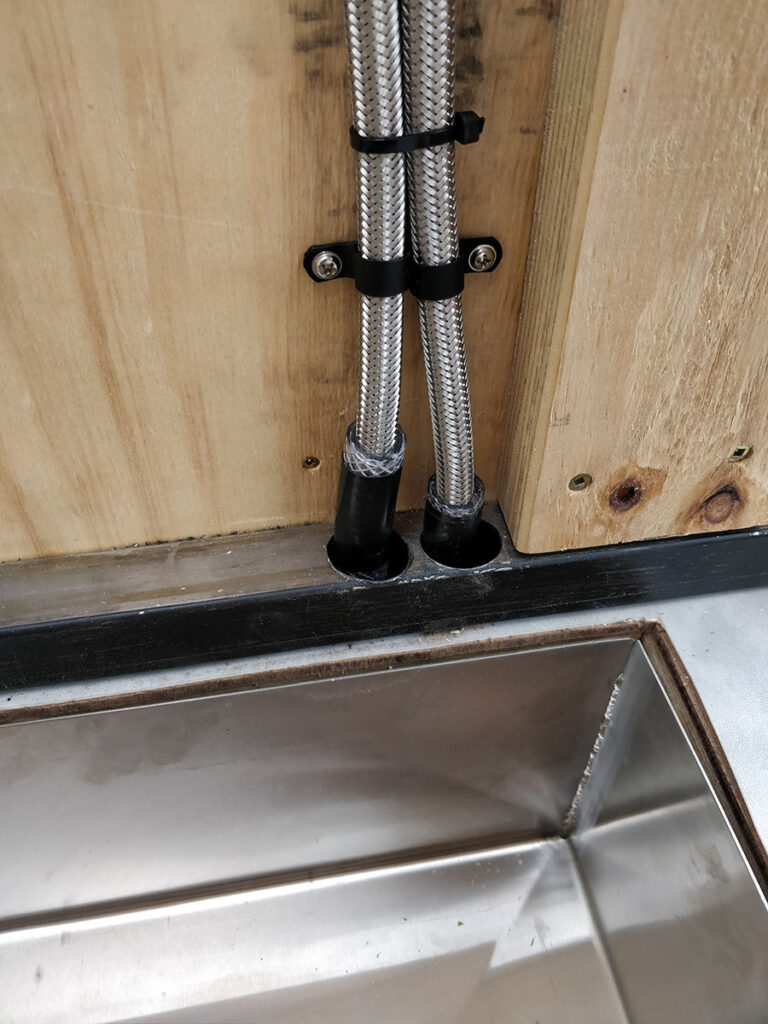
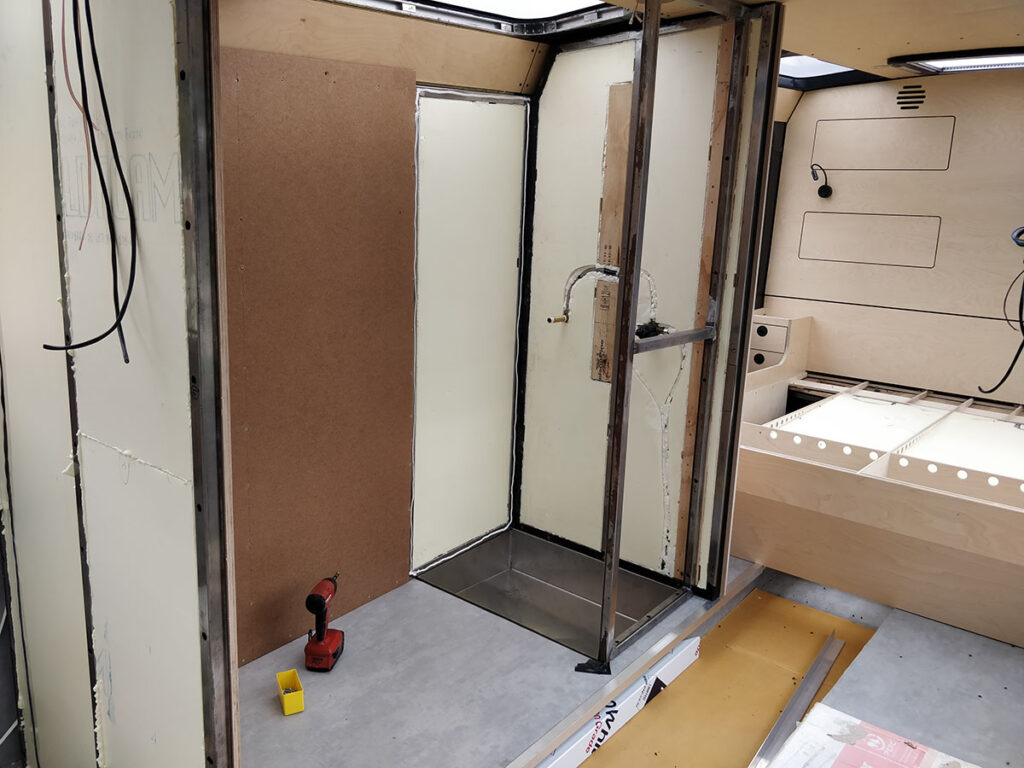
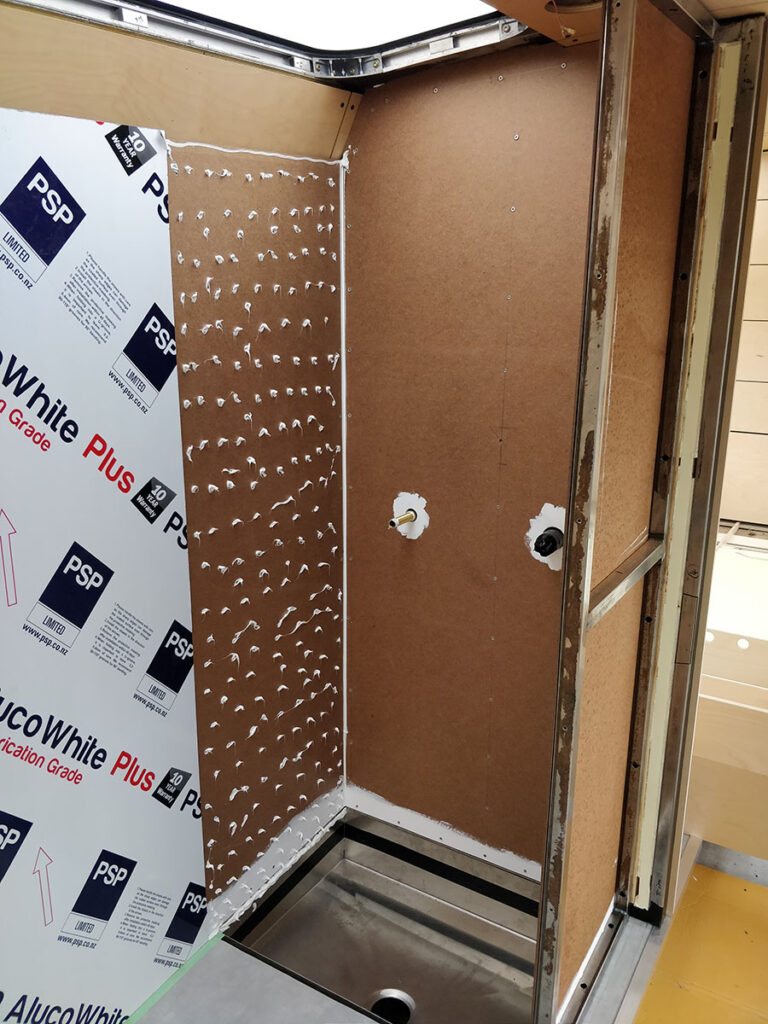
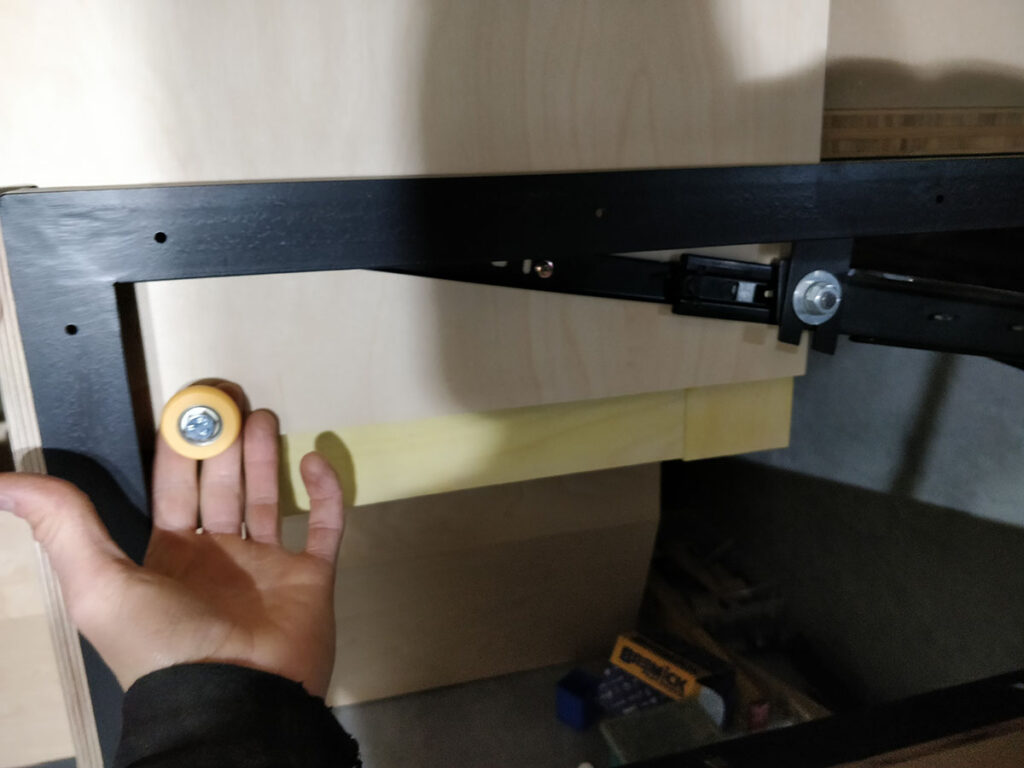
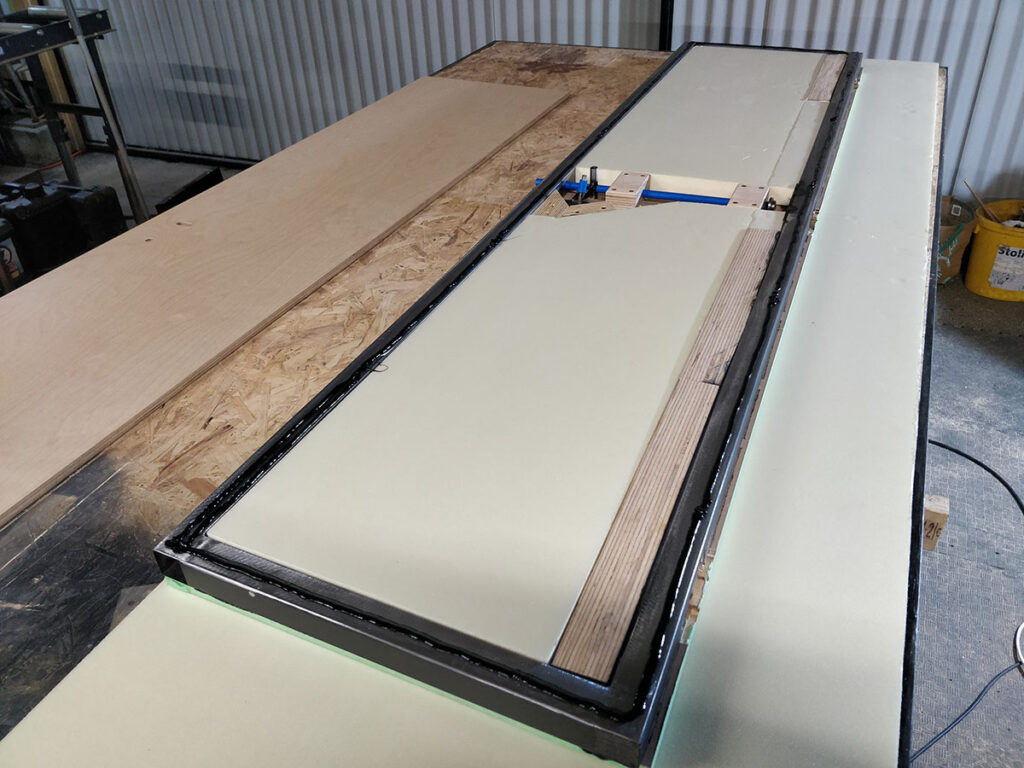
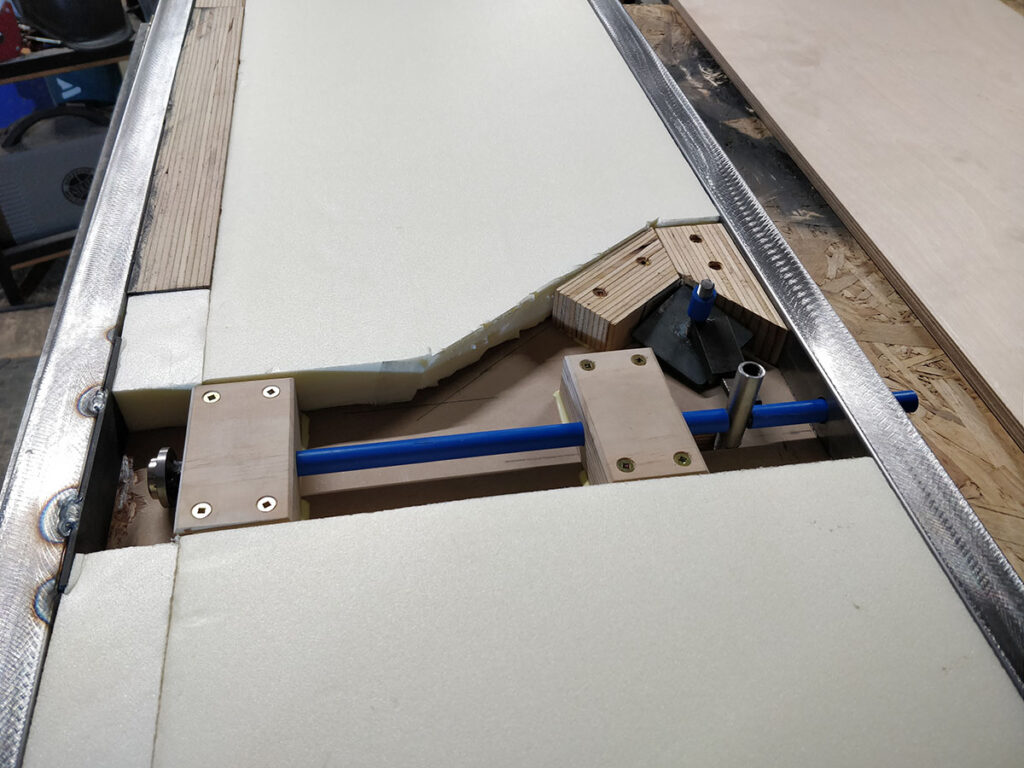
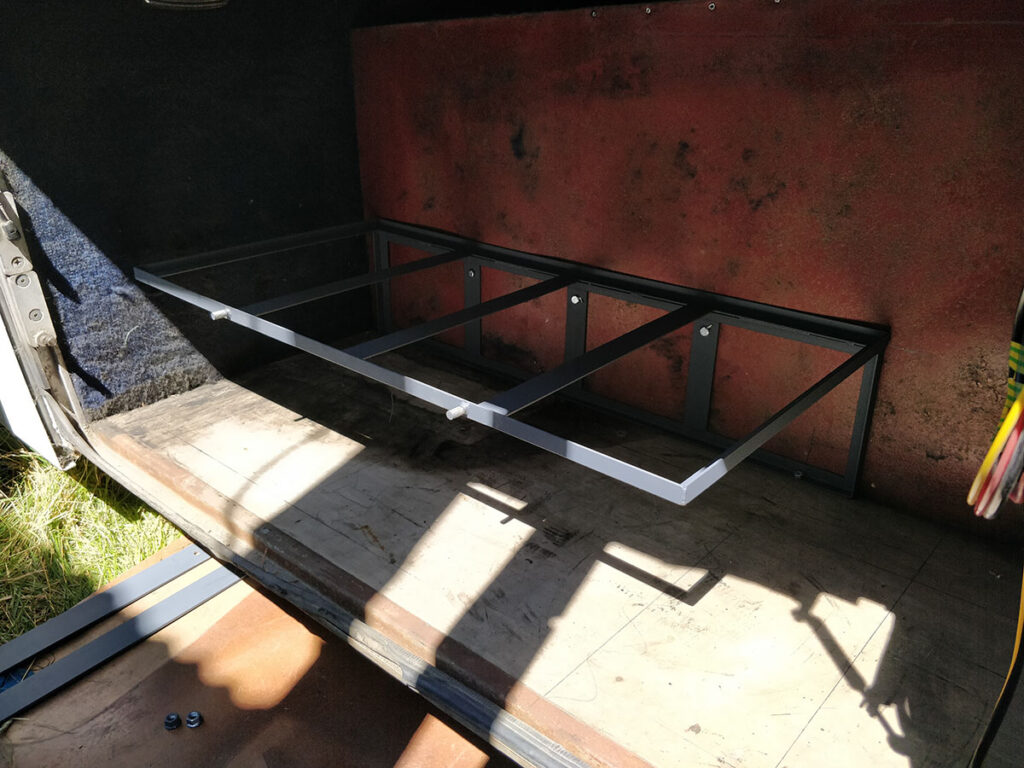
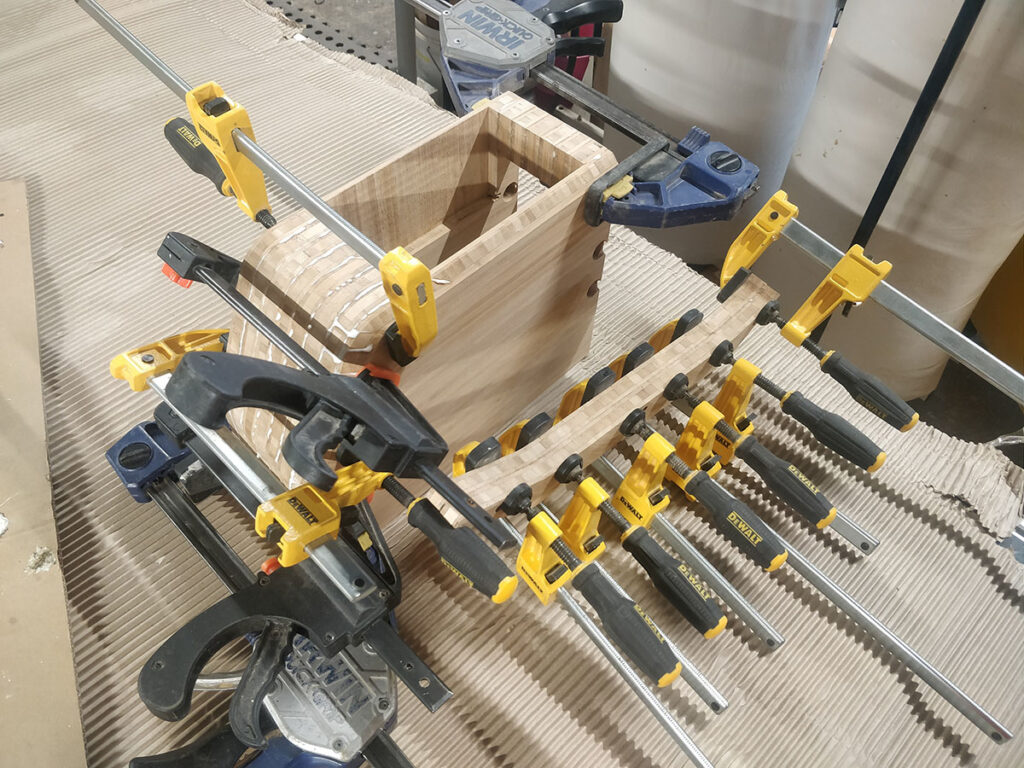
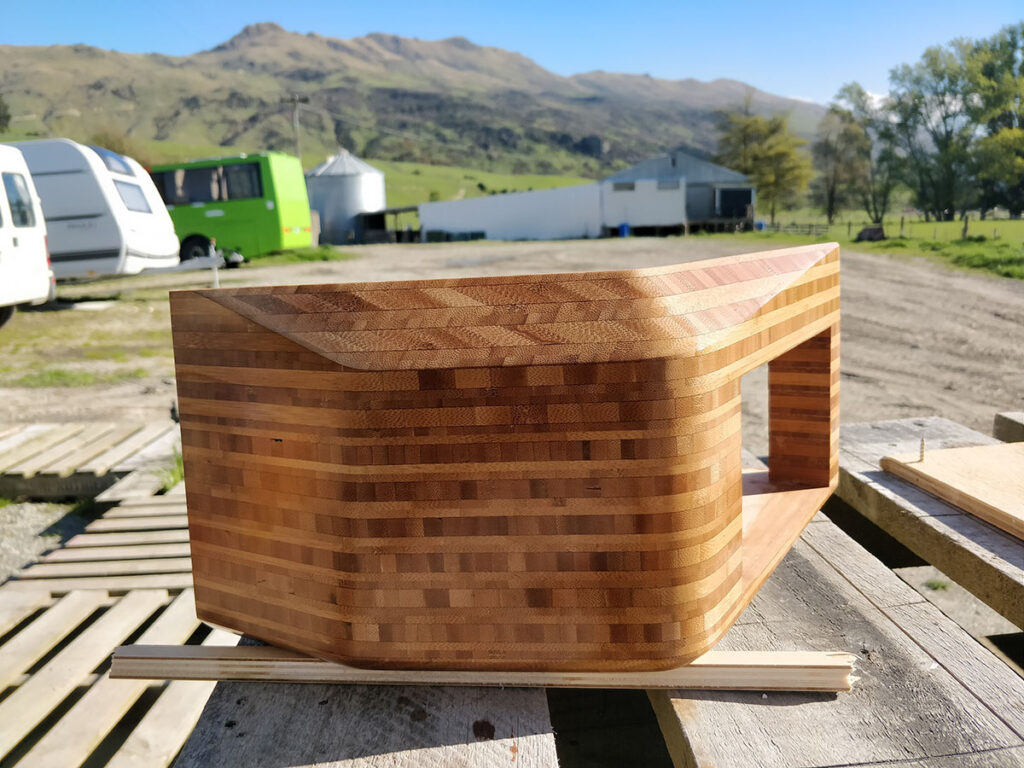
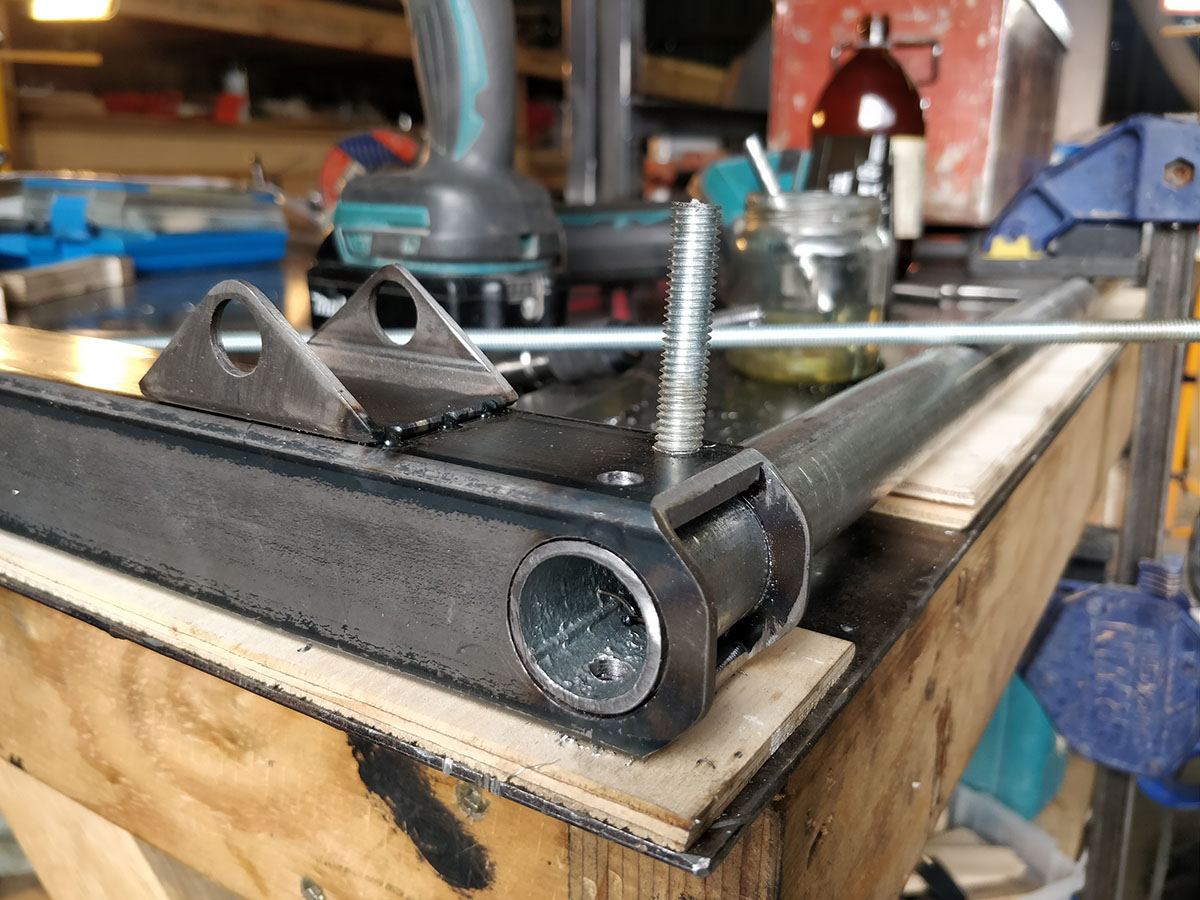
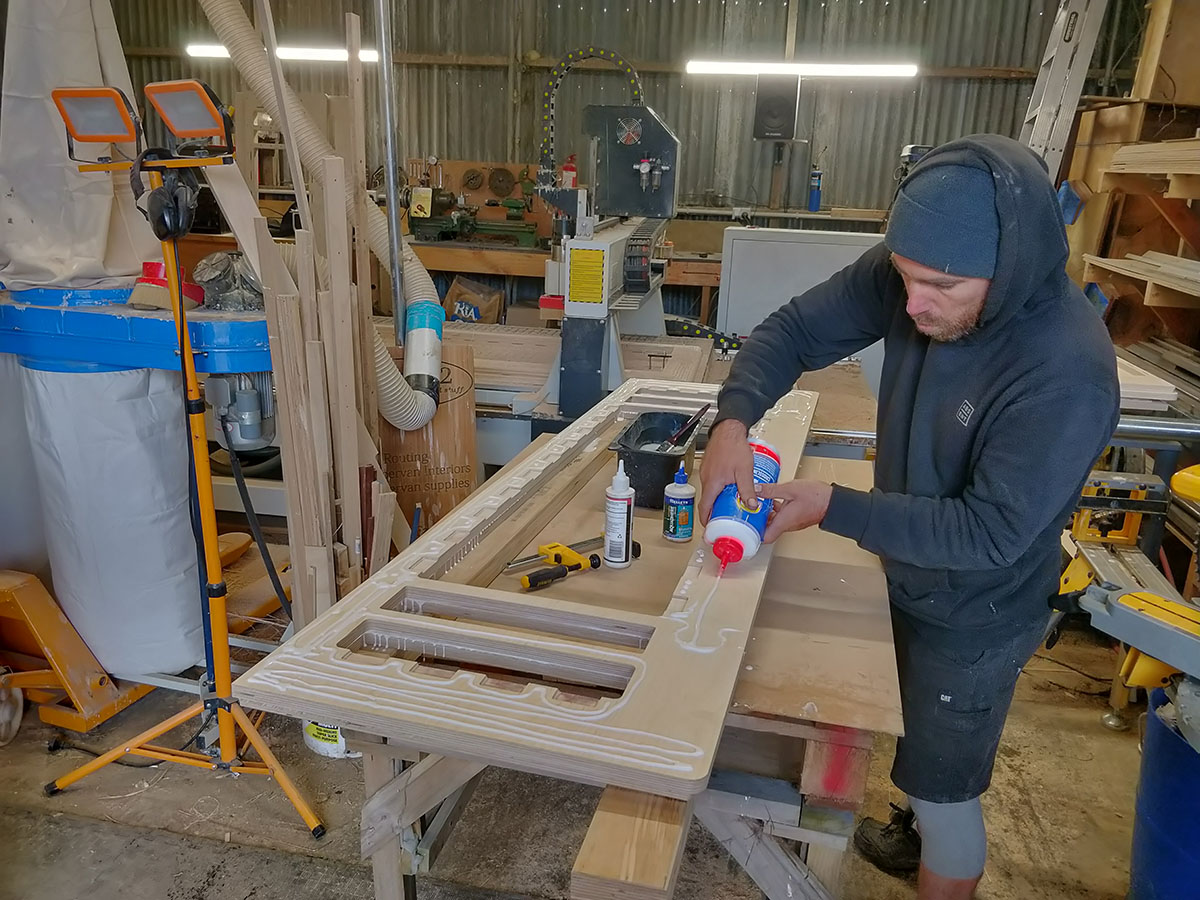
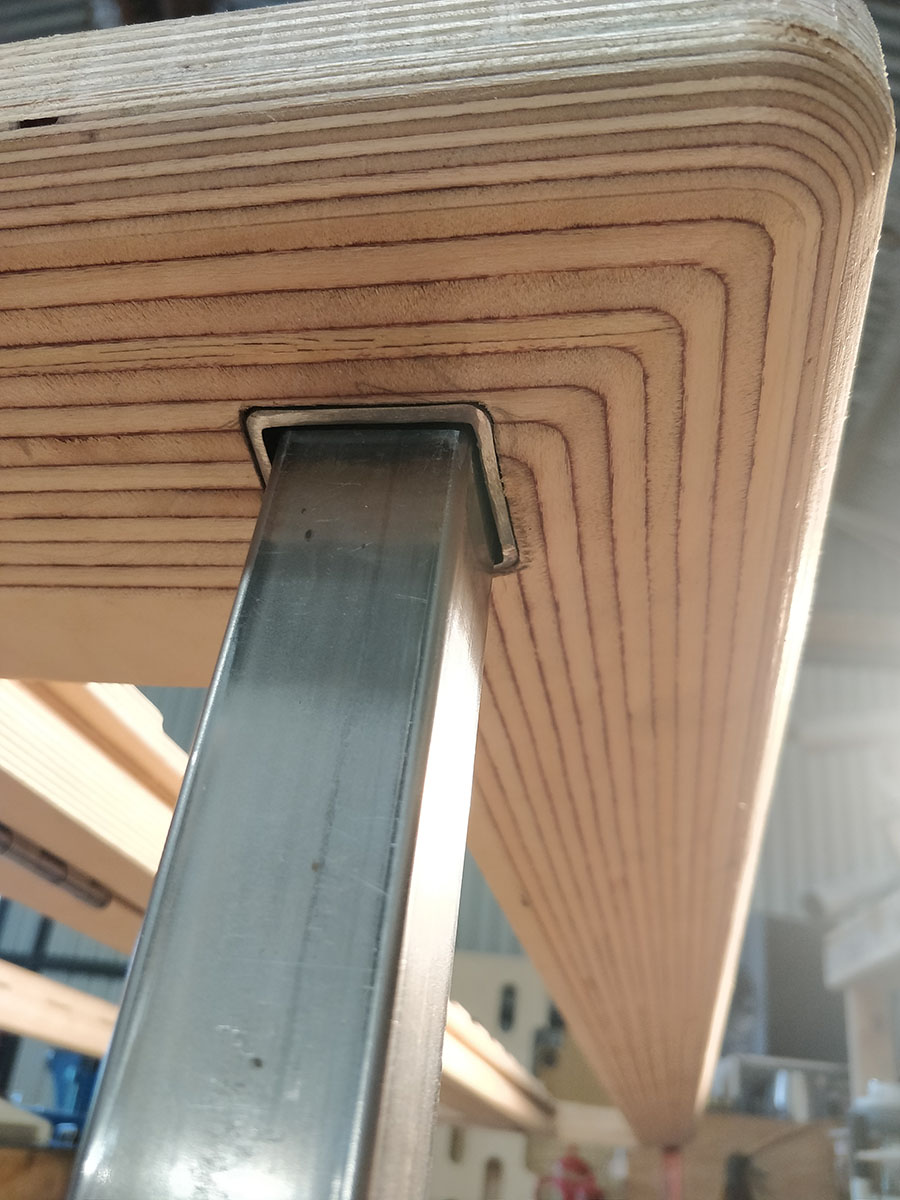
Around about this time we also fabricated a cage to support the shower tray cut 150mm down into the floor & at 3 degree angle to the floor to level it up & to account for the customers exceptional height.
Shower tray support cage installed
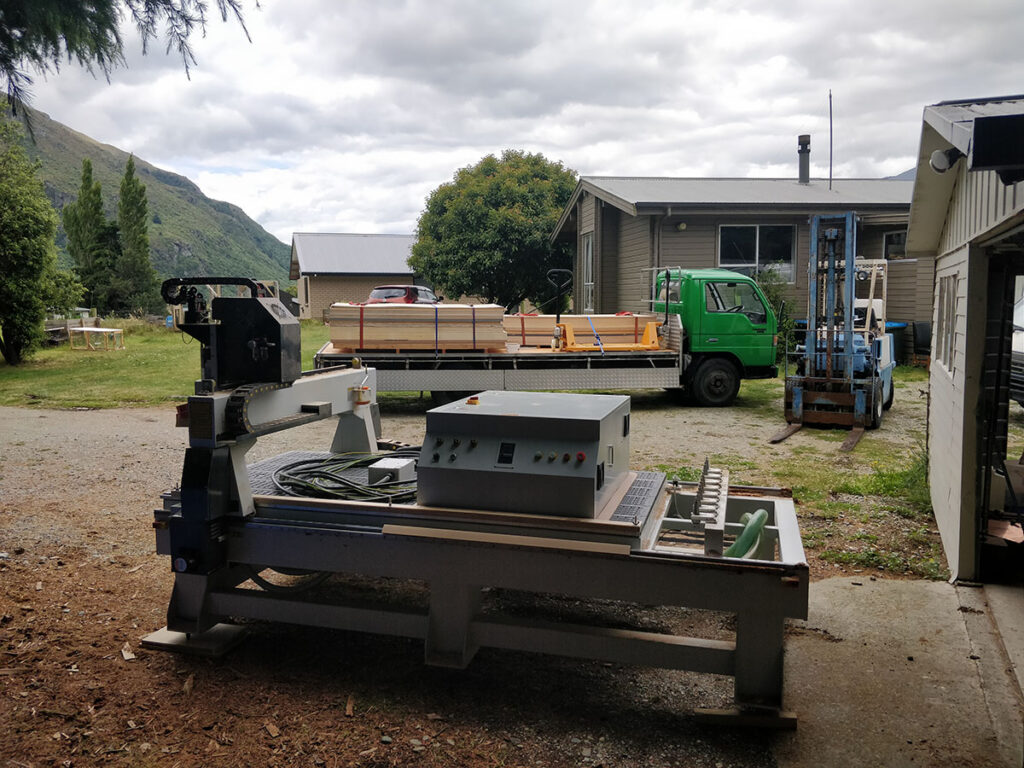
During this time we started having some issue’s with the tenants next door complaining about Zone 2 to the Queenstown Lakes District Council ultimately resulting in the search for a new workshop and then a big move of all of the machinery to a new site.
All the big toys on the move.
I purchased a Ford transporter truck to help with the move but it took a few months to figure all this drama out and be up and running again in our new location, which needed a bit of patching up first.
I had some amazing help and support from Kingston locals that I will never forget during this time!
Chris Manning (the client) was exceptionally supportive and understanding during this time and I can’t thank him enough for sticking with us!
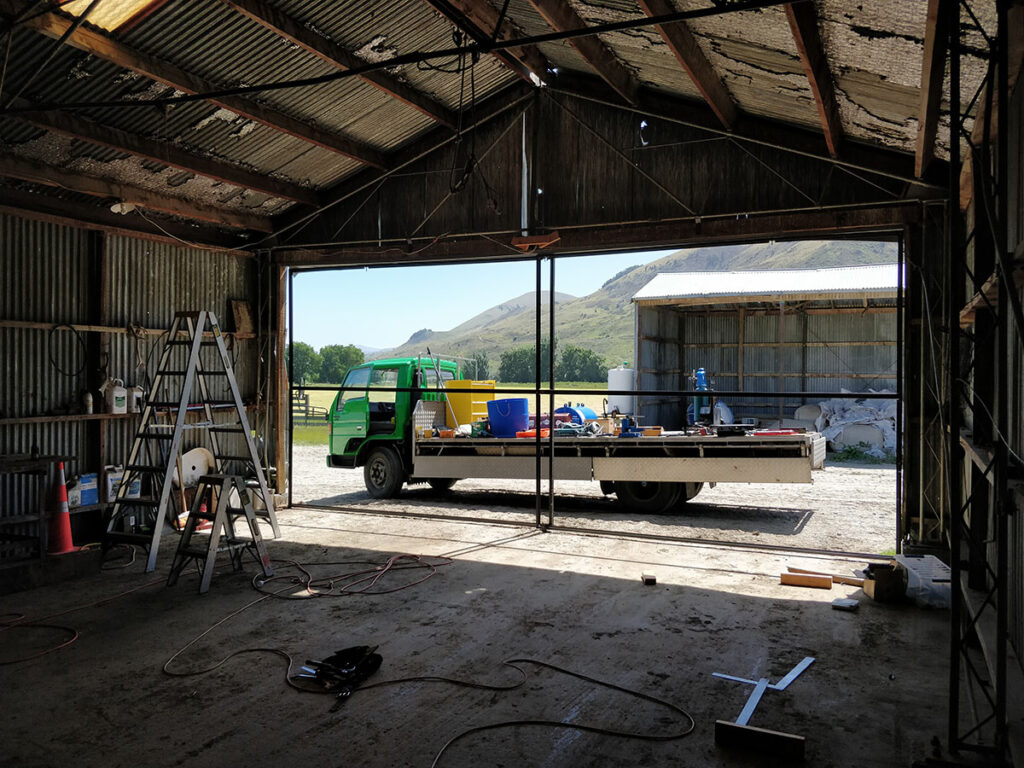
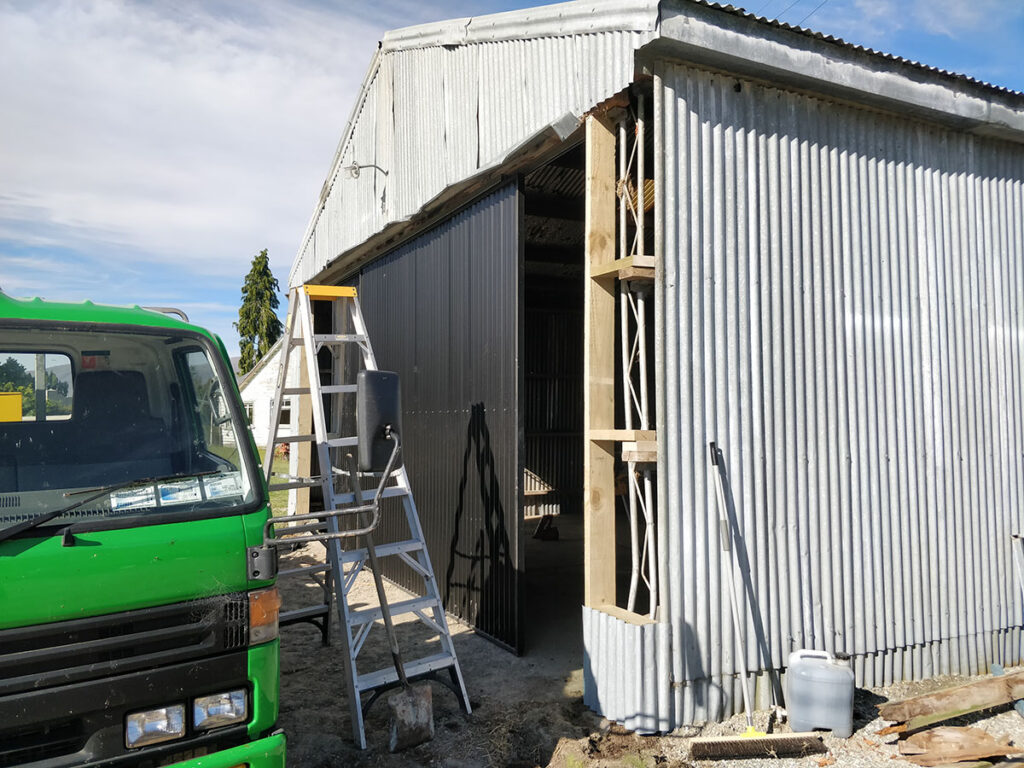
The new workshop came with some challenges as I had to build doors to close off the west face of the building and although taller it was about half the floor area of the old one. However these challenges were totally worthwhile for the location and freedom that it came with.
installing doors on the front of the new workshop.Replacing the rotten jack studs on the new workshop so it can support the weight of the new roller doors.
Fortunately our new neighbors are sheep and the farmers don’t seem to care if we make a bit of noise.
Shortly after the move another good friend Leo Chelle came help with the build and would become a key member of the project until the end.
I bet you can’t catch that sheep!
Here’s some photo’s of ceiling works.
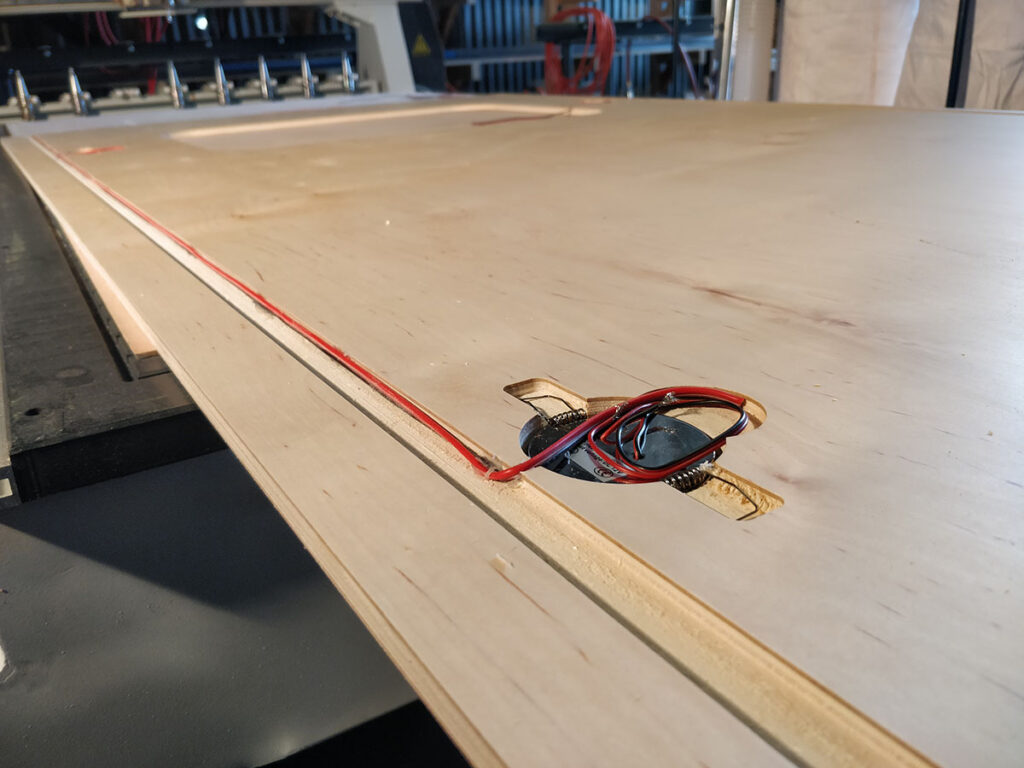
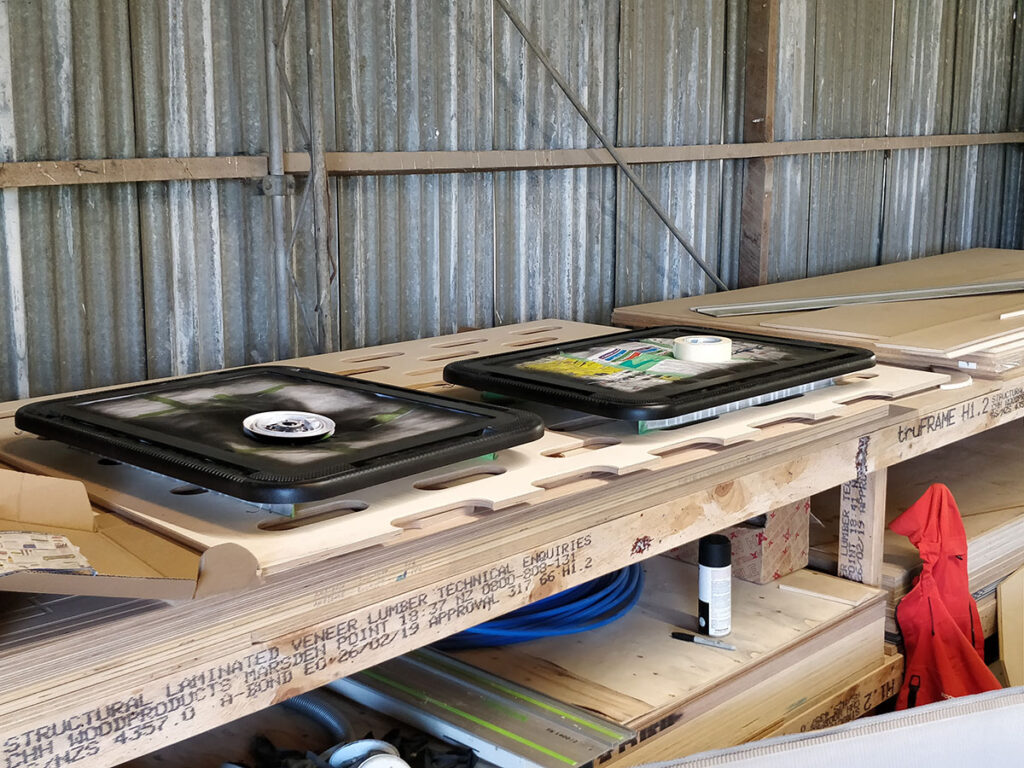
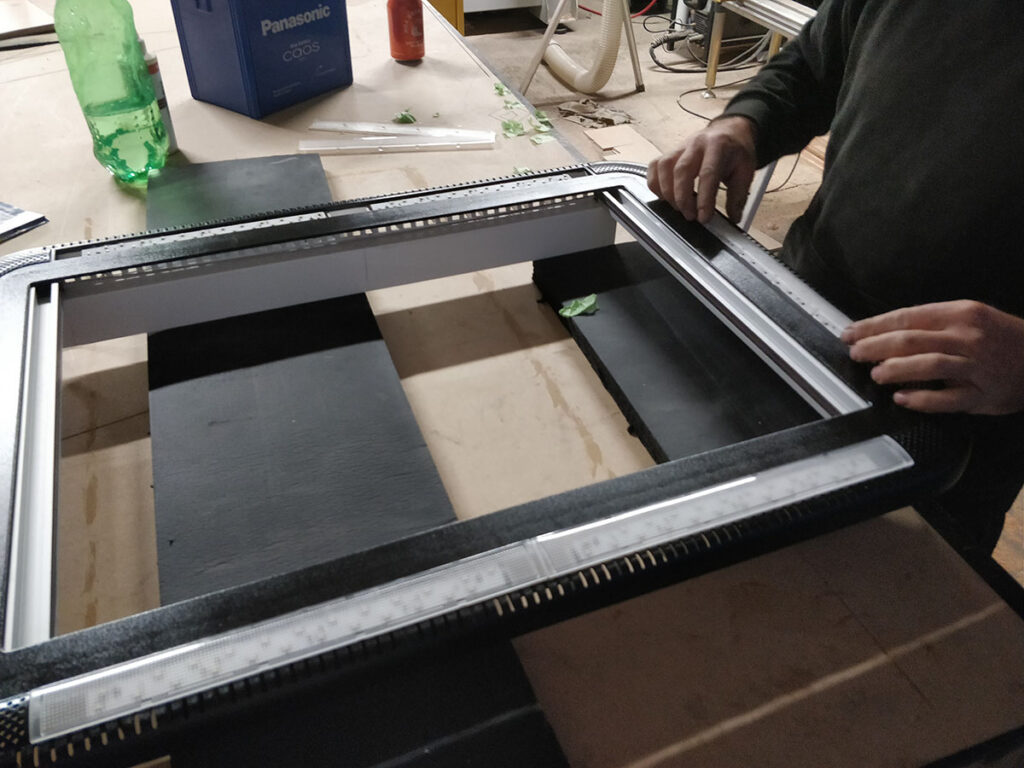
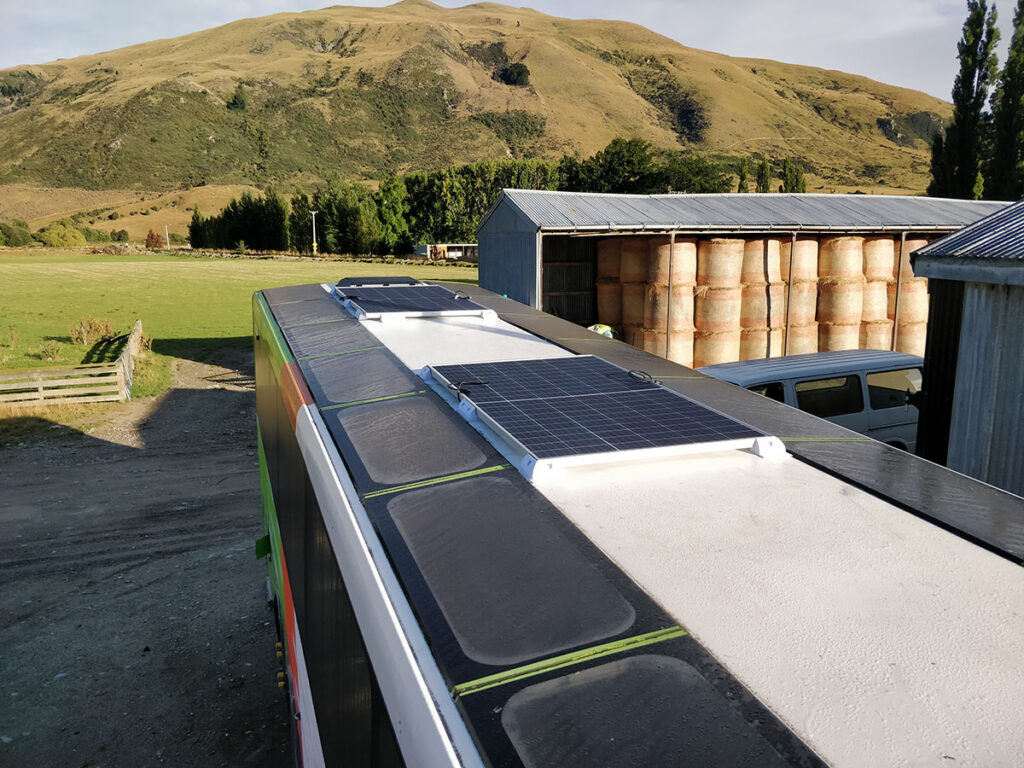
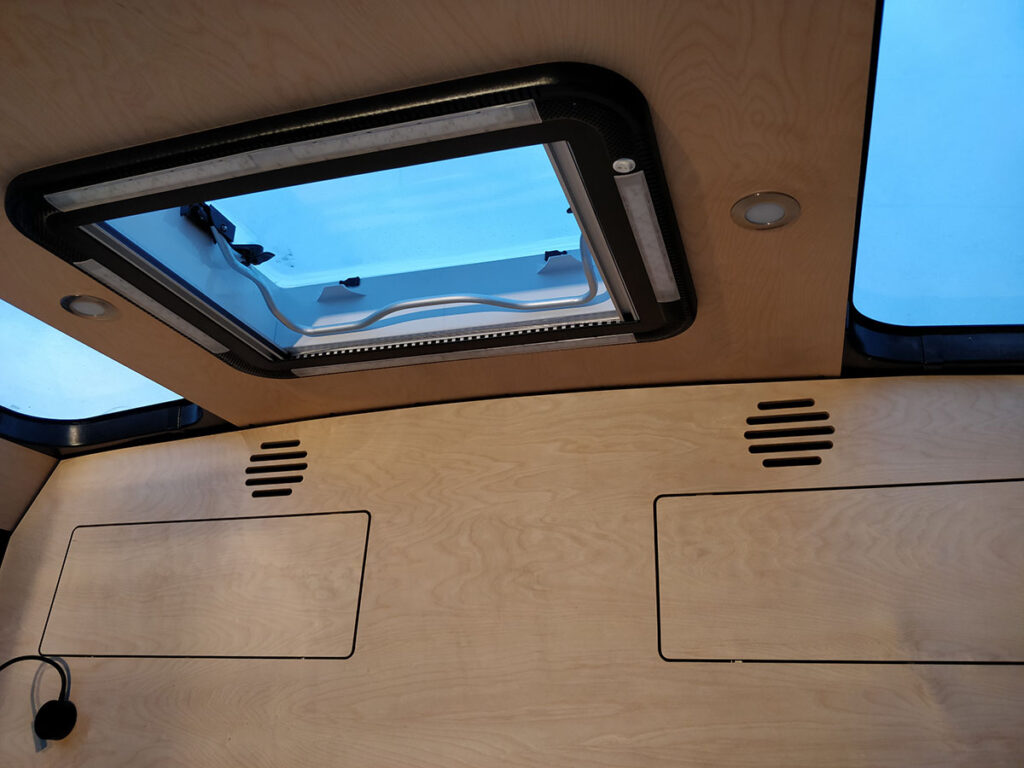
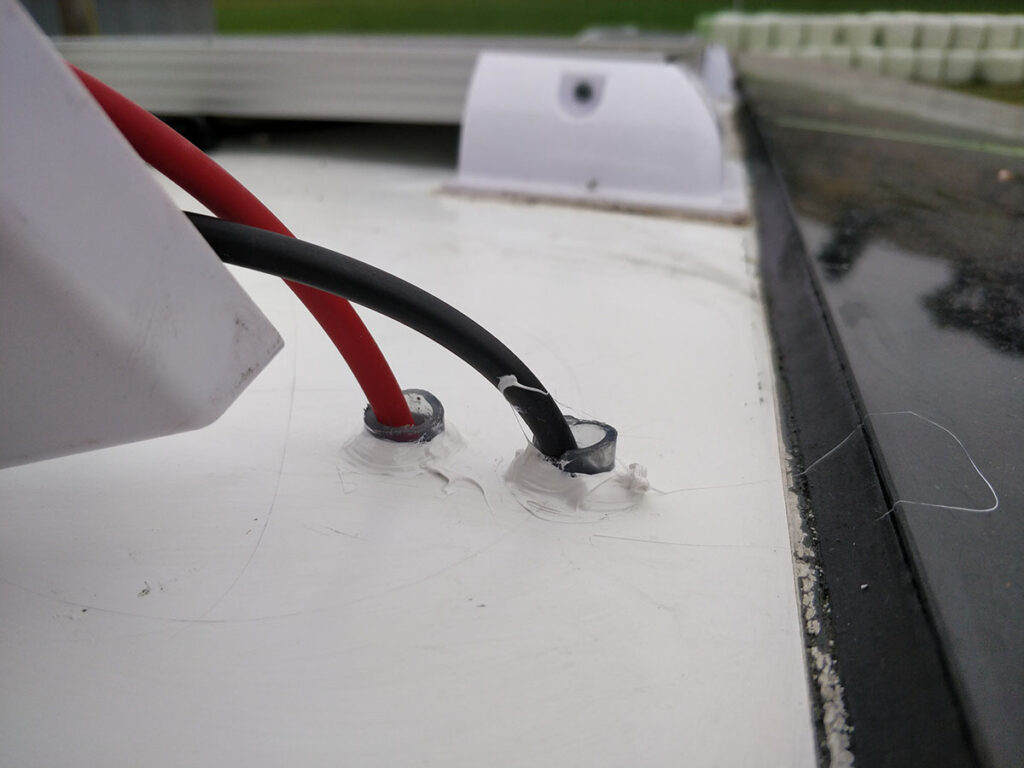
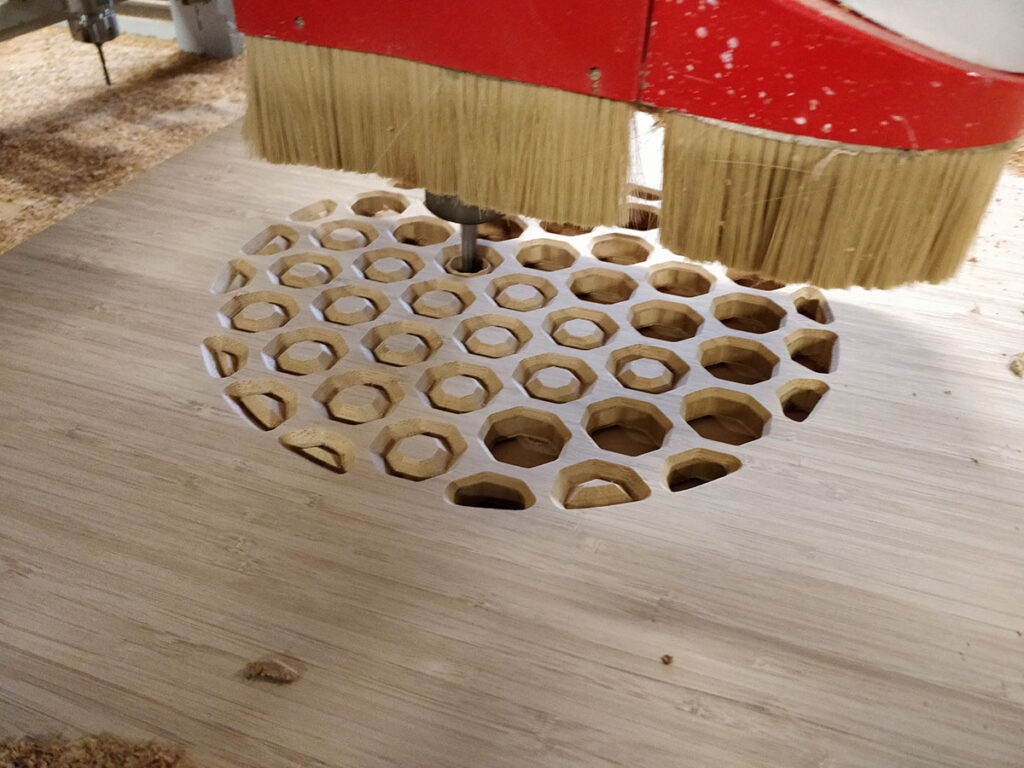
Cutting the hole in the roof for the rear roof hatch.gluing the roof skin back onto the frame after moving some ceiling bitterns.pre-wired ceiling panelsInstalling the ceiling panels with the lifter with a custom built frame that can match the curve of the bus ceiling to push the panel into the curve.Roof hatch cowlings stripped of their hardware for painting black.Re-fitting the lights to the roof hatches after painting.Solar Panels mounted on roof.
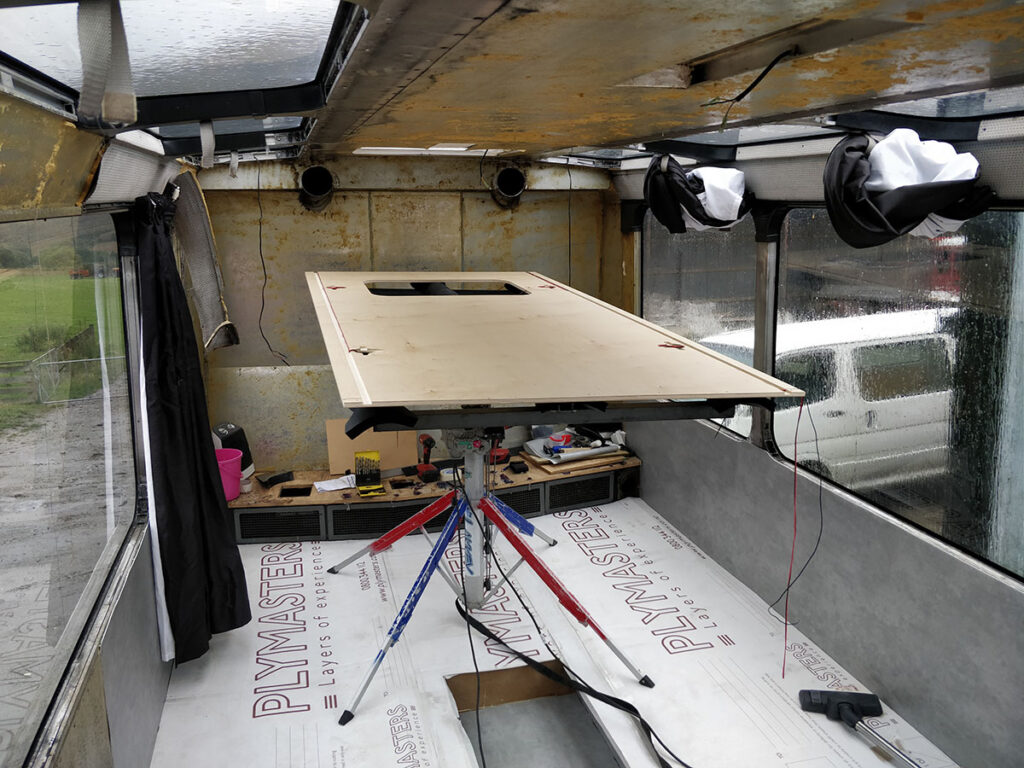
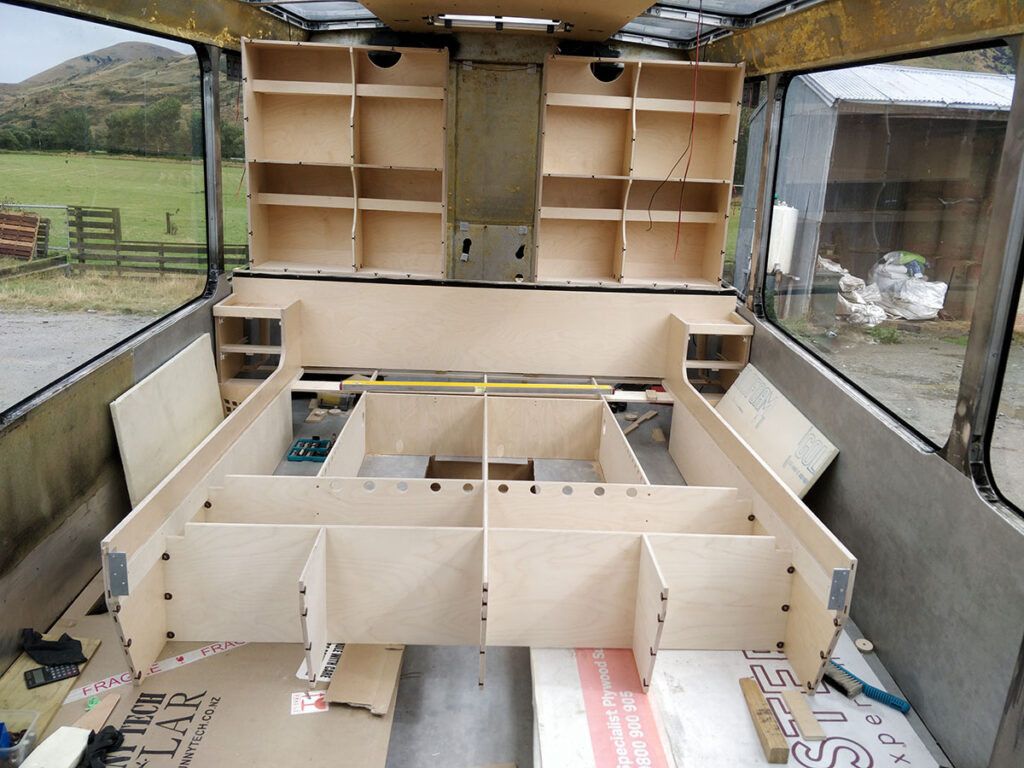
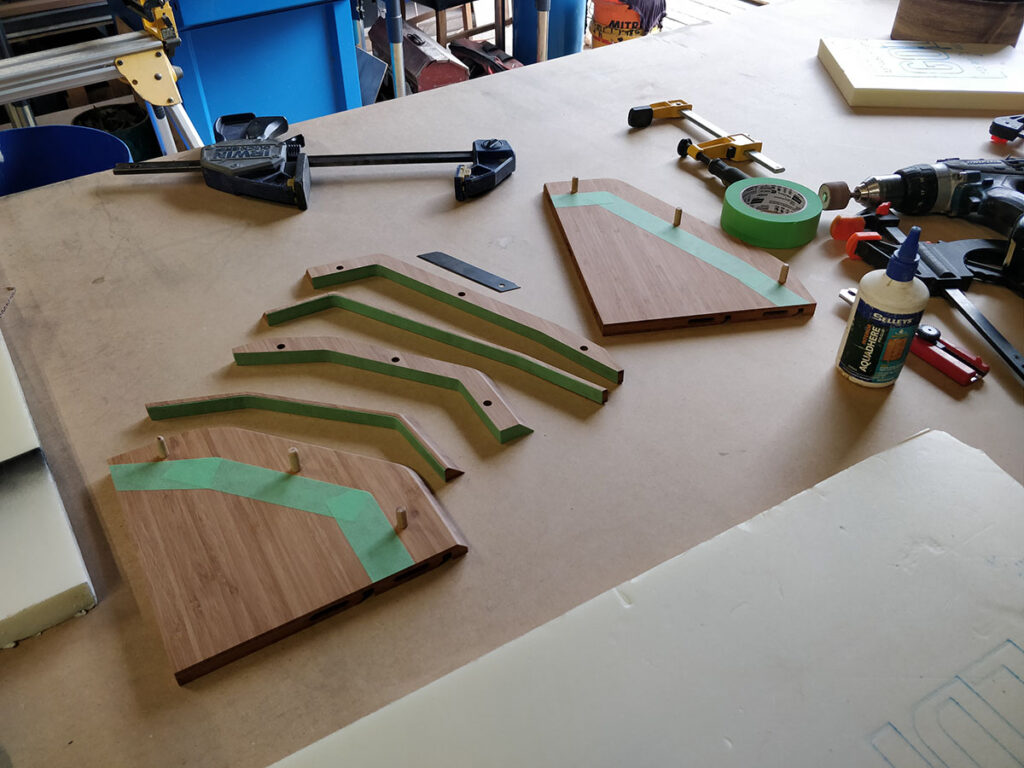
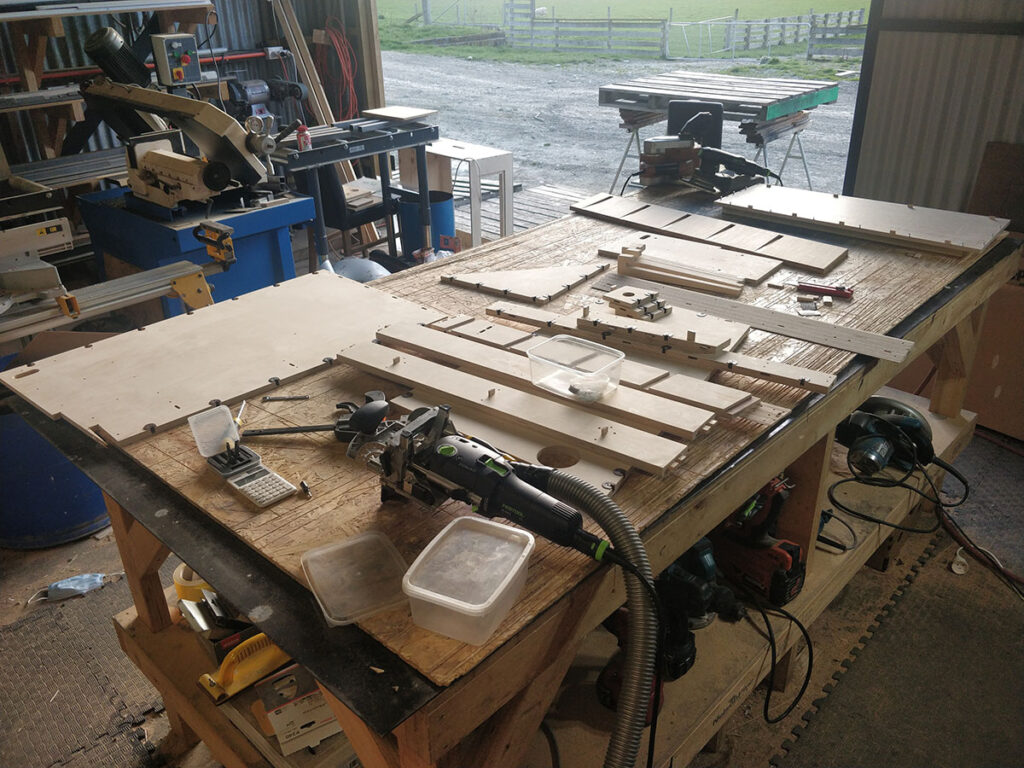
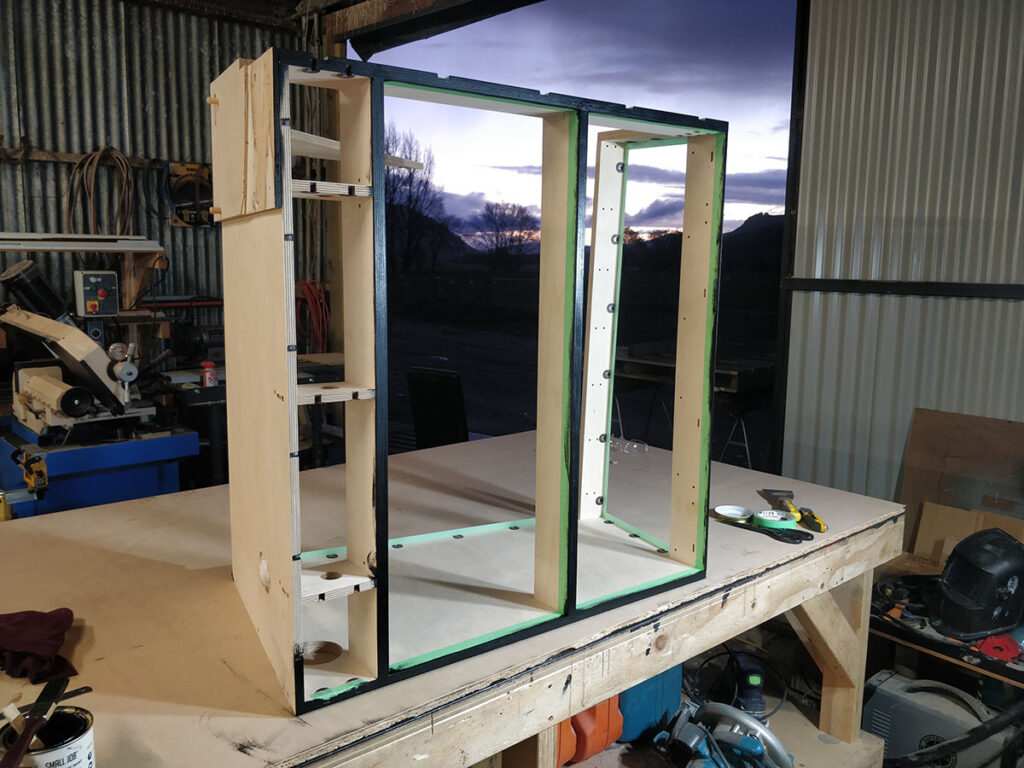
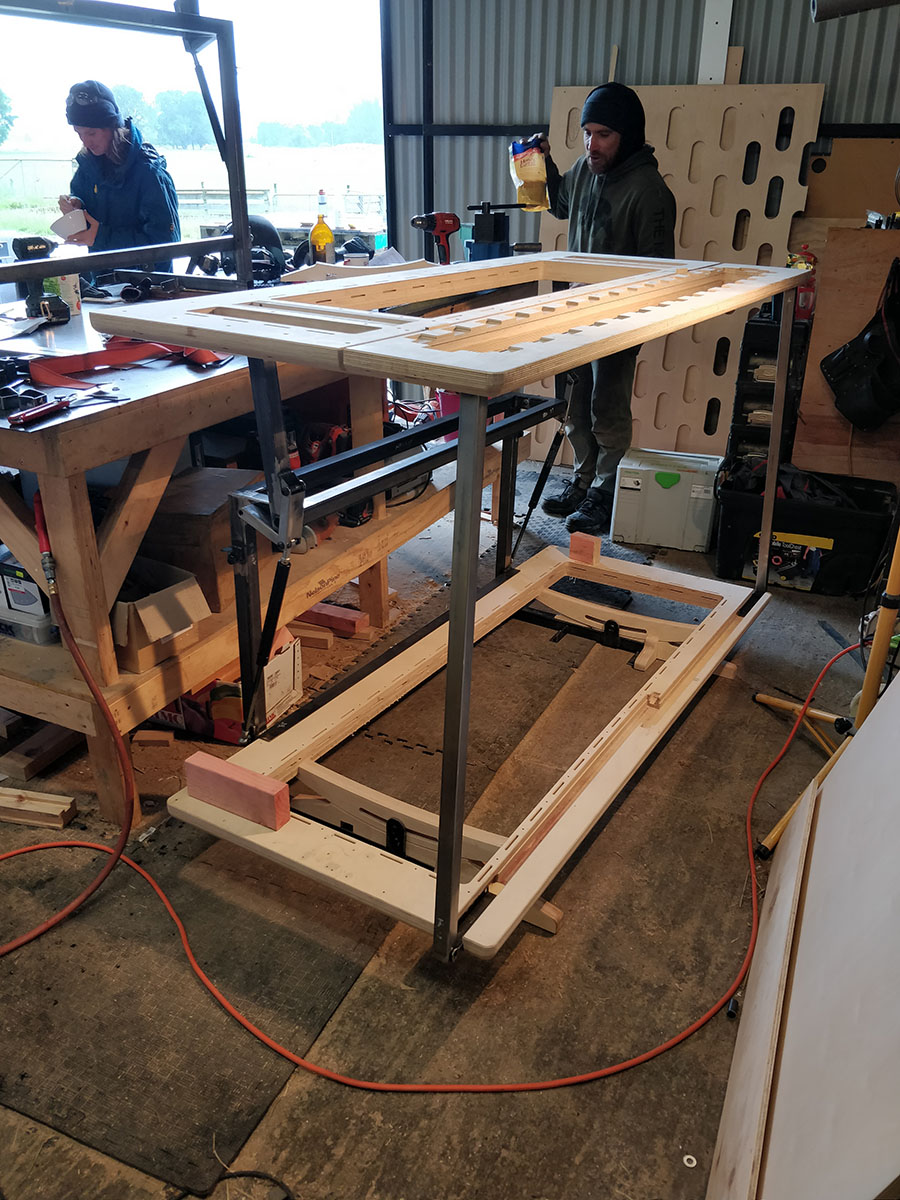
Bellow are some photo’s of the construction on the master bed.
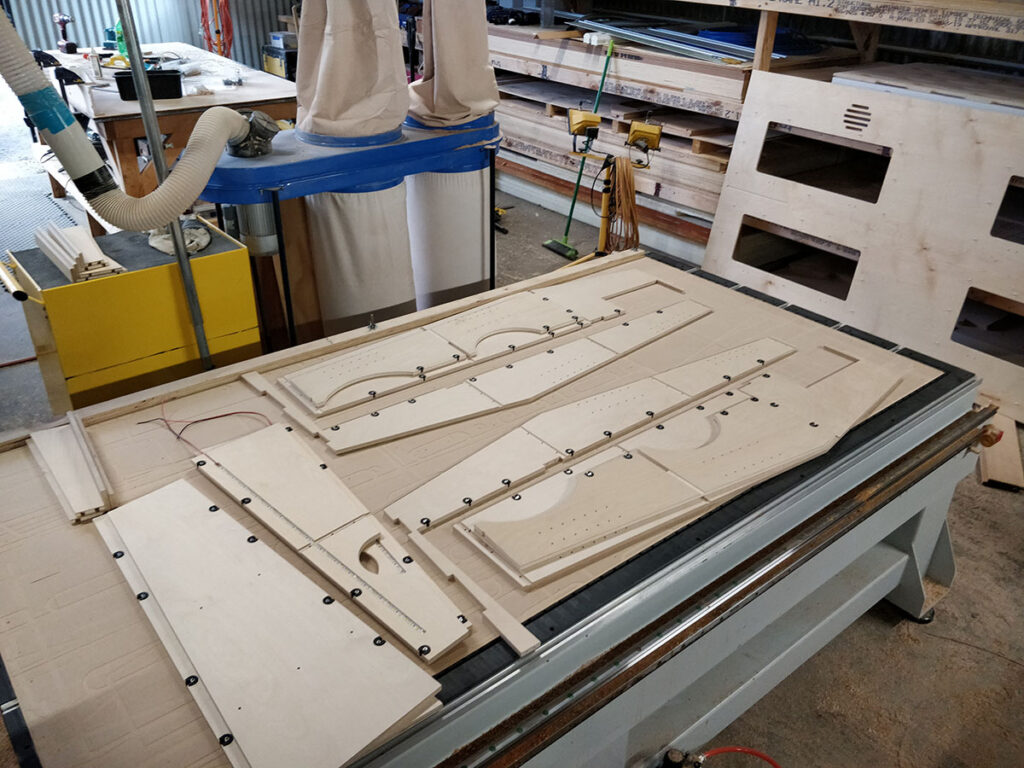
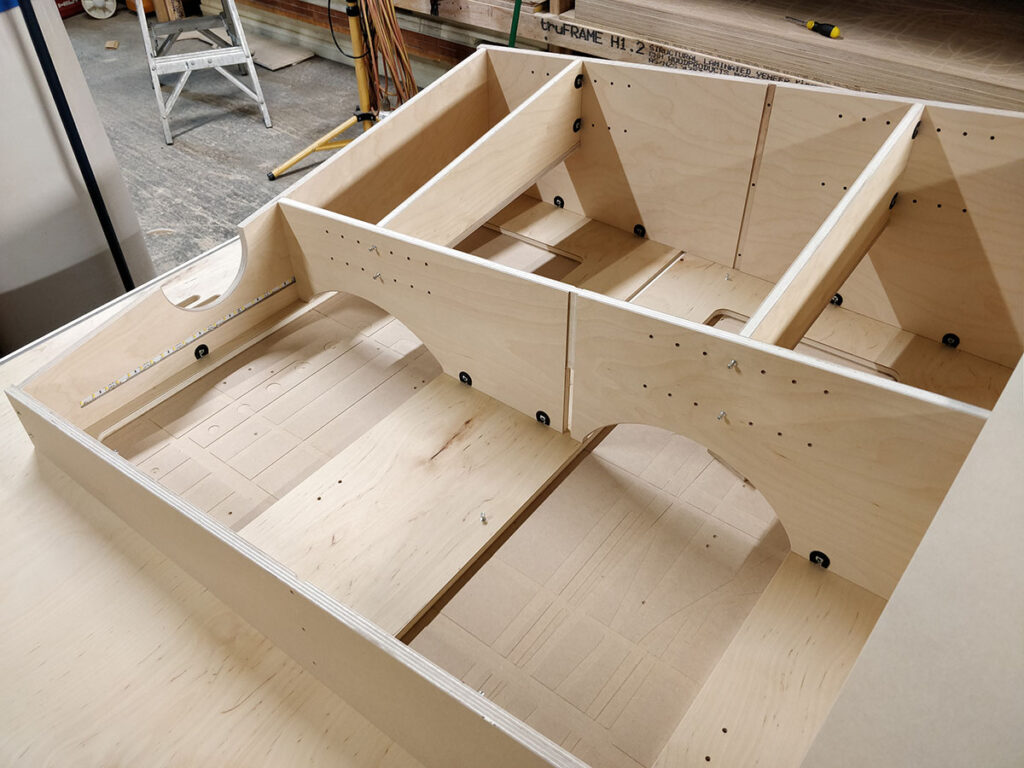
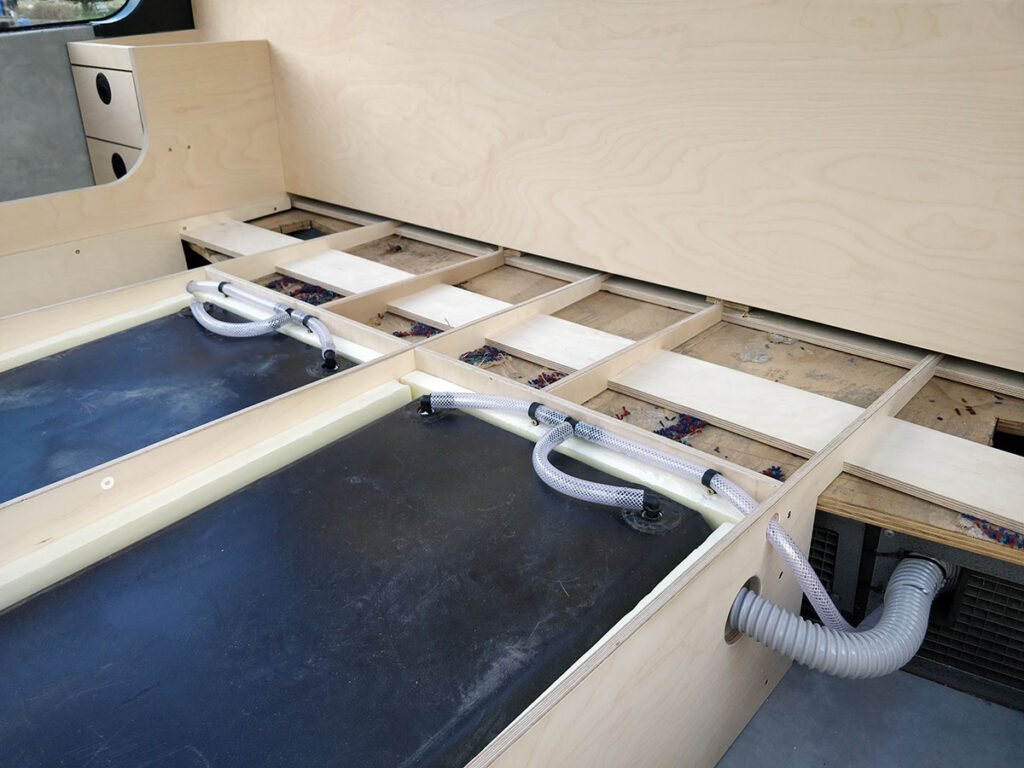
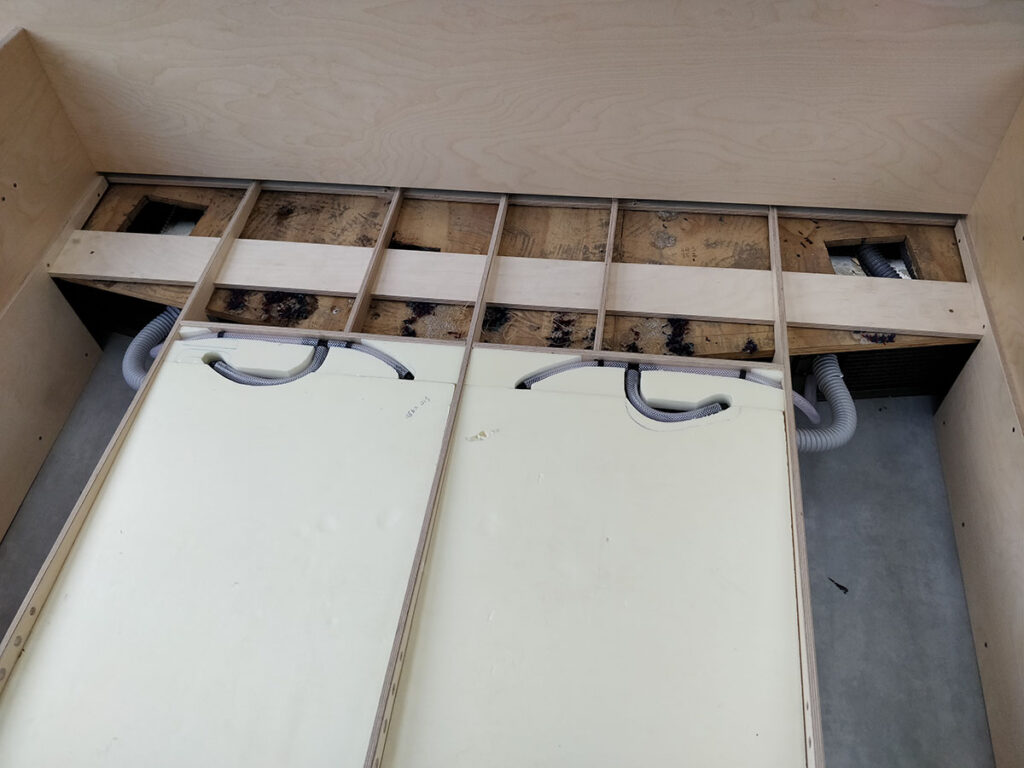
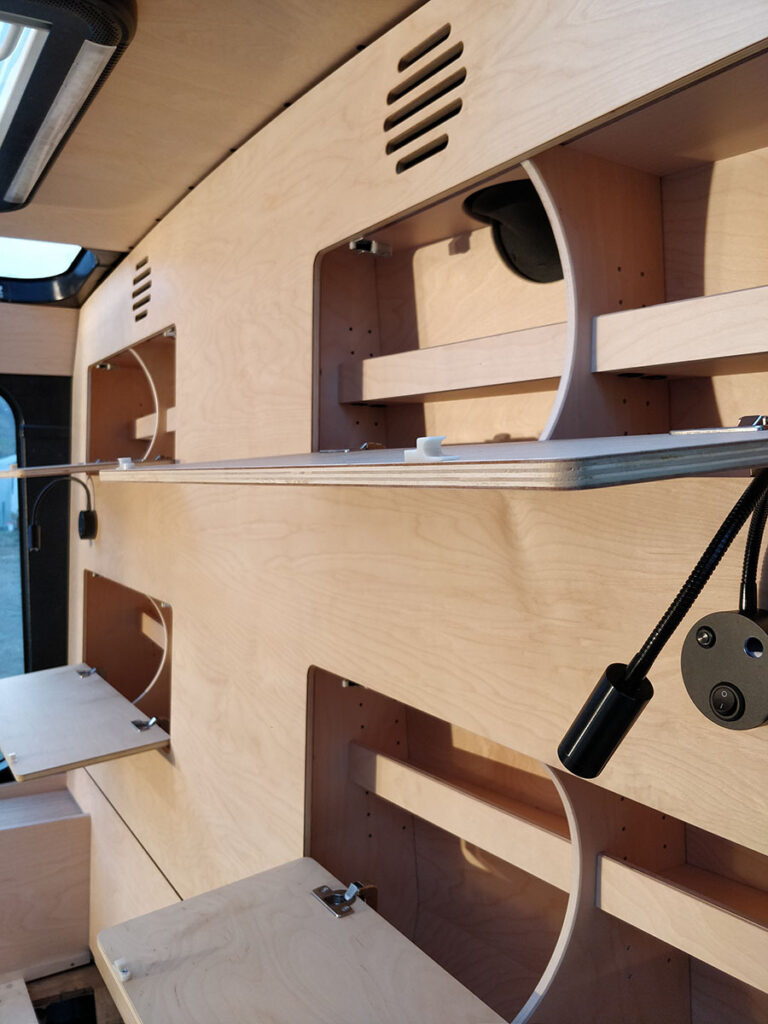
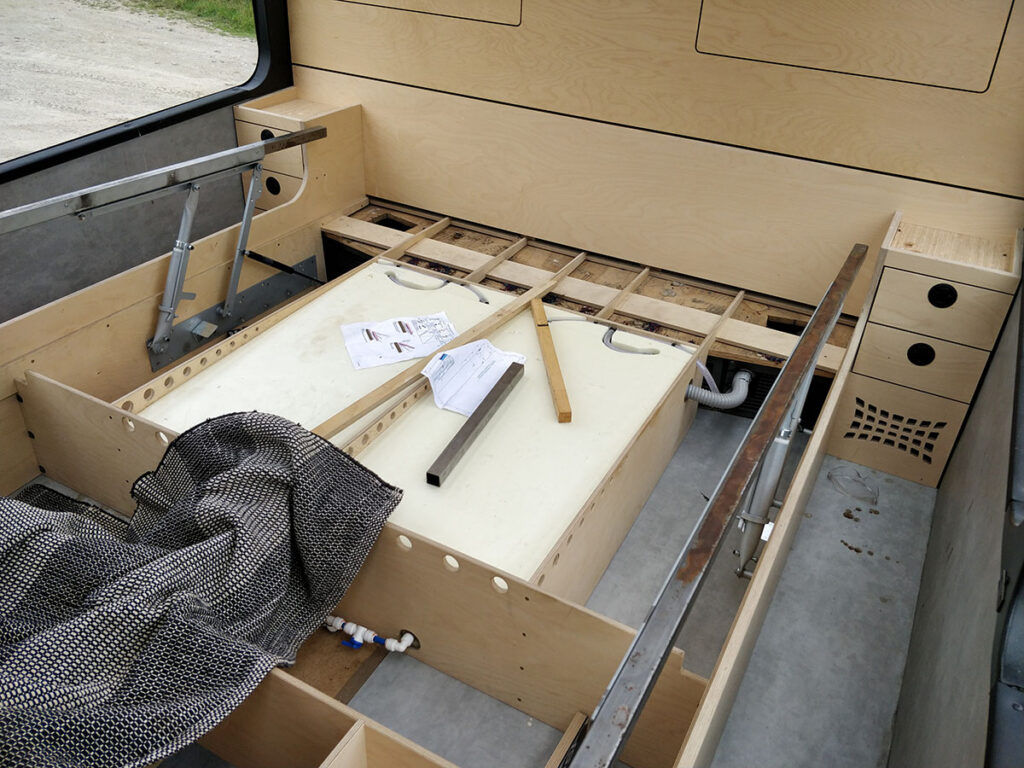
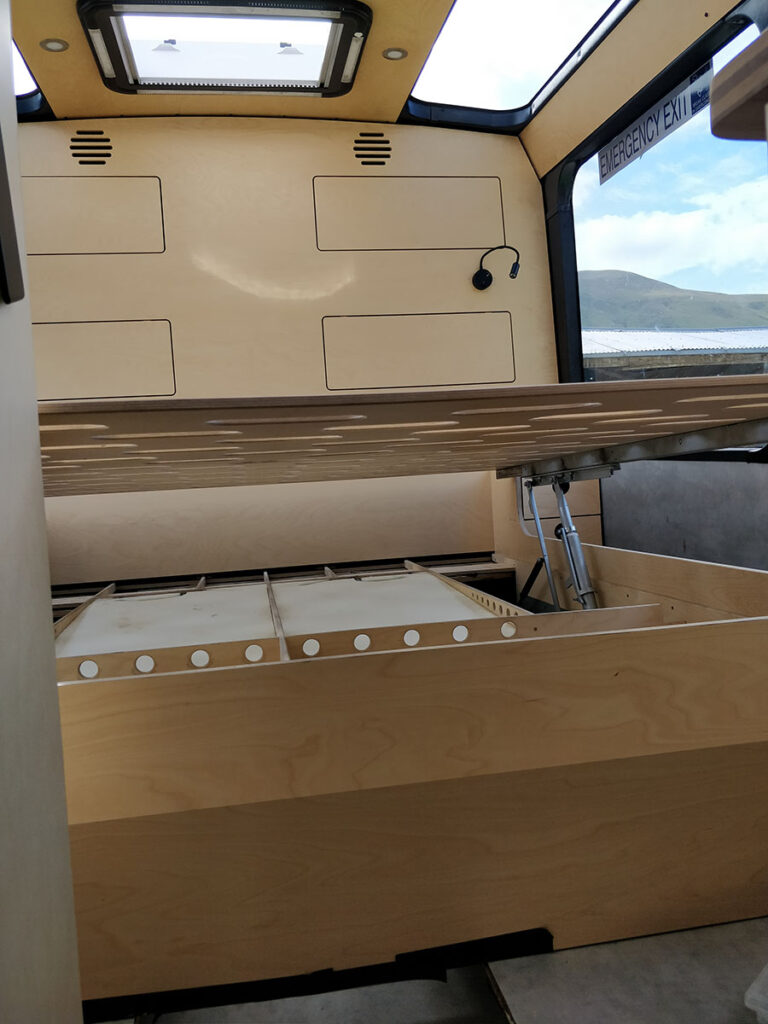
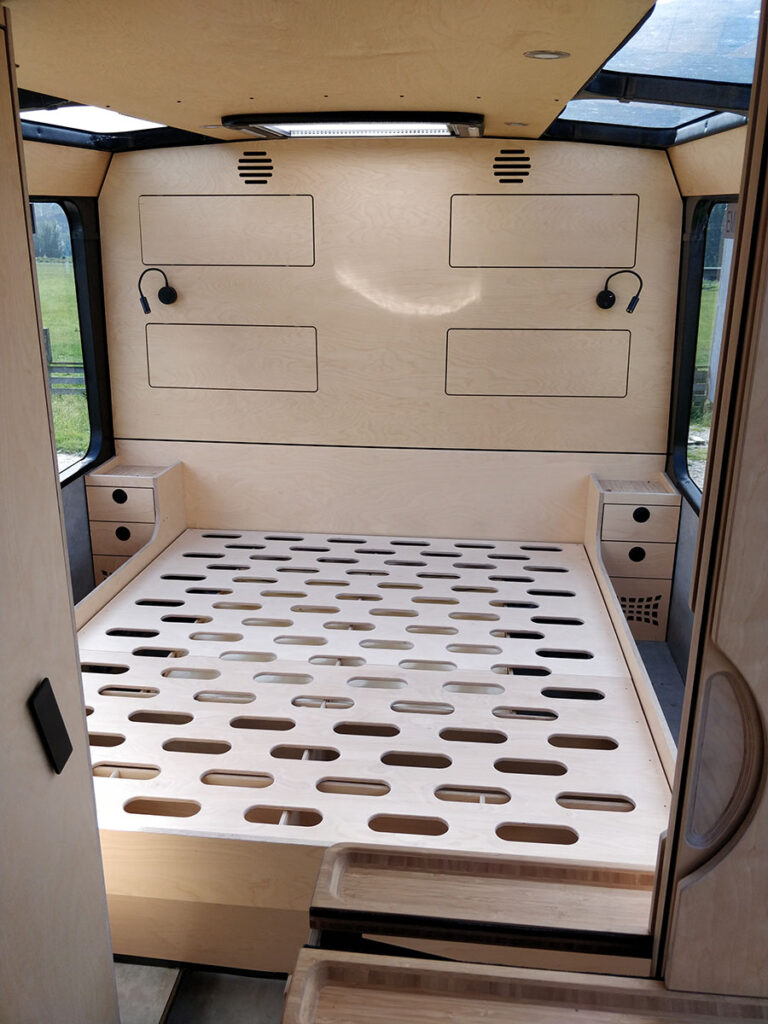
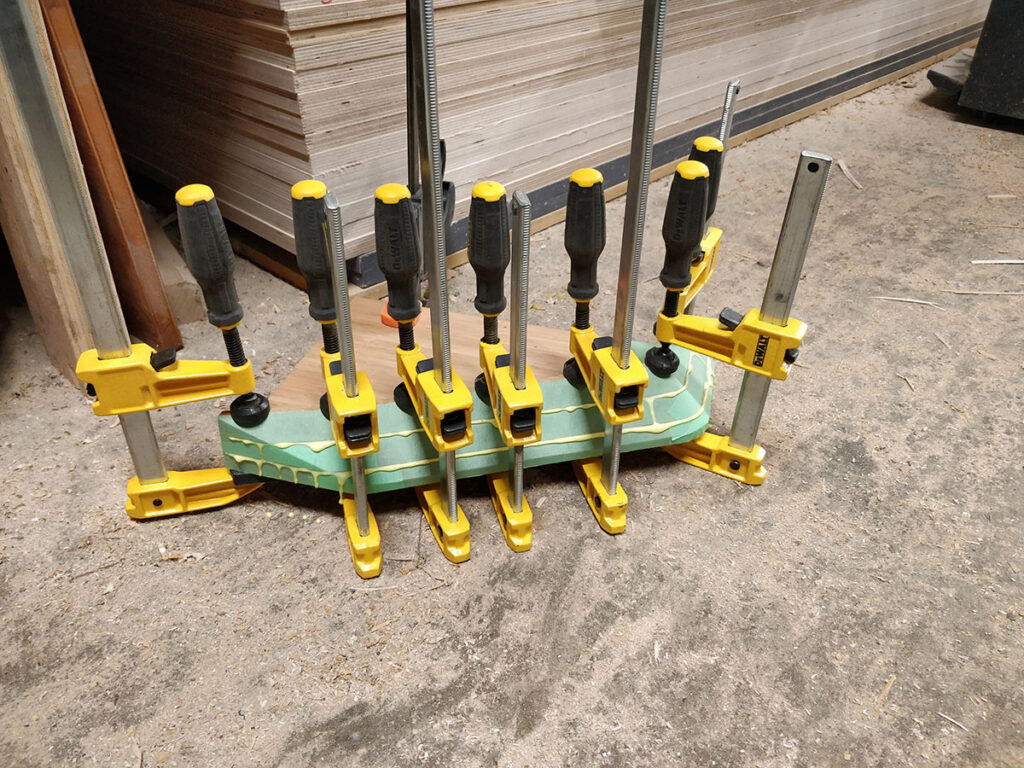
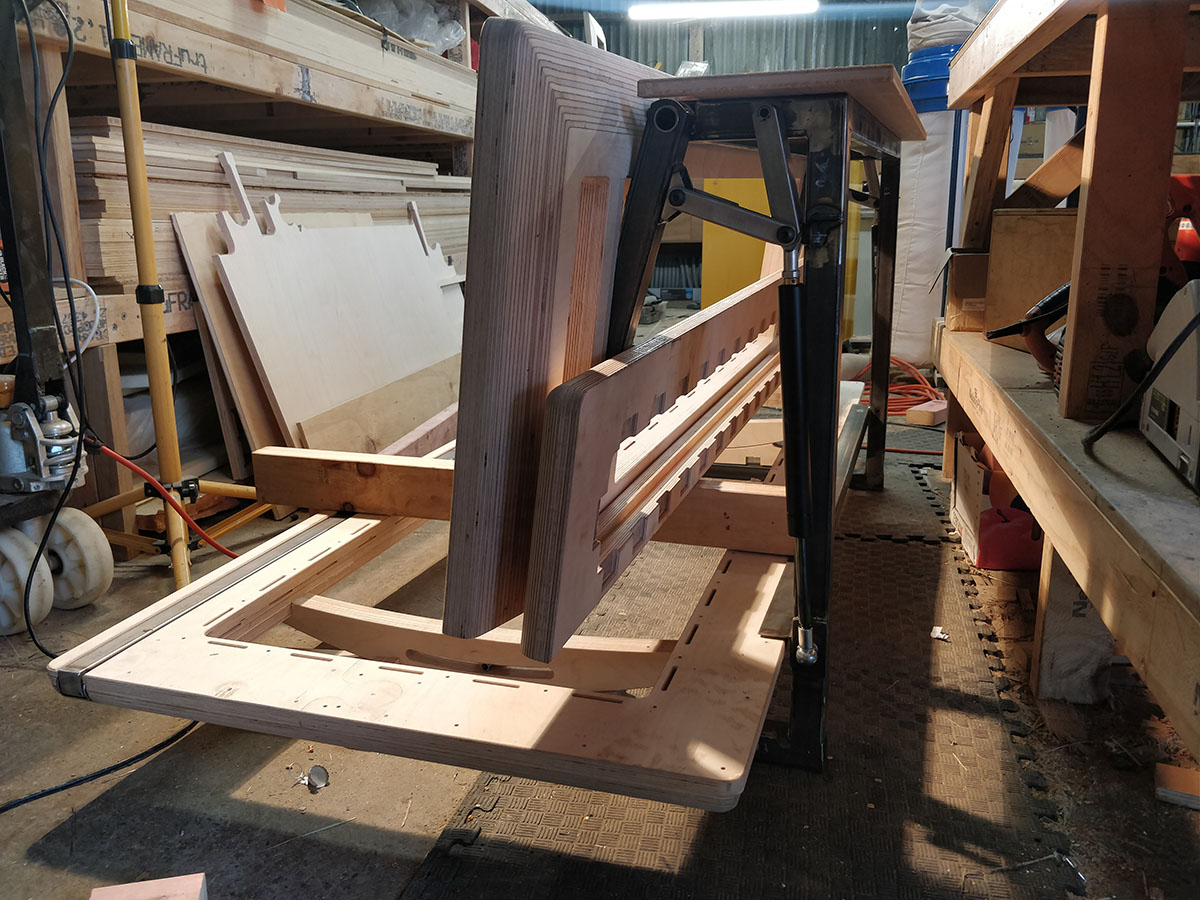
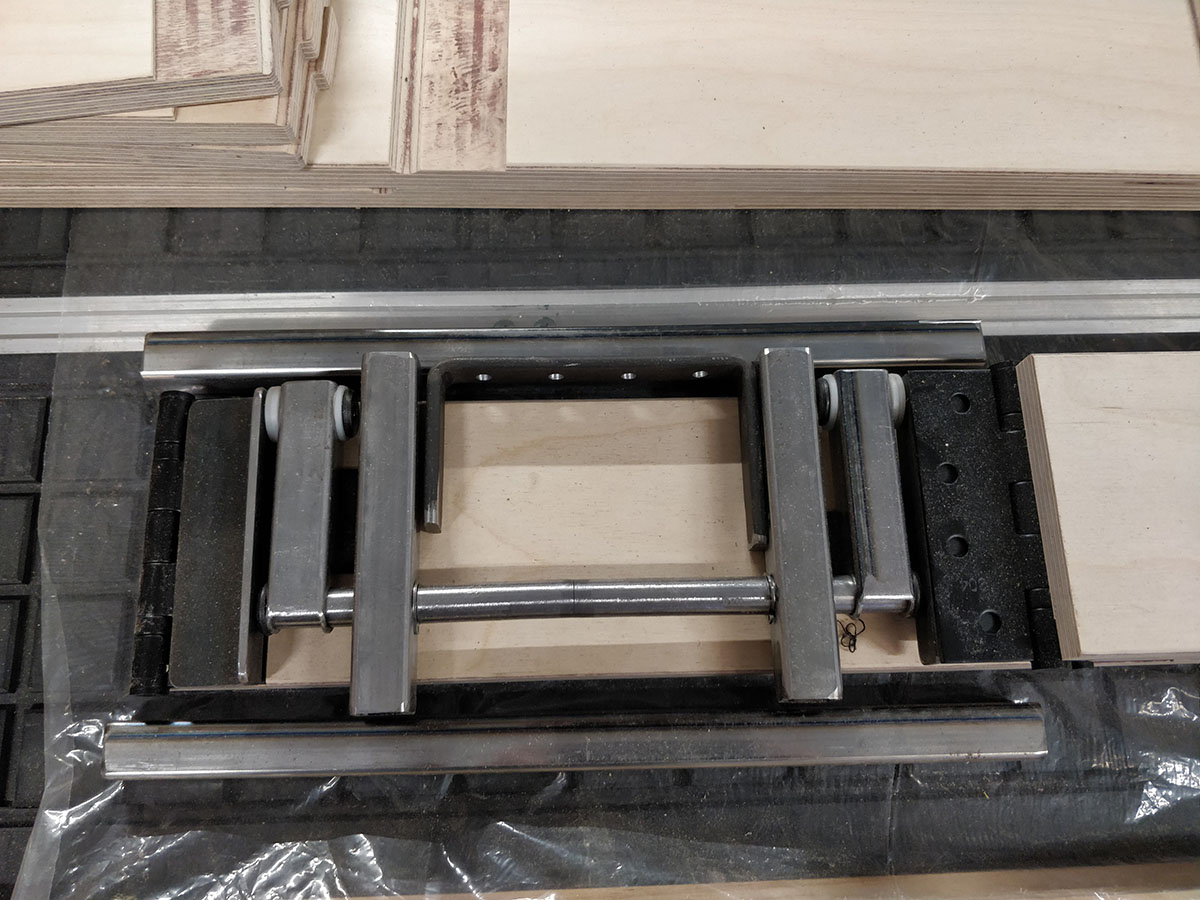
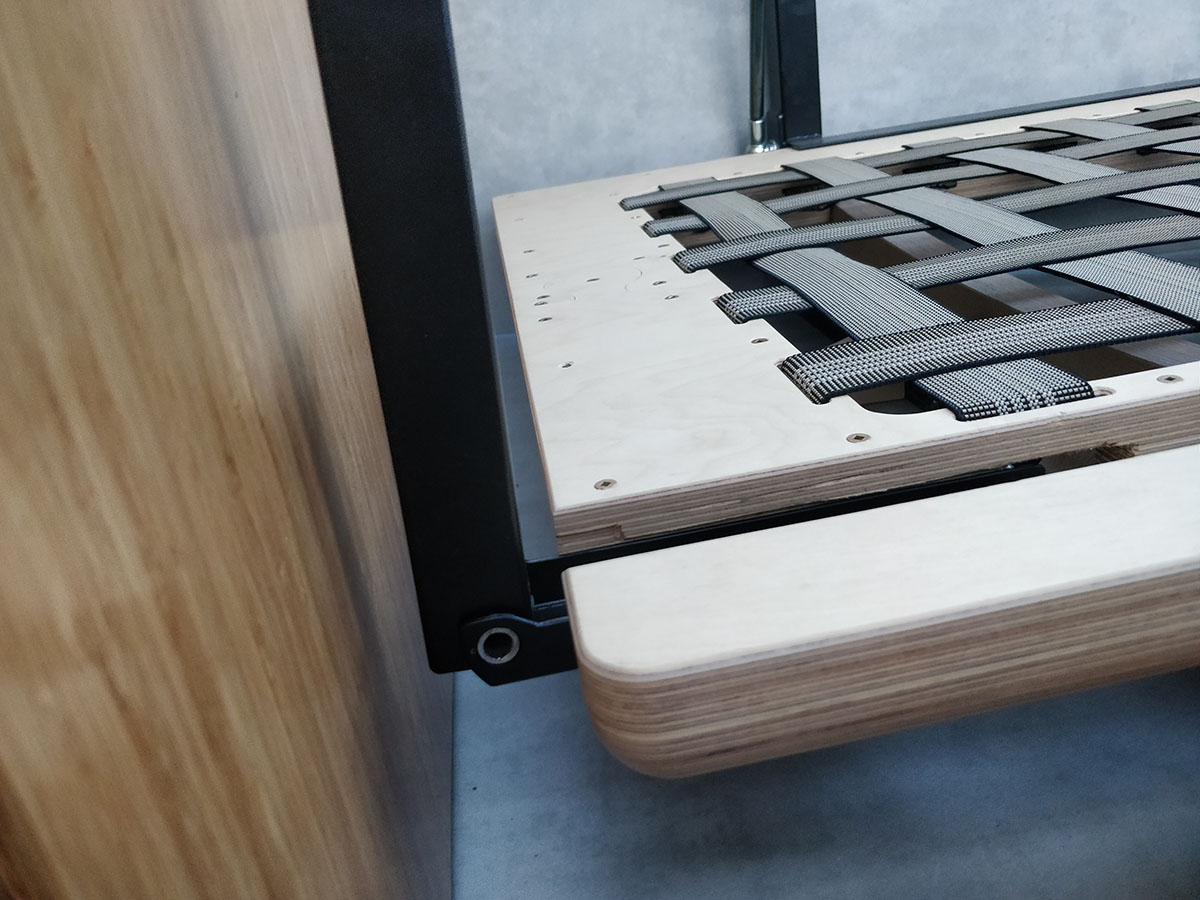
Finished bed parts ready for assemblyAssembling the bedShelving built into bed headAssembling the bed side tables with the AC return vent / grillsFunky ventilation grills for the air conditioning unit at rear of busMaster bed Wiring for reading lights and ceiling light switch controls The hardware on the bed headExtra buttons for ceiling lights and cabinet lights added to reading light units.Bed head storage latches on angle bracketsConnecting the tubing to the fresh water tanksBreather & fill tubes for fresh water tanks.Insulation cut around plumbing on fresh water tanks under bed.Roof hatch cowling painted black and installedDoors fitted to bed head storage compartments.Golden light momentFitting the bed-lift mechanism.Stage one of the bed-lift mechanism.Bed base installed on top of the bed-lift mechanism.Bed base fully raised.
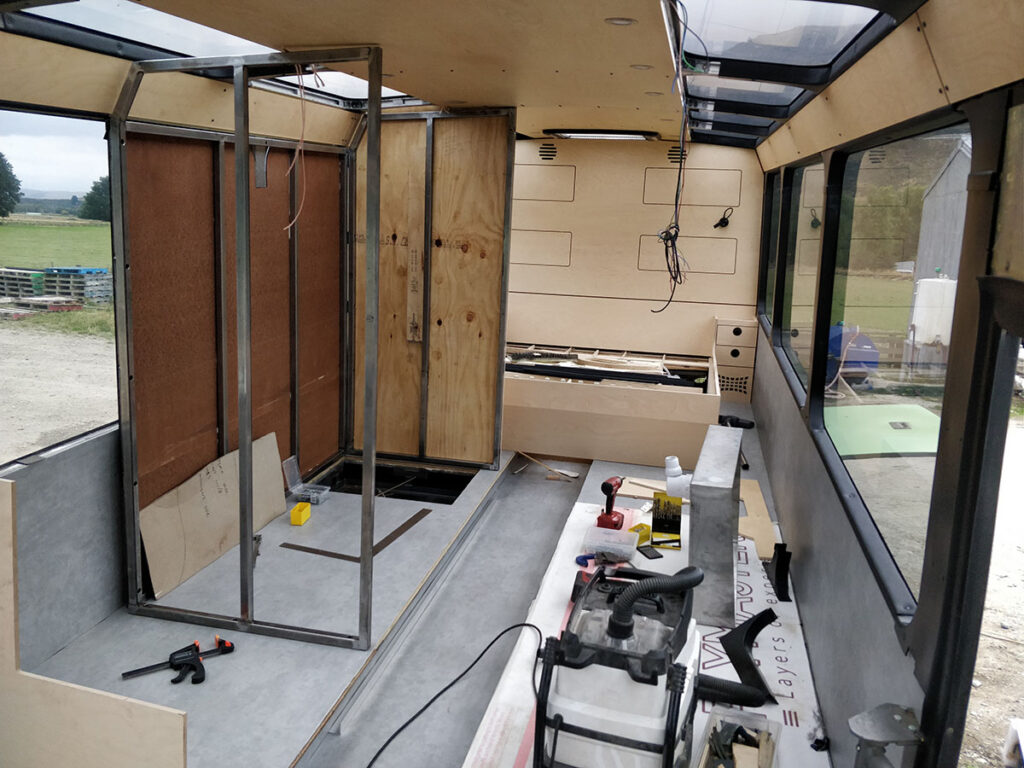
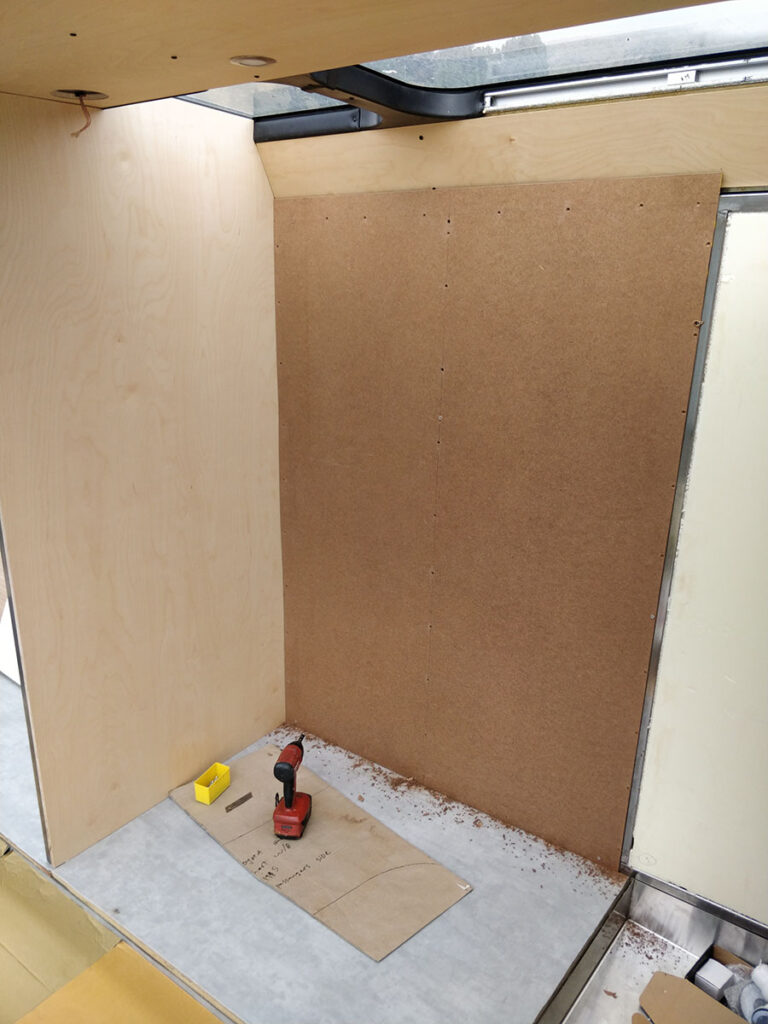
And next we started to build the bathroom, working our way down the bus…
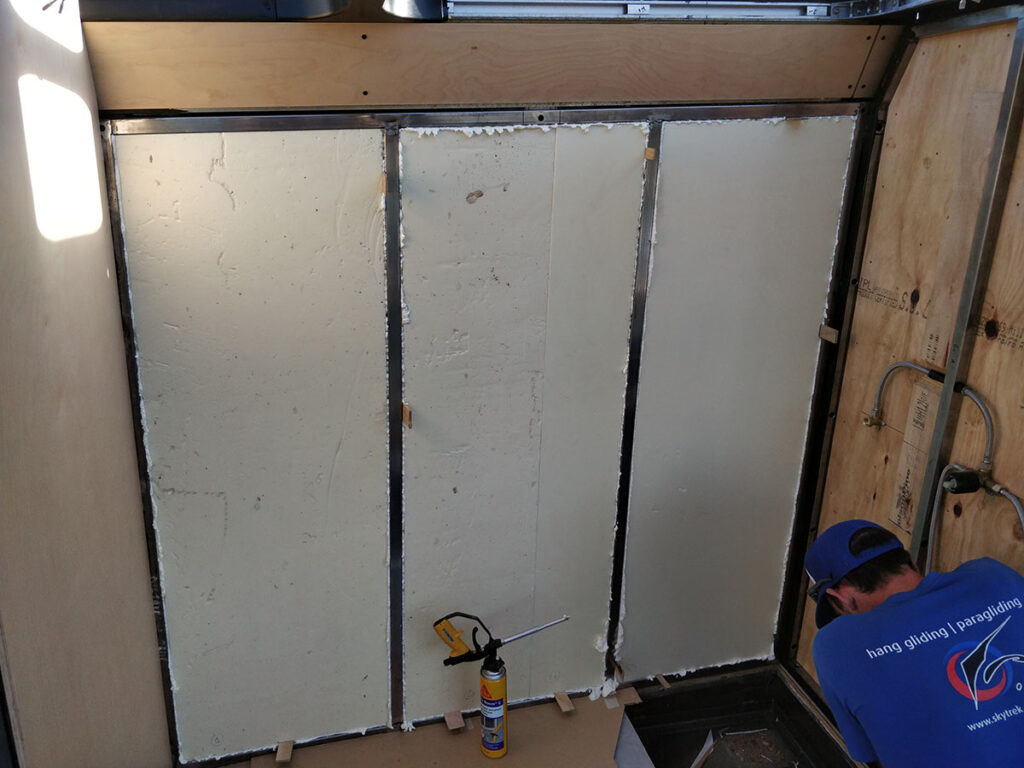
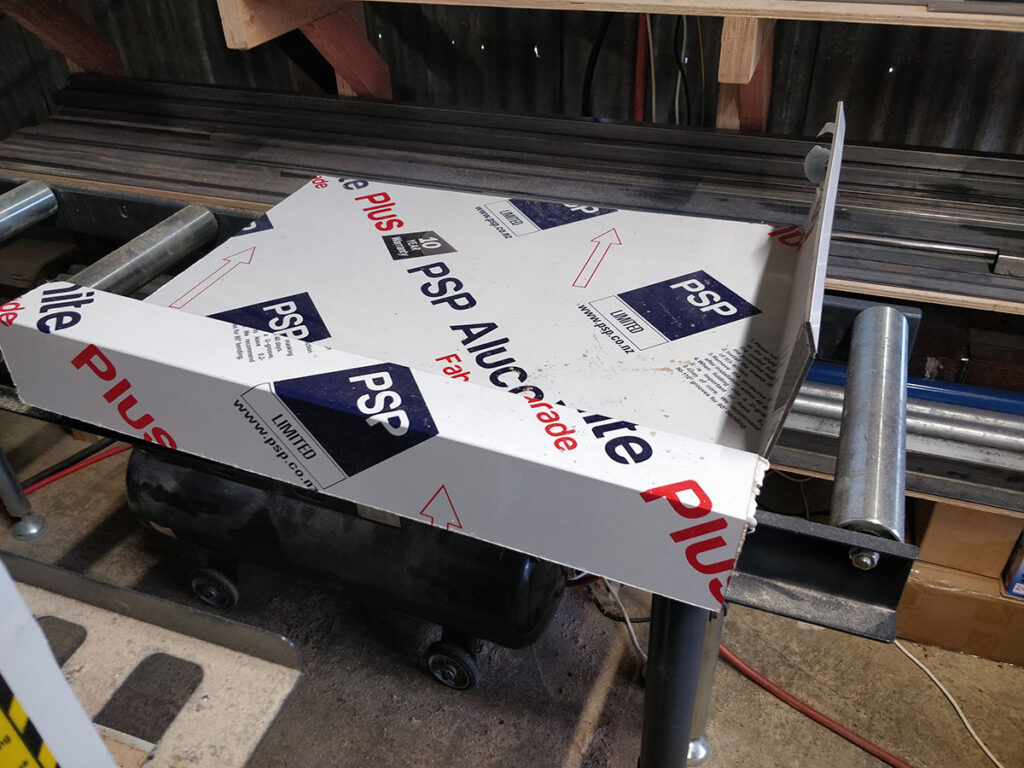
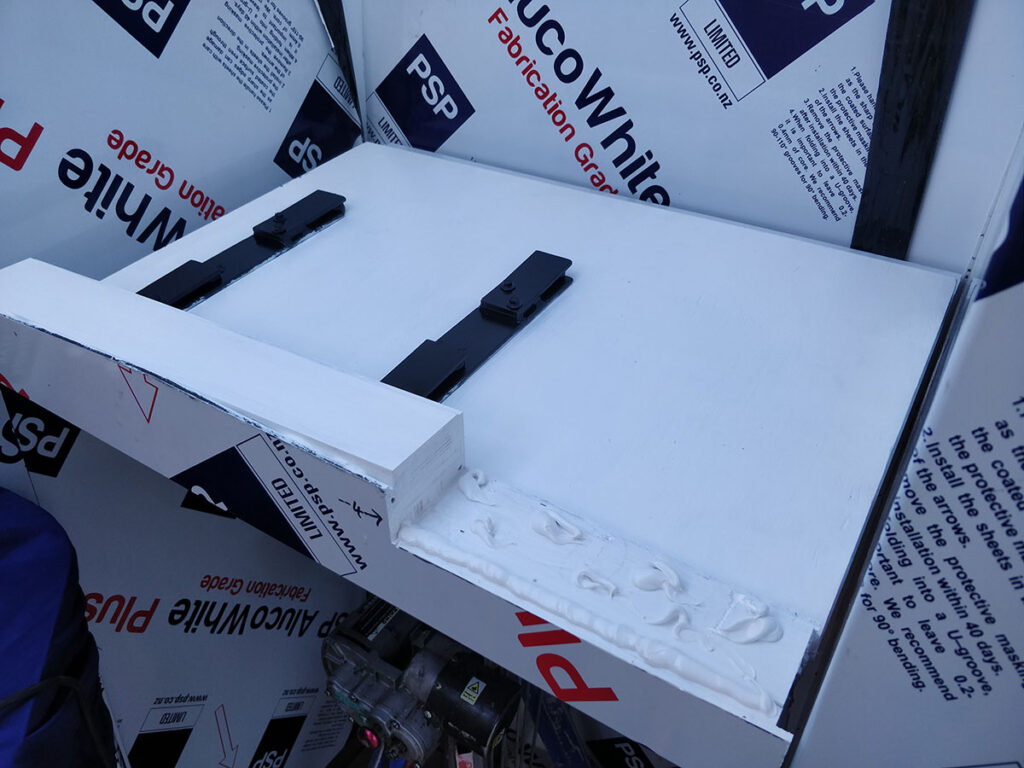
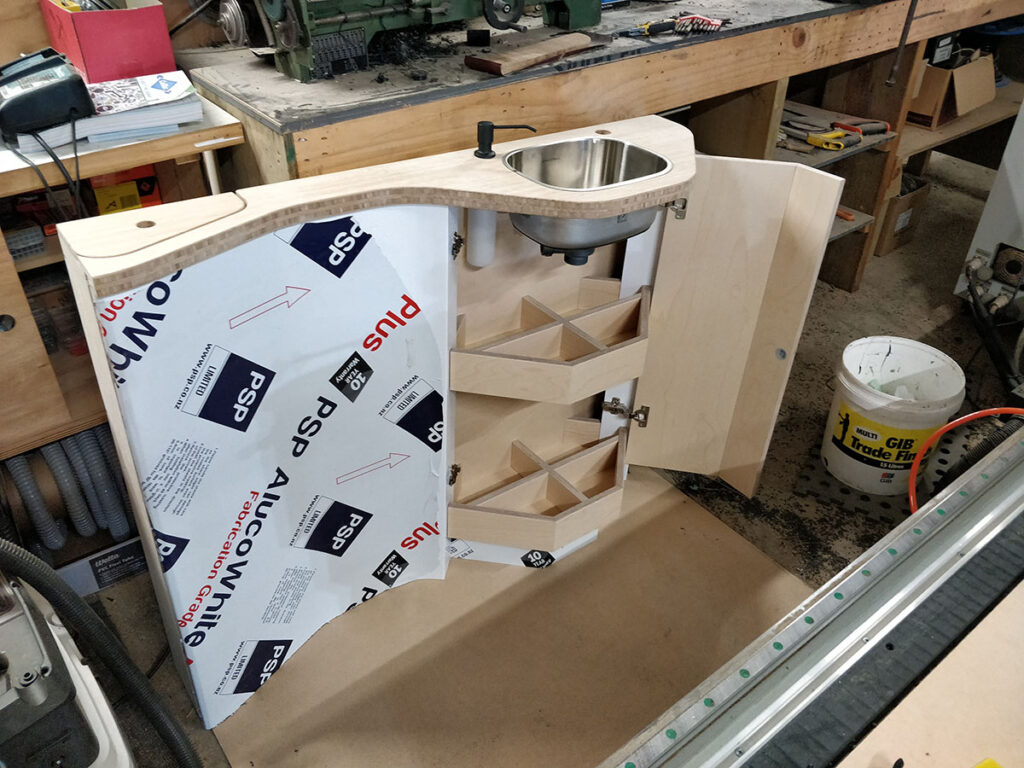
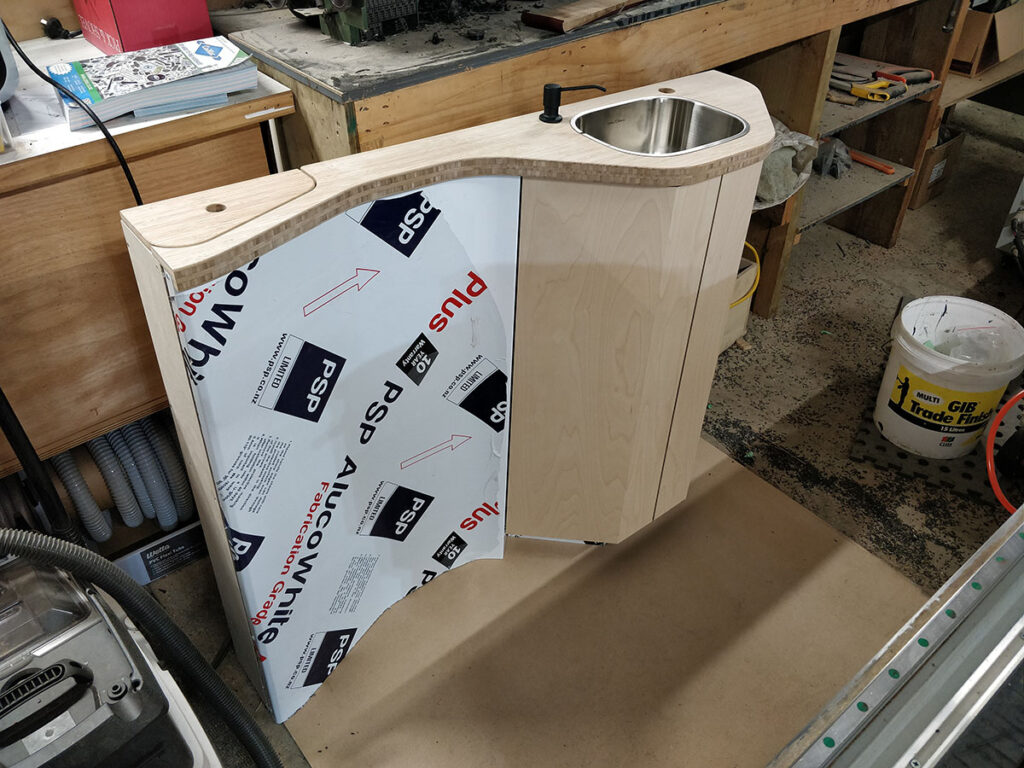
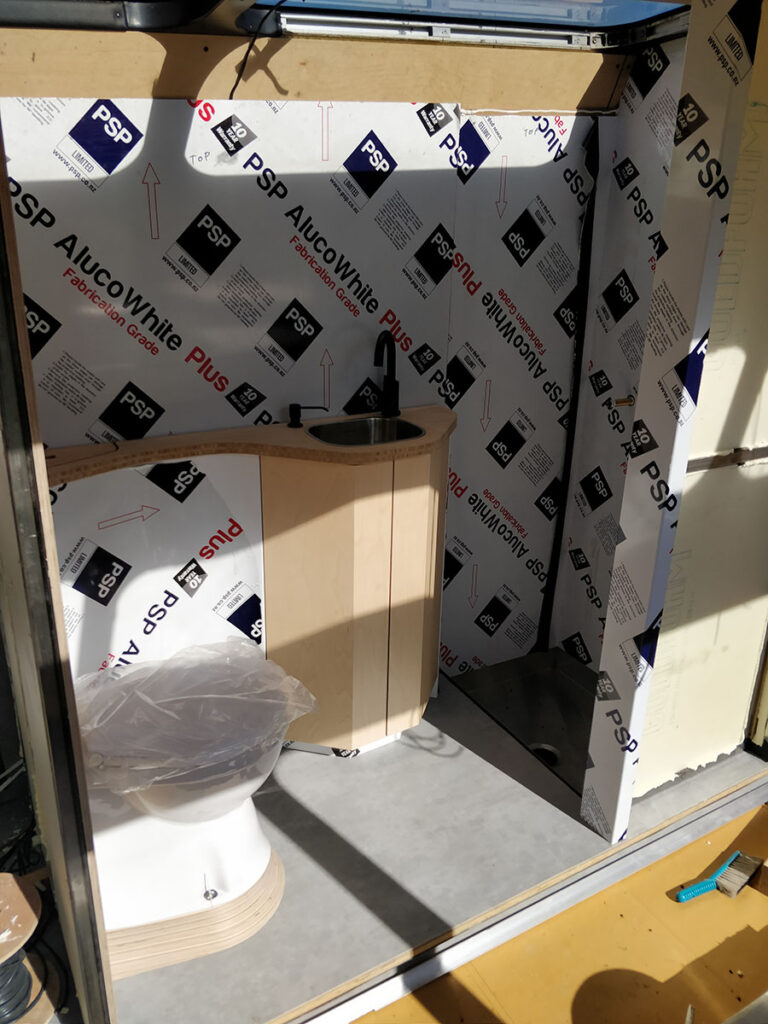
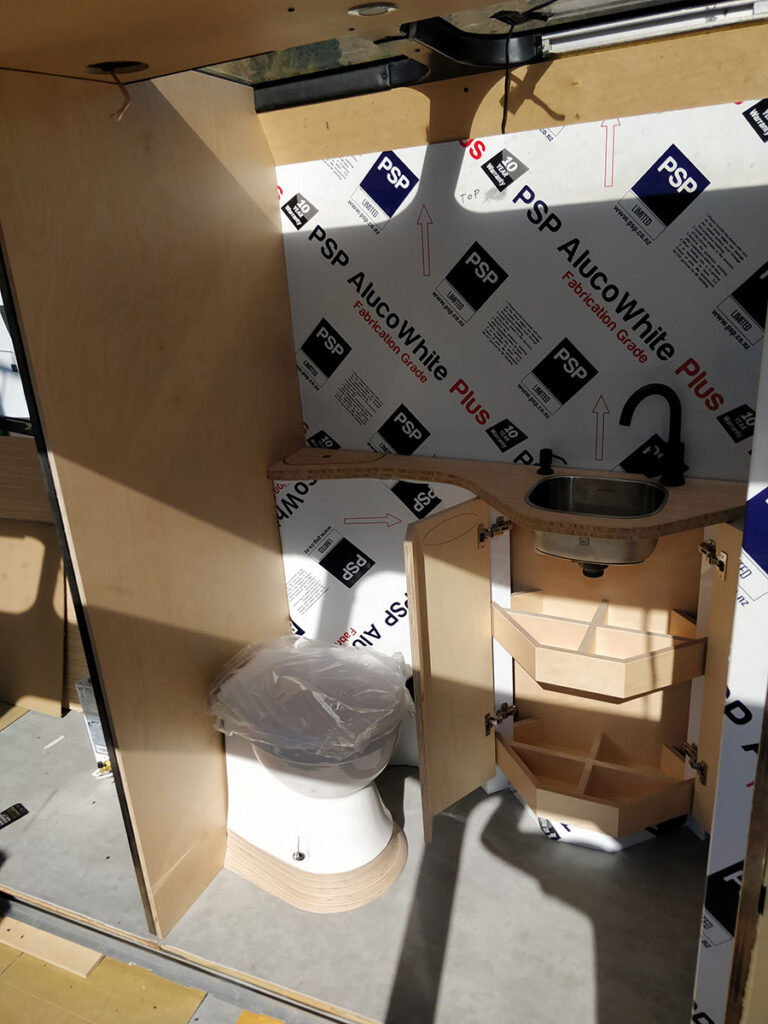
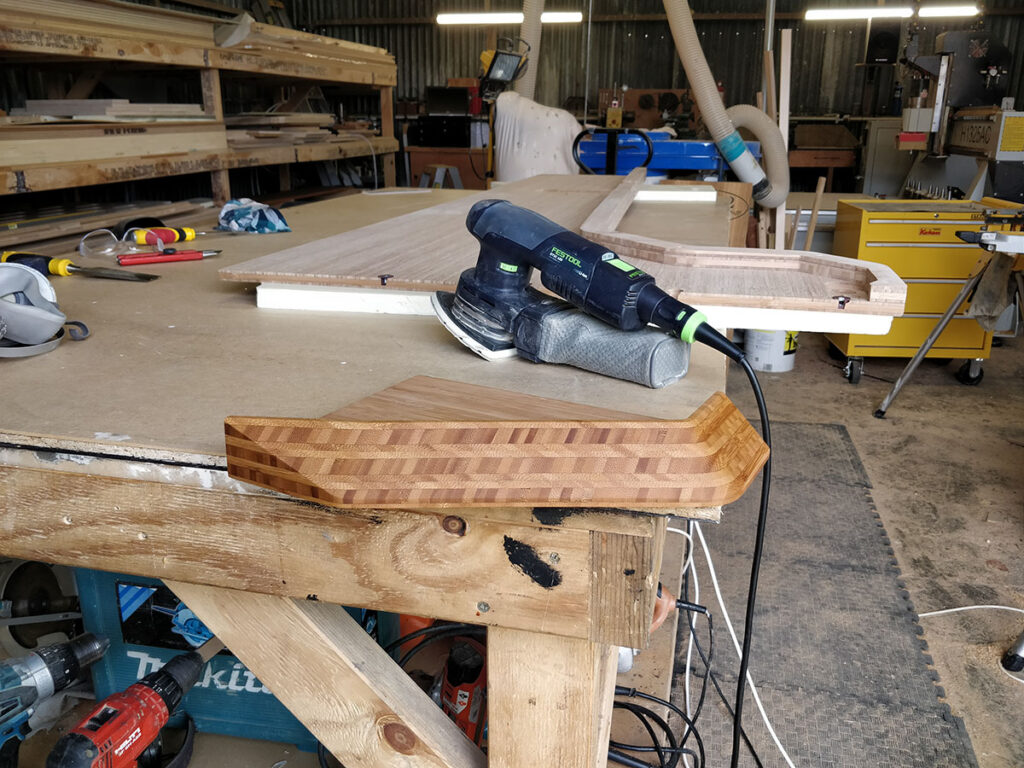
Dry fitting the bathroom wall frame.fitting the back lining on the bathroom wall that will black out against the bus windowsMore bathroom frame installSeeing how the wall looks from the outside after painting it blackFitting the Bamboo kitchen wall lining to the bathroom wall frame.Insulating the bathroom wallsSolar panel wire penetration’s entering into the bathroom / kitchen wall.Plumbing for the showerFloor penetration’s for shower plumbingInsulation around the plumbing for the shower.Folding and gluing the aluminum composite panel wall linings around a form. Bathroom wall liner backings.Gluing the ACP lining to the hardboard.Aluminum composite panel wall linings being fitted in the shower.A tricky folded ACP lining for the shower ceilingThe mounting brackets and glue to hold the shower ceiling panel into place.The mounting brackets and glue to hold the shower ceiling panel into place.The 3 degree Birch ply wedge that we glued up and machined to level the toilet up on the sloping bus floor. Took a bit of sanding.Bathroom vanity shelf parts being assembled.Bathroom vanity carcass taking shape The Aluminum composite panel (ACP) lining of the bathroom vanity after machining so it can be bent around the form of the vanity.The vanity coming together. Fun mitered doors!Sitting 3 degrees out of level on the workshop floor ready to go into the bus.Bathroom coming together now with vanity and toilet installed.Doors open shot.Bathroom light switch plate with fan and macerator pump buttons.
We had to tend to re-upholstering the window trims along the way and Leo became pretty good at upholstery jobs and re did the whole front cab area around the front windscreen also!
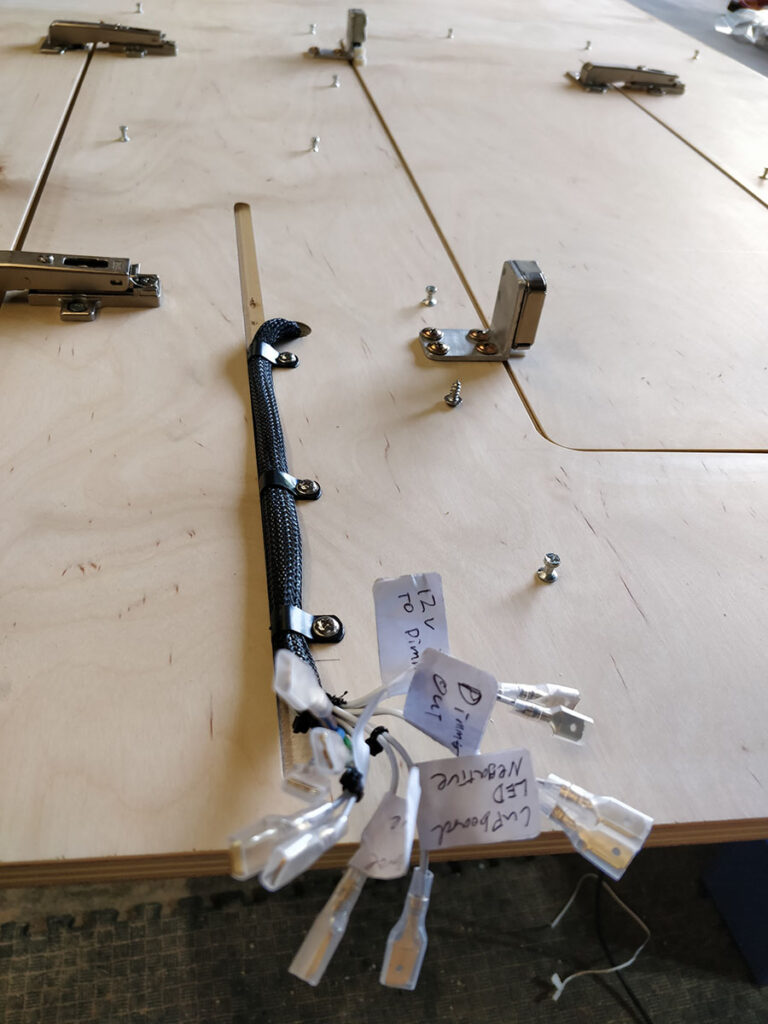
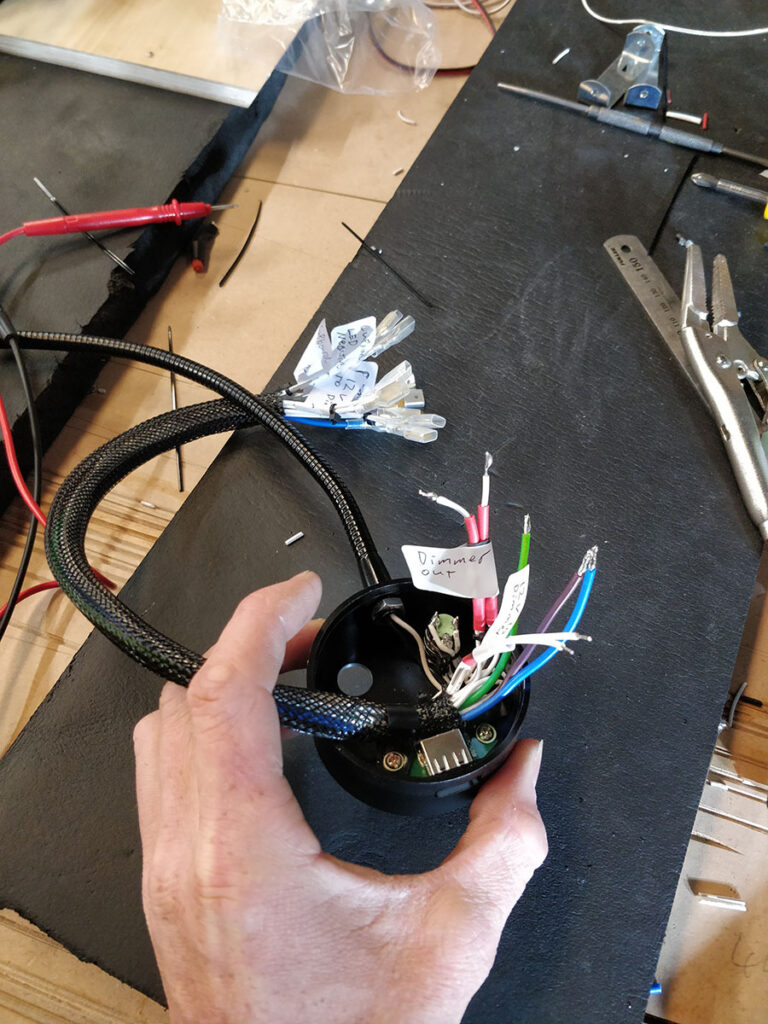
Leo spraying contact adhesive onto the skylight trims.Leo re-upholstering the original skylight trims.Dimmers mounted into the skylight window trim above the passenger seats for the corresponding ceiling light for that seat row..
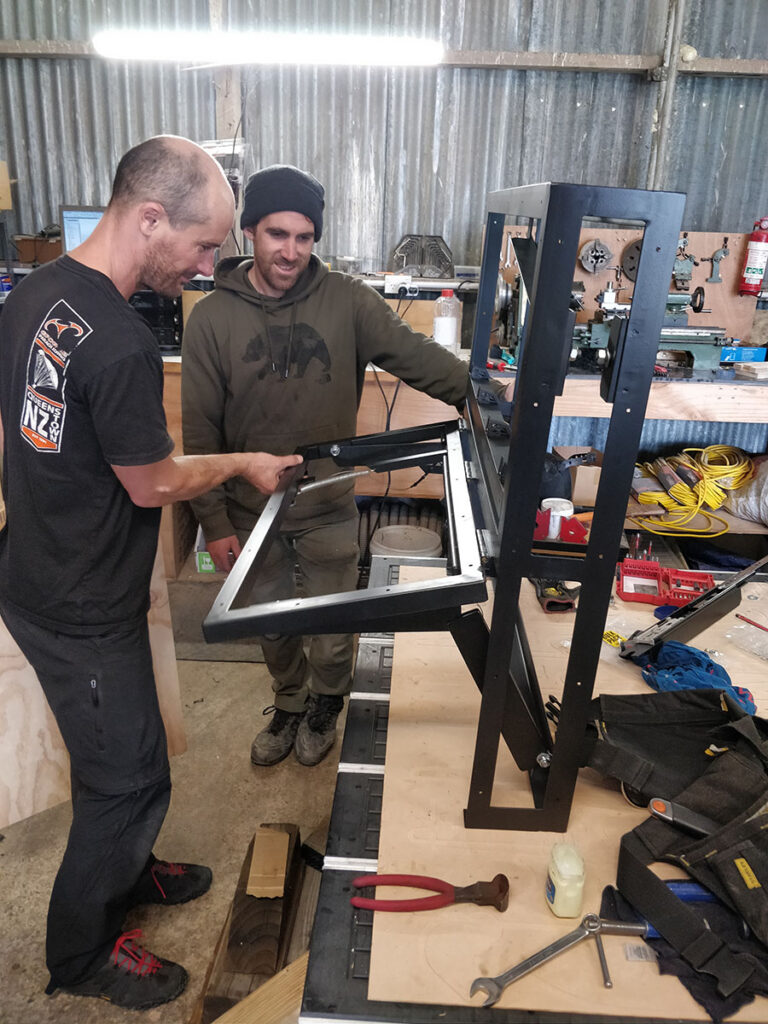
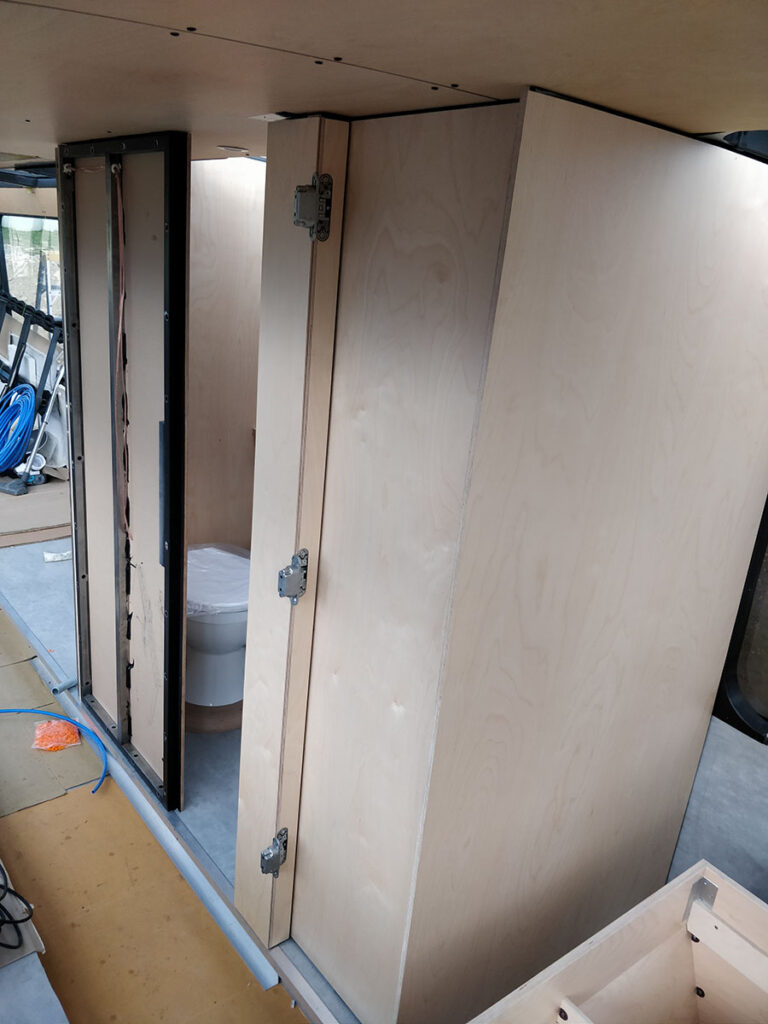
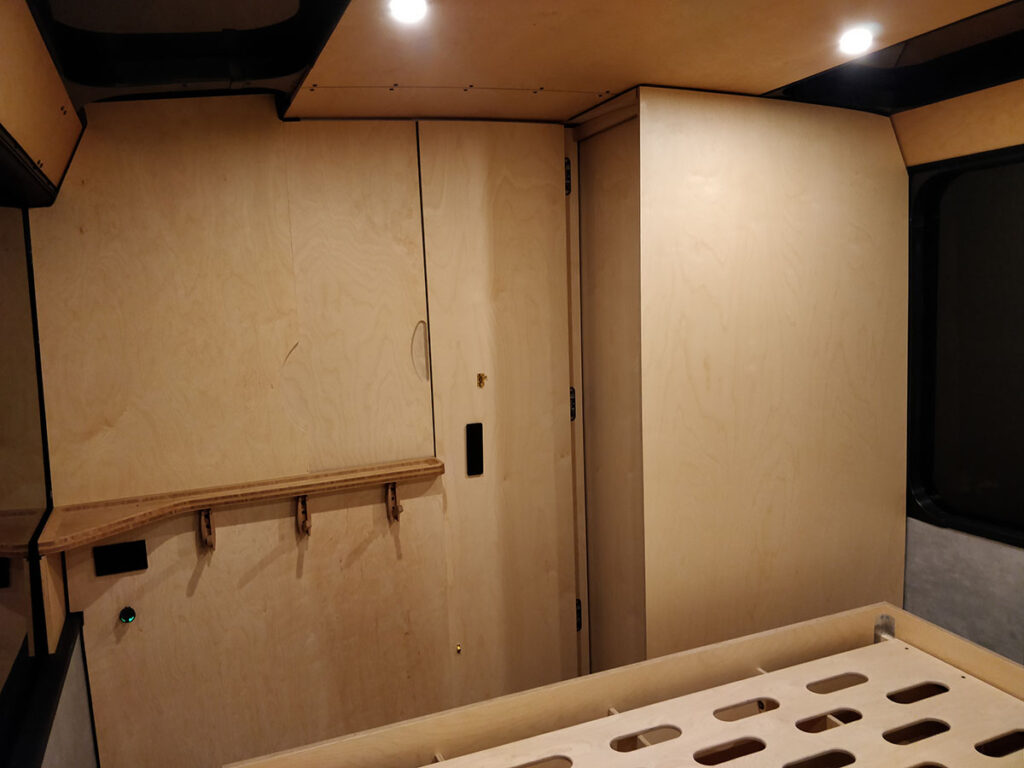
The final wall for the bathroom gets pretty complicated just here as it is to include the bathroom door and the door for the master bedroom which when open is to blend into the bathroom wall as if it is just a continuation of the negative detail wall linings. it is also meant to perfectly meet with a half height cavity slider coming out of an opposing wall. The goal here was to keep an open and continuous ceiling lining and spacious feeling flow but still be able to close off the master bedroom fully for privacy.
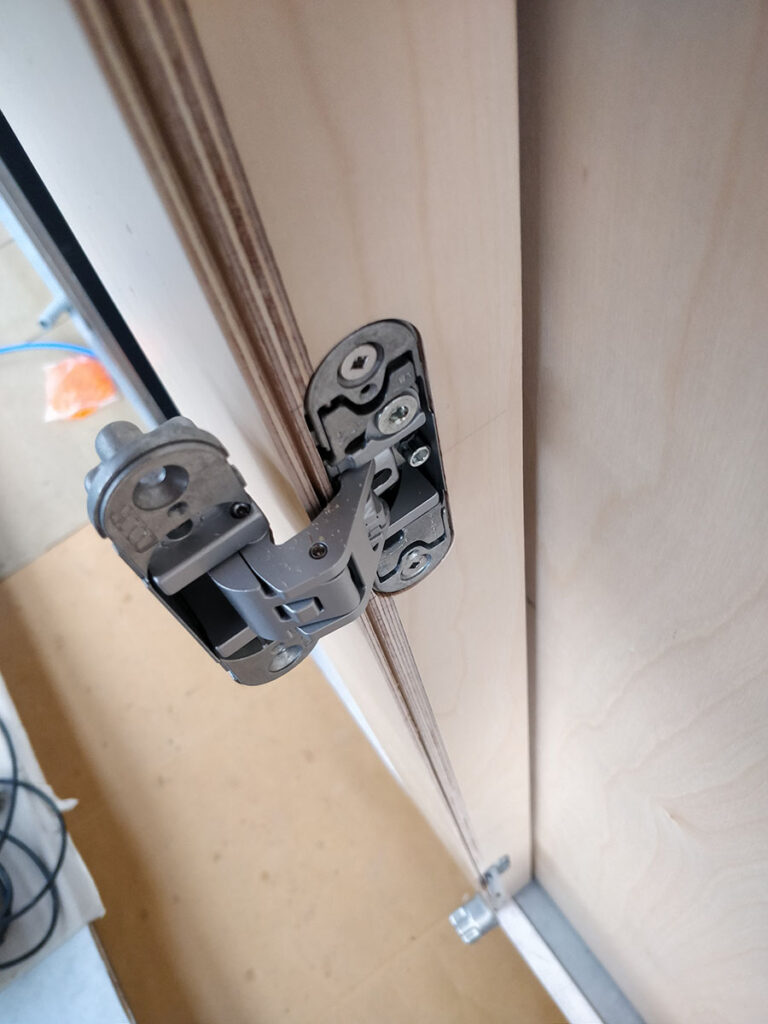
Leo fabricating the ambitious seat/wall/door unit frame.Leo showing his frame fabrication of the “wall/door/seat unit”The pocket in the bathroom wall for the master bedroom door to open into.These hinges are cool and they don’t protrude allowing a clean continuation of the negative detail.The master bedroom door has a sliding tongue inside it that extends down to close the gap under the door when it is in the closed position across the walkway of the bus. The master bedroom door when open (stashed in the bathroom wall)Master bedroom door, closed with its tongue outMaster bedroom door, closed with its tongue out against the “wall/door/seat unit”First test of concept hereEngineering the cavity slider that’s built into the wall/door/seat unit and closes against the master bedroom door.Bamboo cill trays for the wall/seat/door unitStaining and oiling the bamboo cill trays.Adding the negative detail to the edge of the cavity slider where it meets with the bedroom door.Timber inserts in the bathroom door to allow for hinge mounting.Lock mechanism in the toilet door. so we can match the handle hardware style on the already unique master bedroom door.Bathroom door with linings glued onto the frame.Painting the exposed bathroom door frame edges black.Completed bathroom wall & flush doorsGluing the wall liner onto the bathroom wall frames
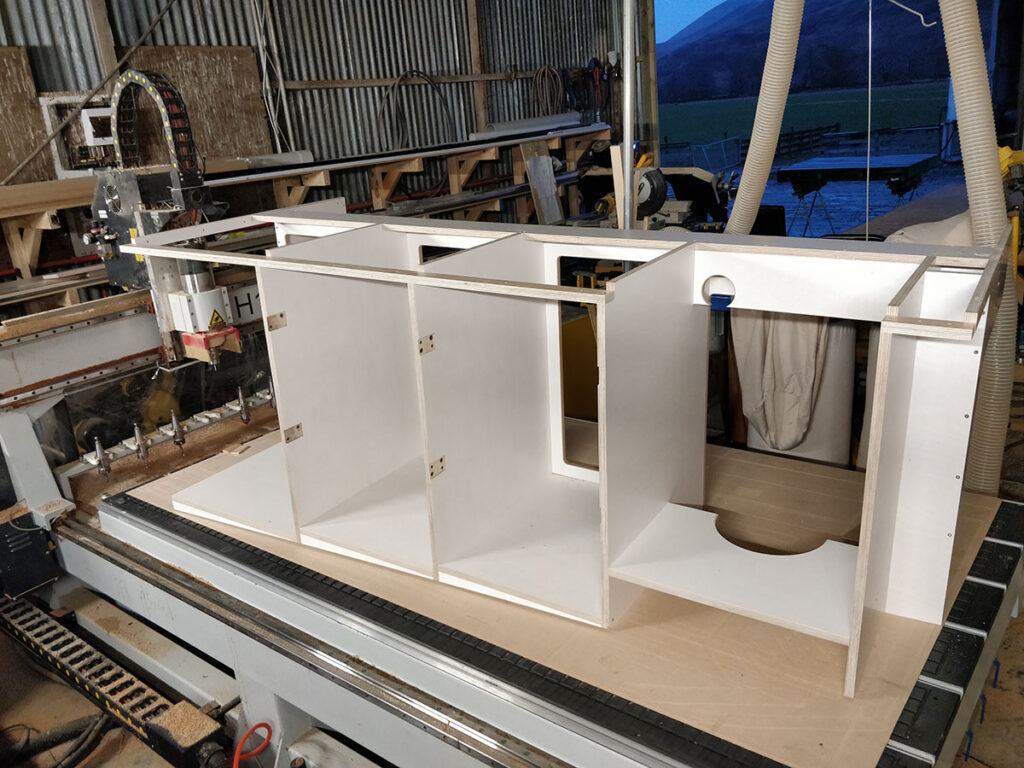
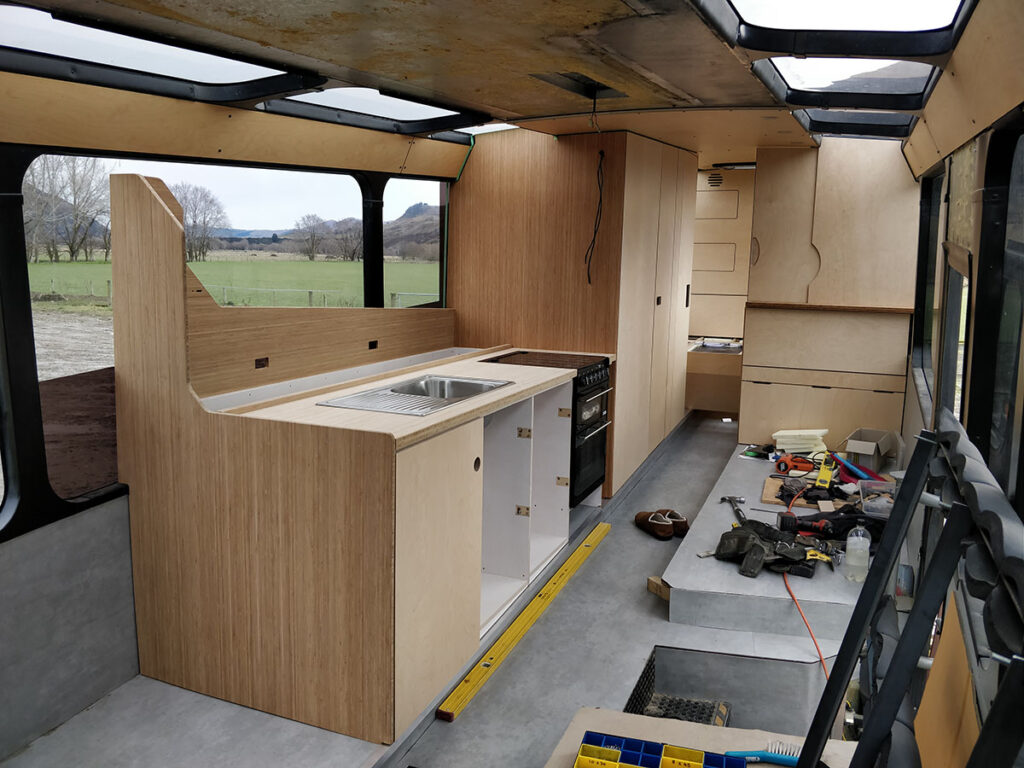
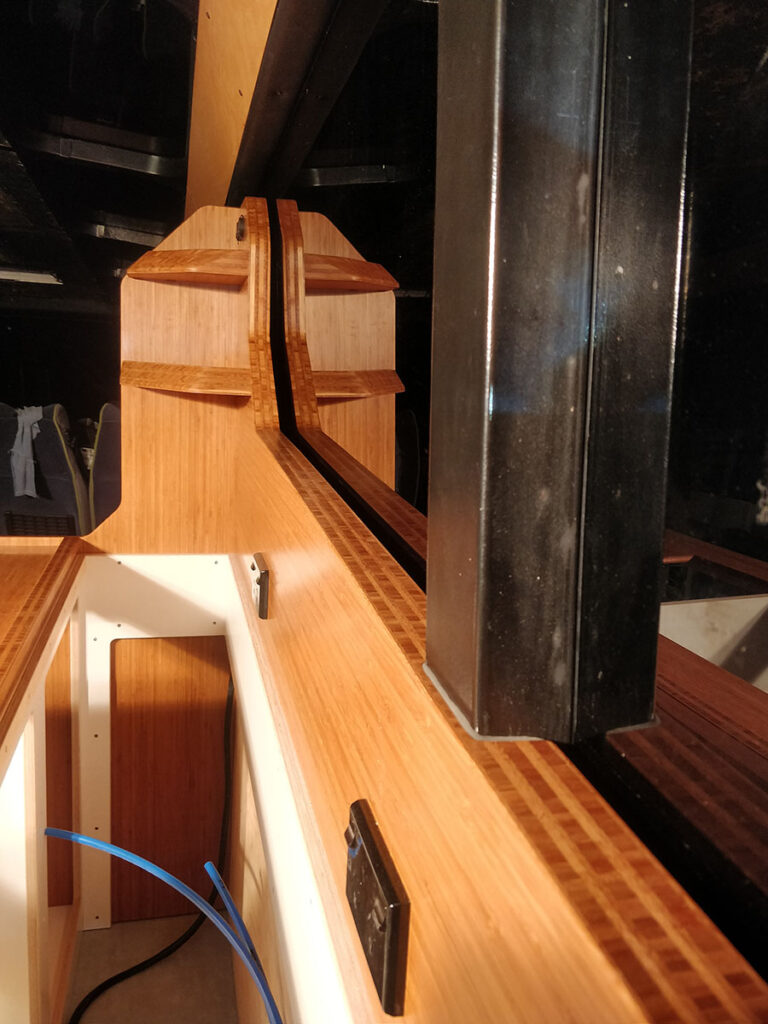
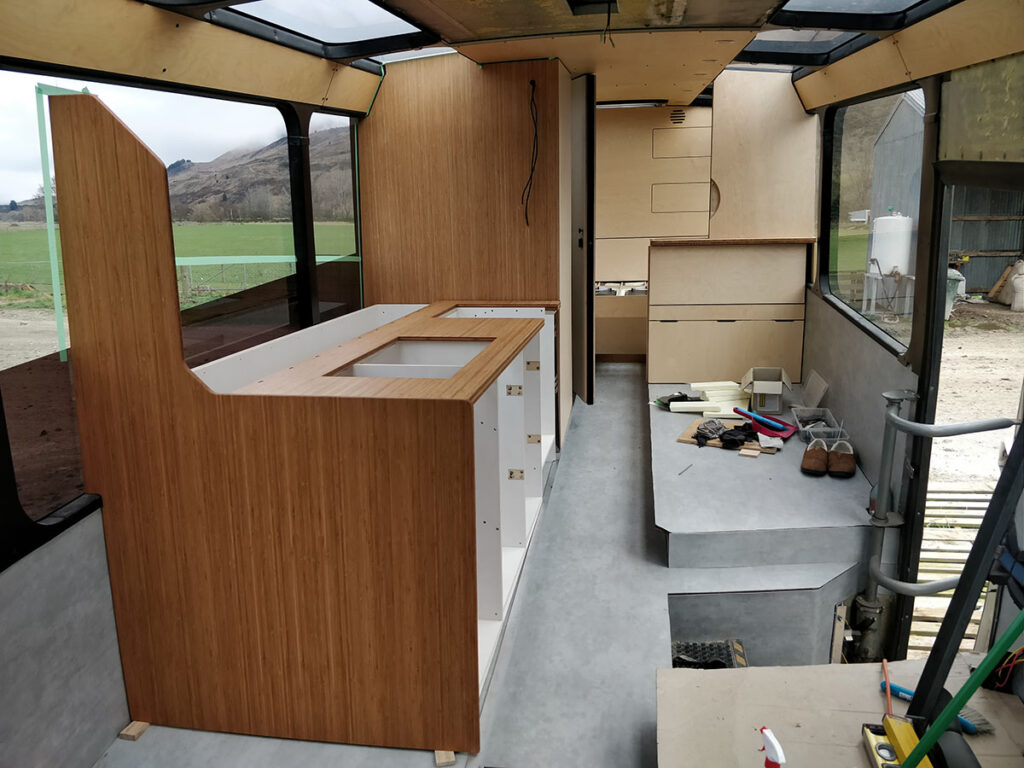
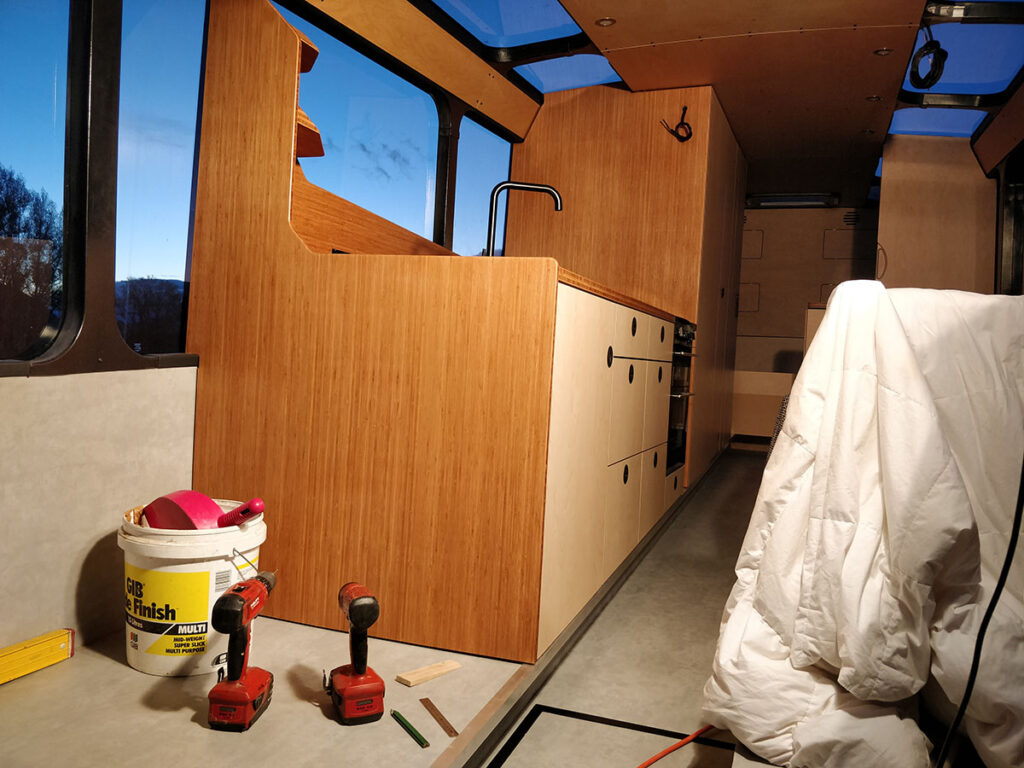
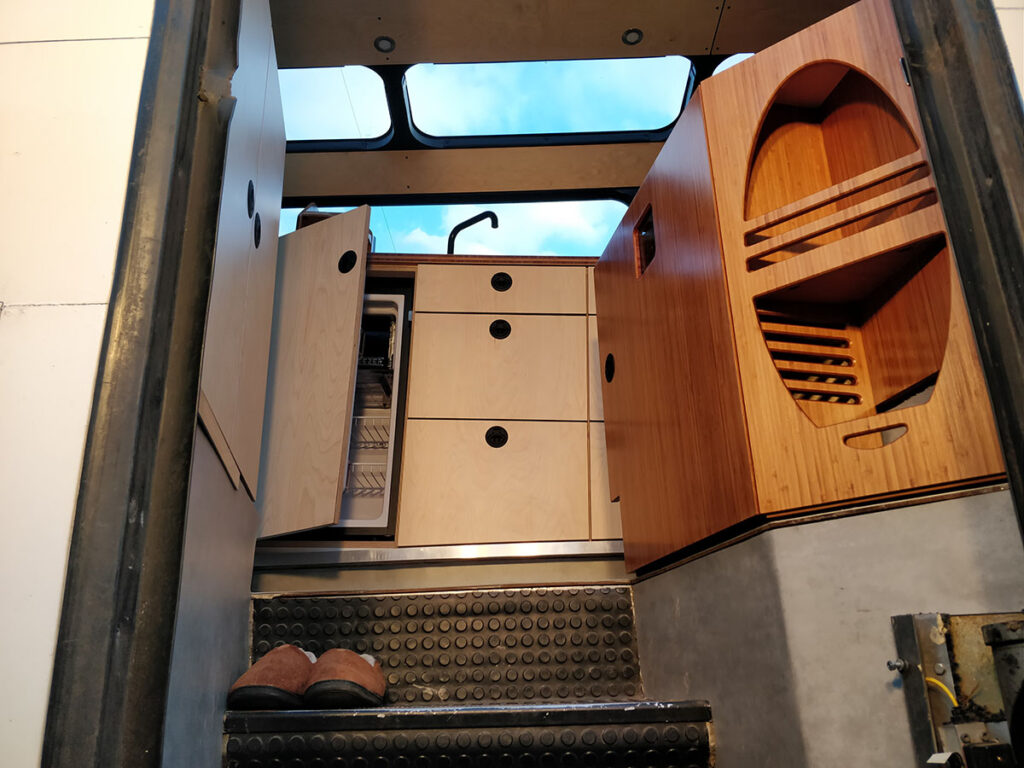
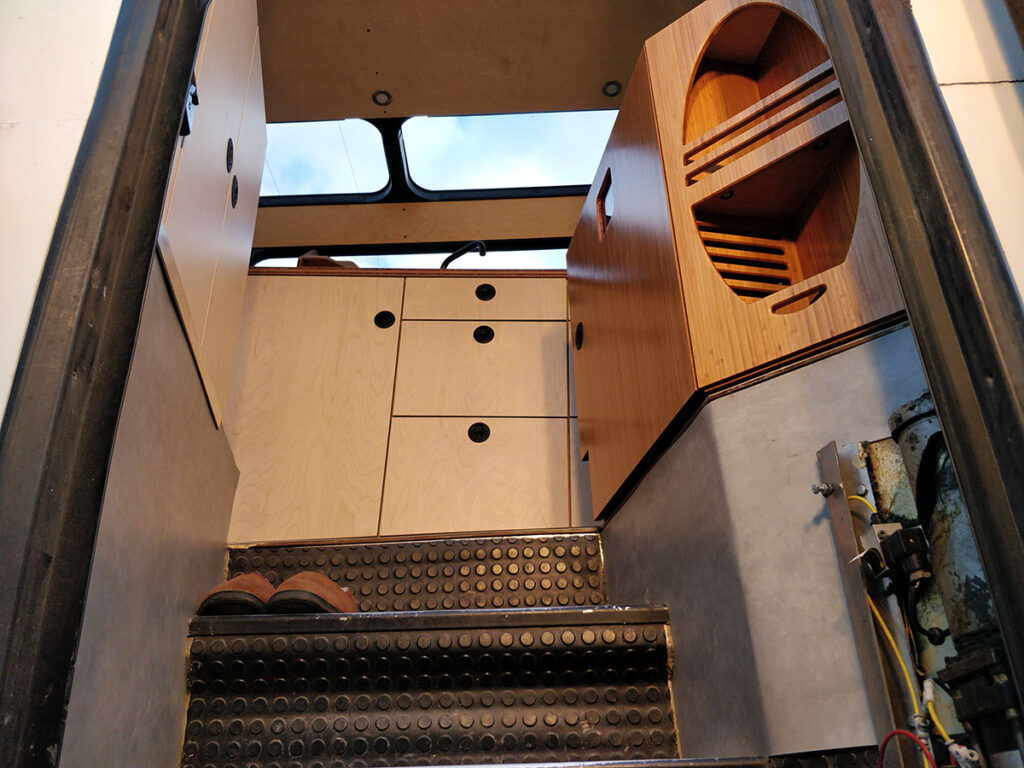
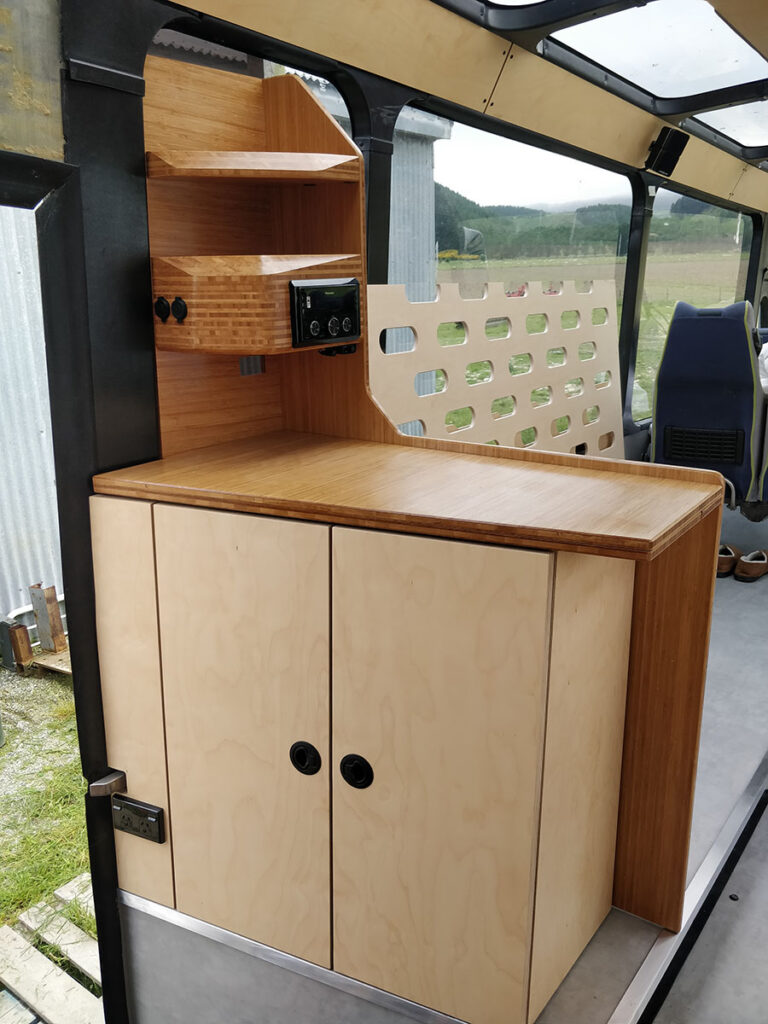
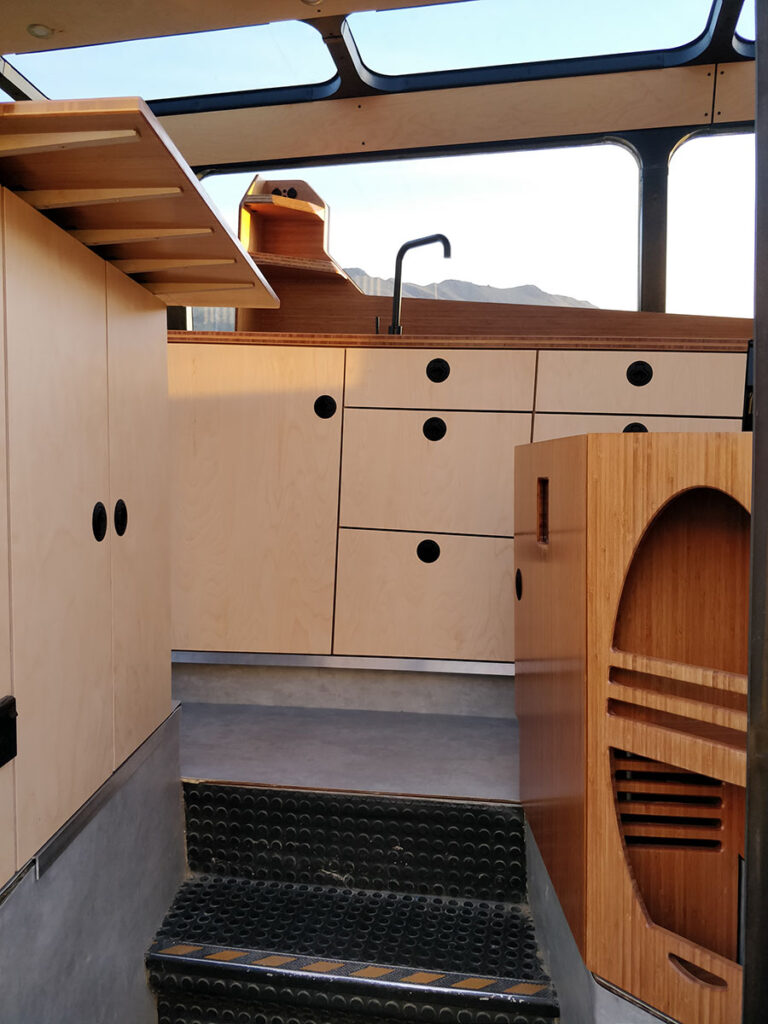
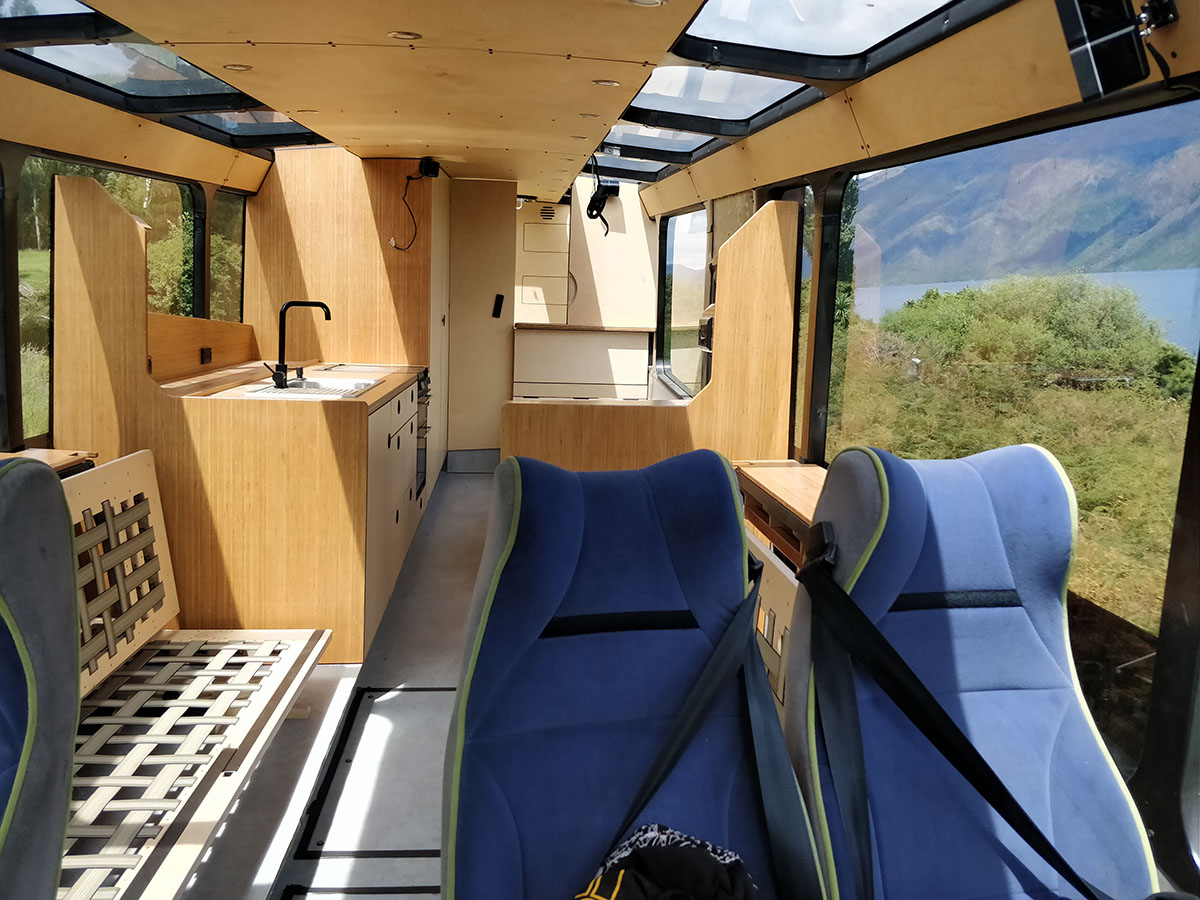
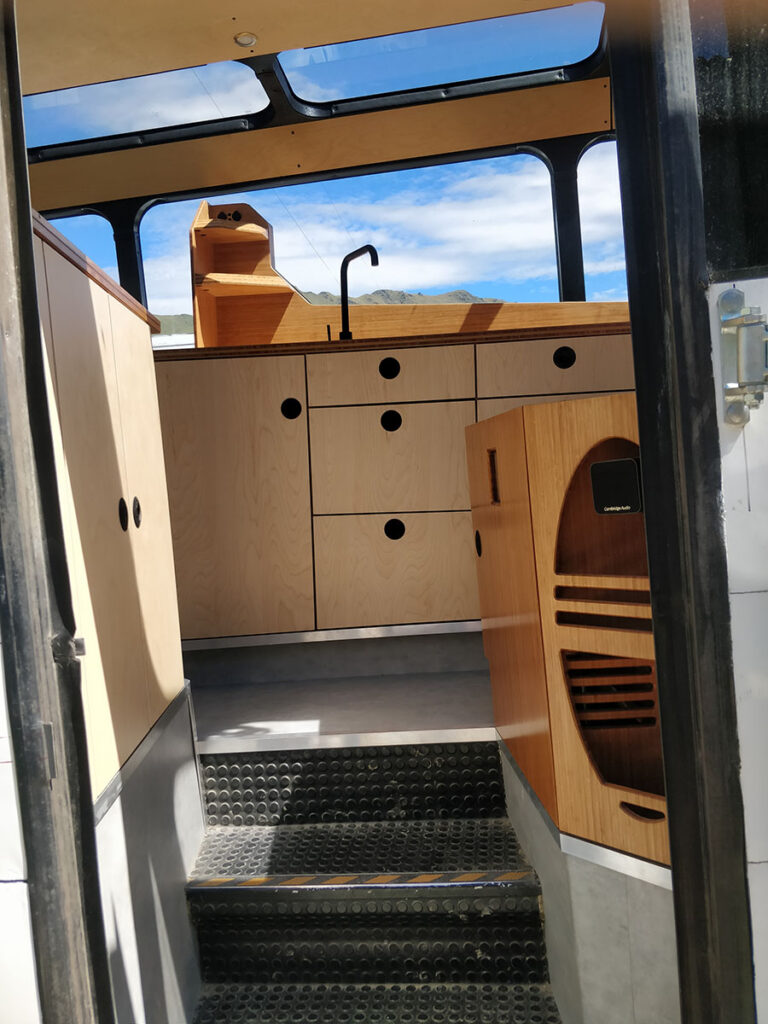
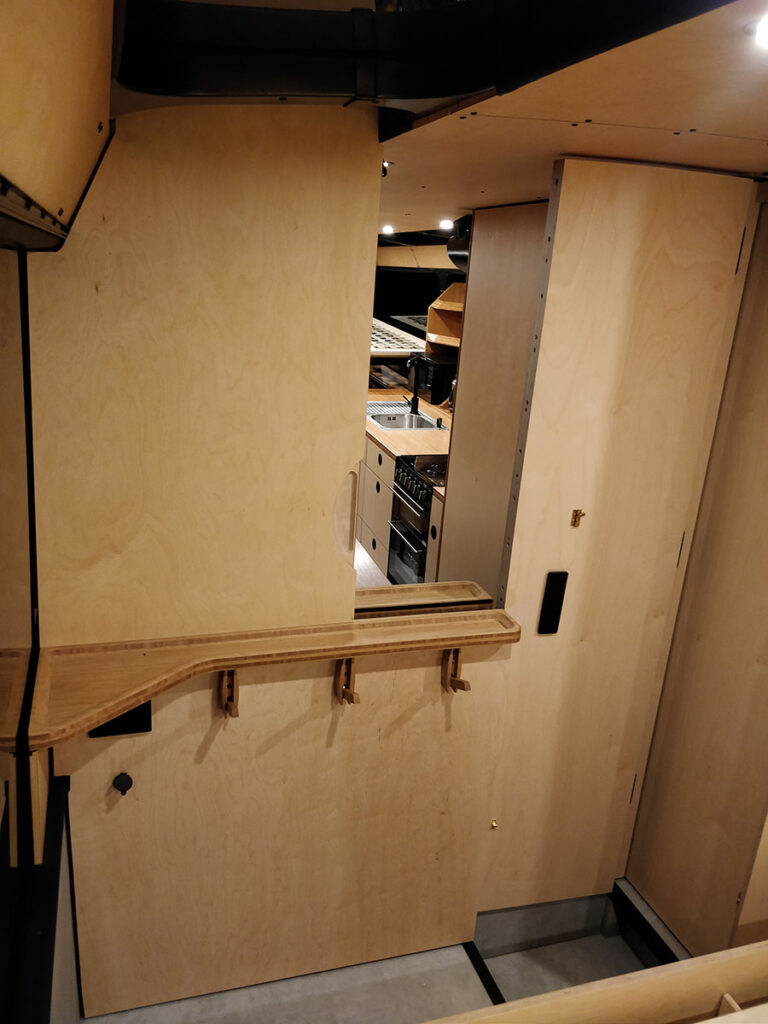
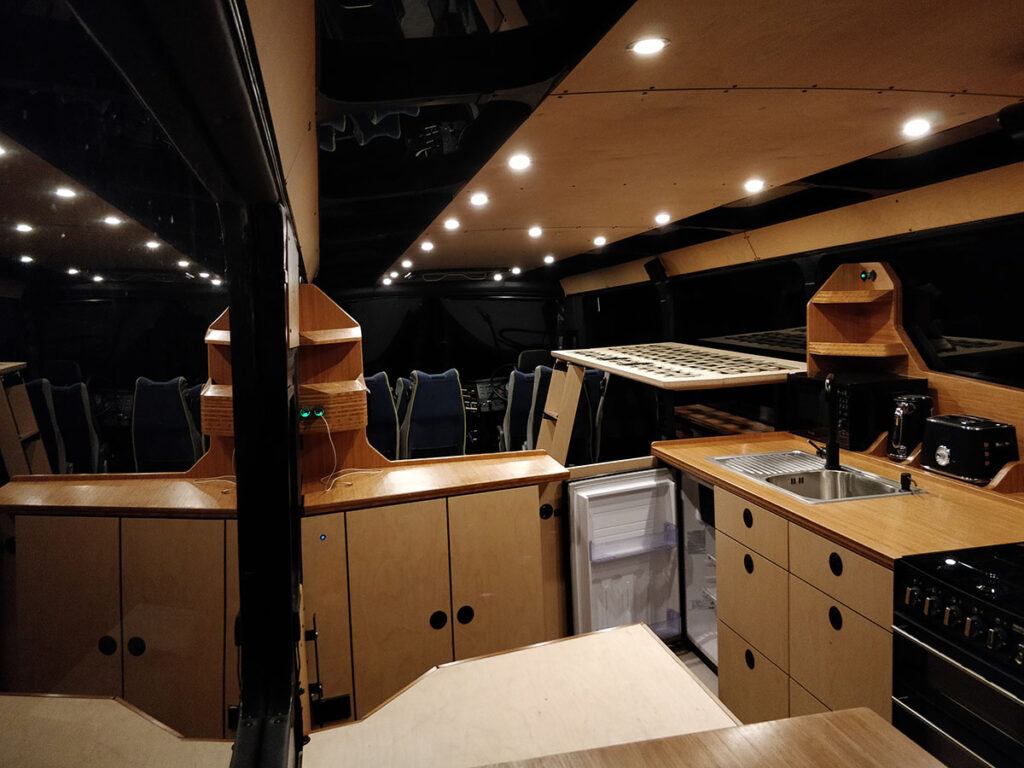
After the door adventures it was time to build the kitchen. I wanted to play with the 3 degree angle a little bit since the whole bus was sloping down towards the front and all the furniture is built to be level. So I we choose to slope the kitchen splash backs top edge 3 degrees off level in the other direction to the floor slope which gives it a bit of a funky Puzzle world disorienting feeling when your walking up the isle next to the kitchen.
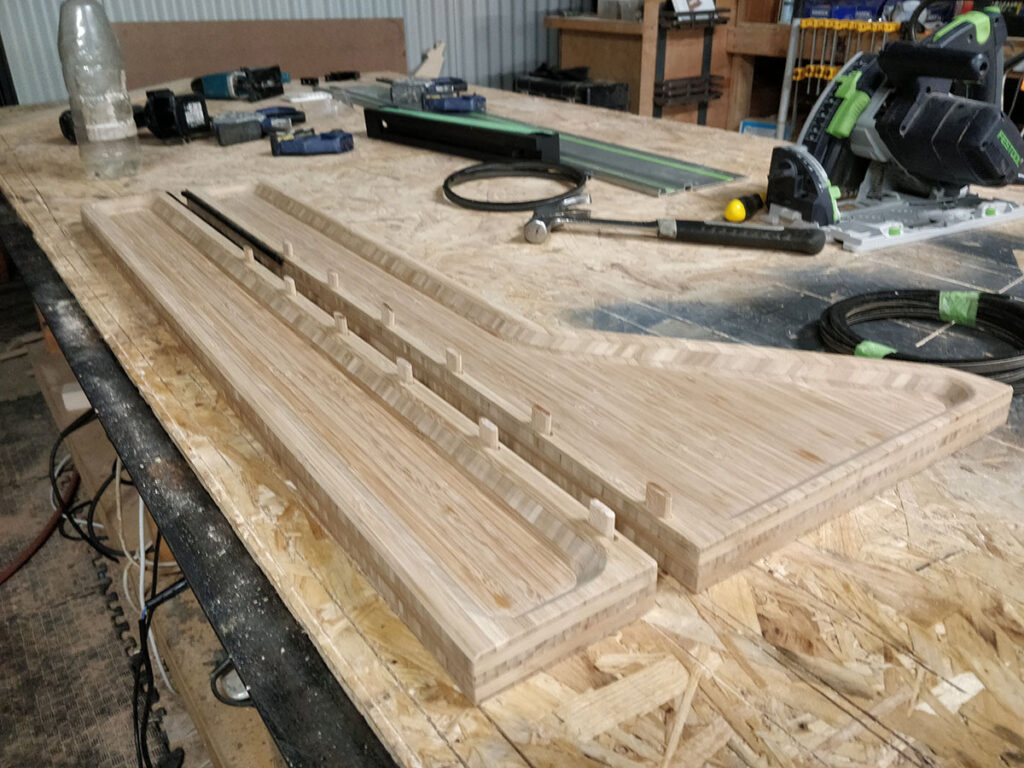
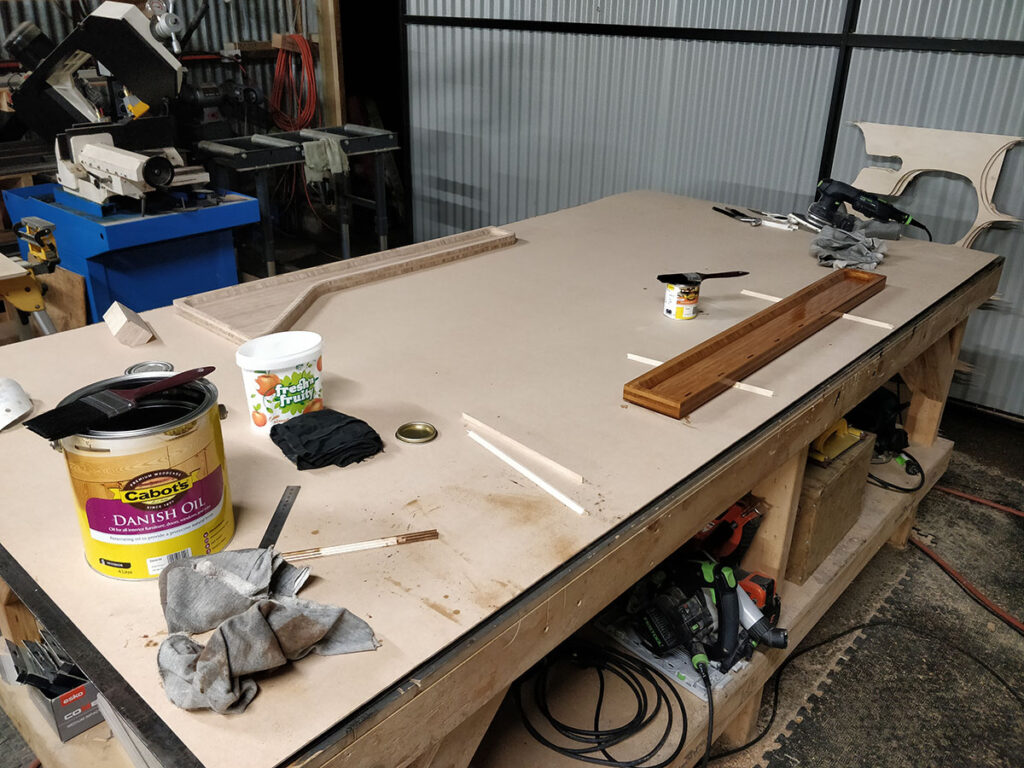
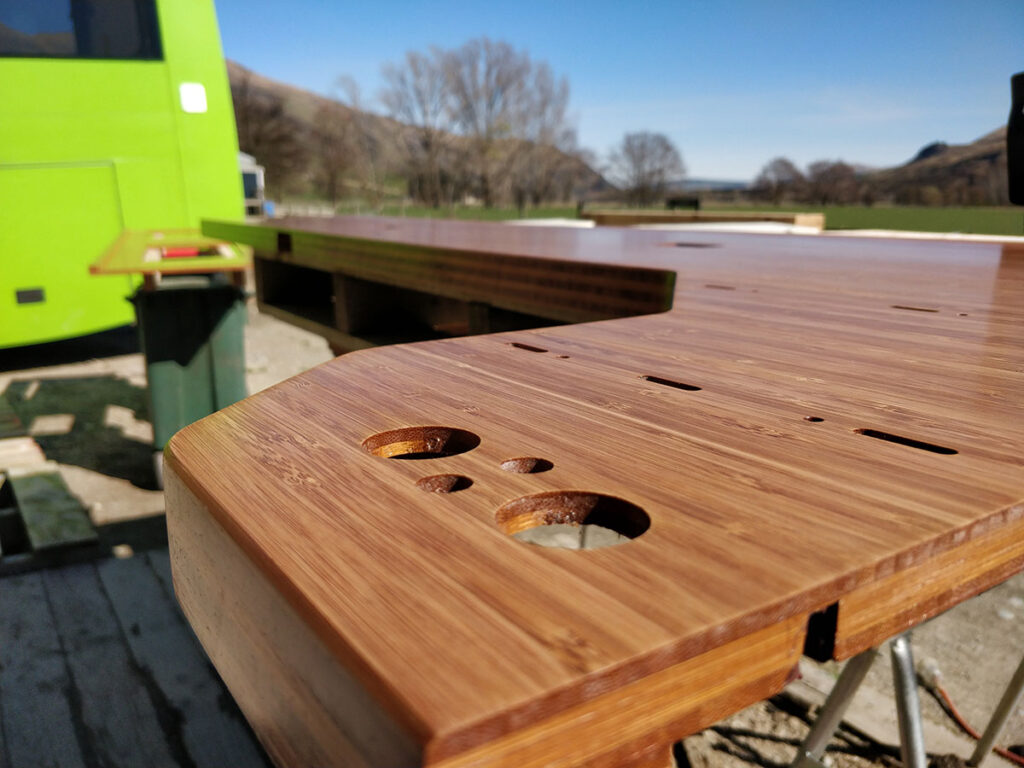
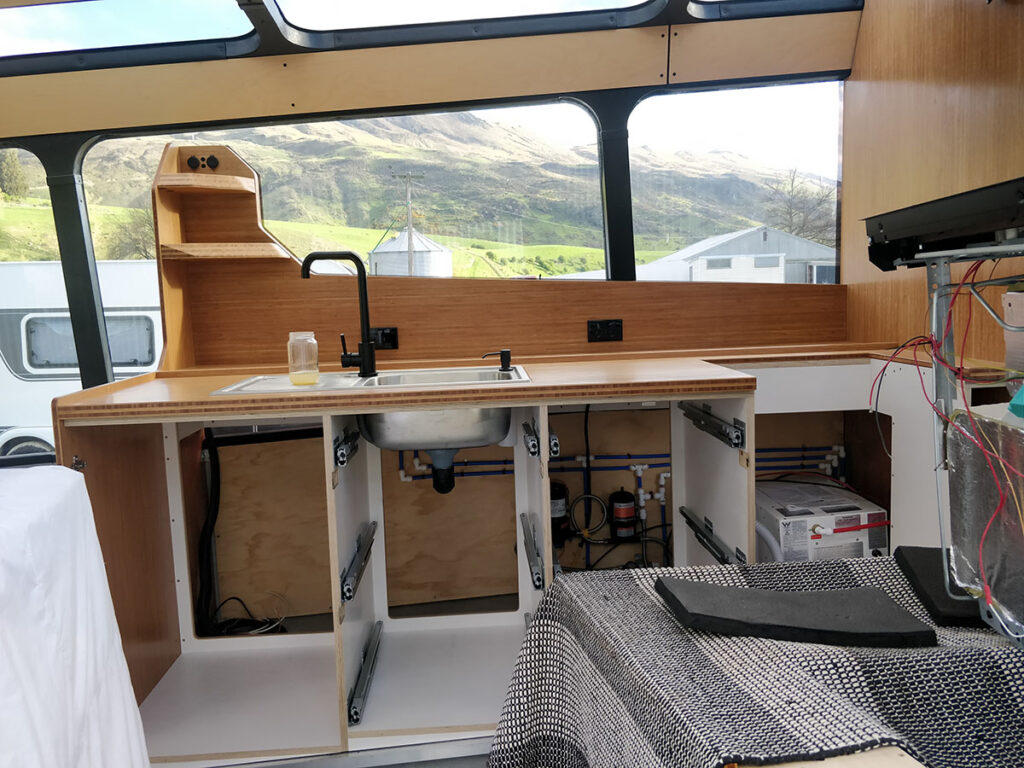
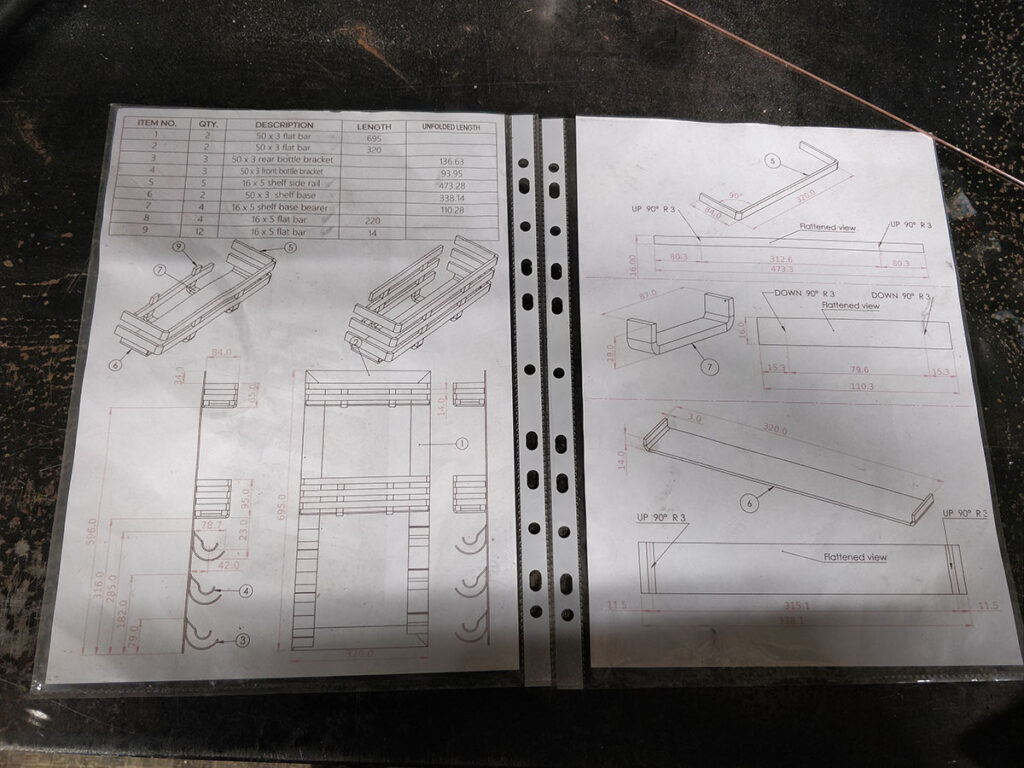
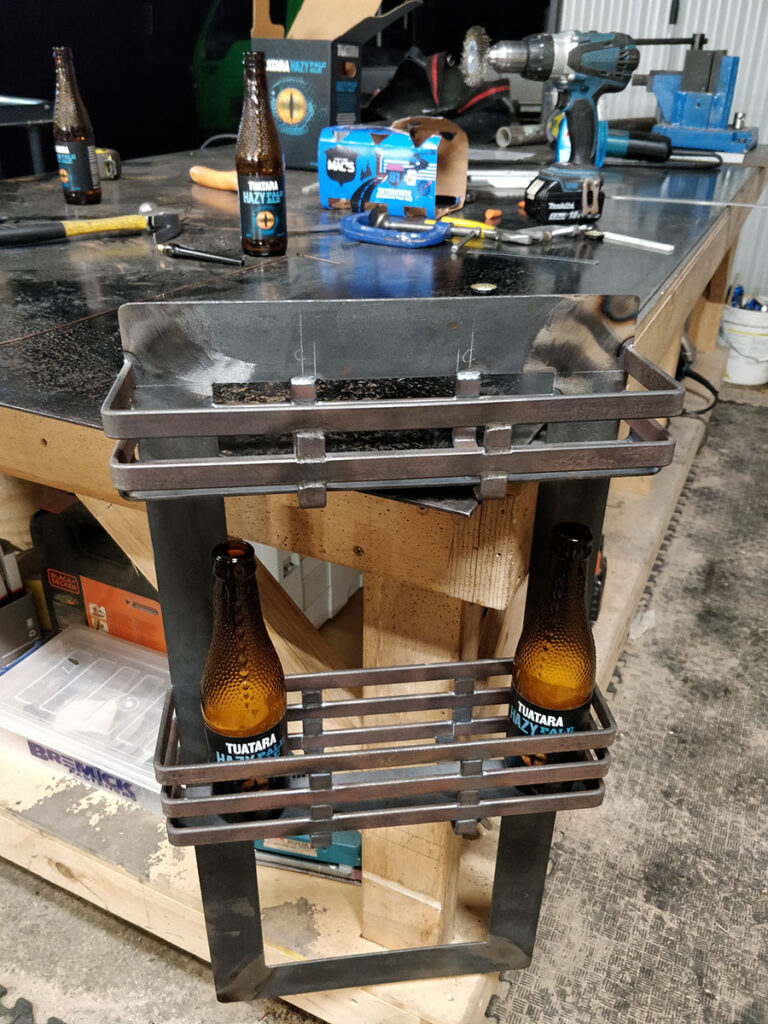
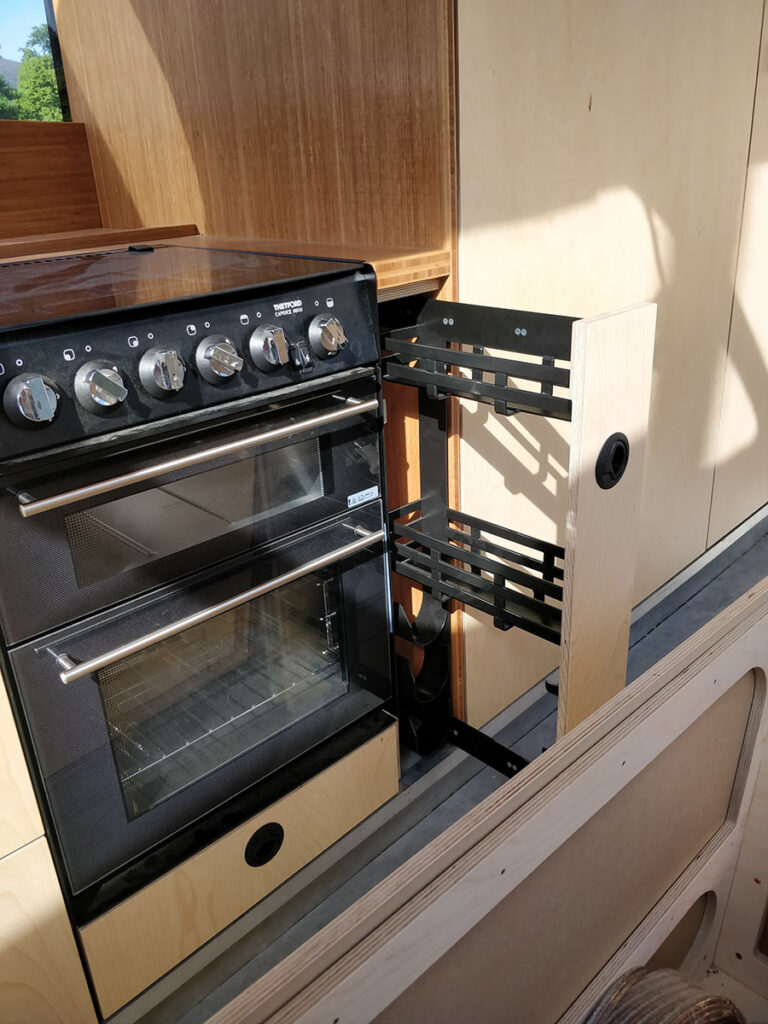
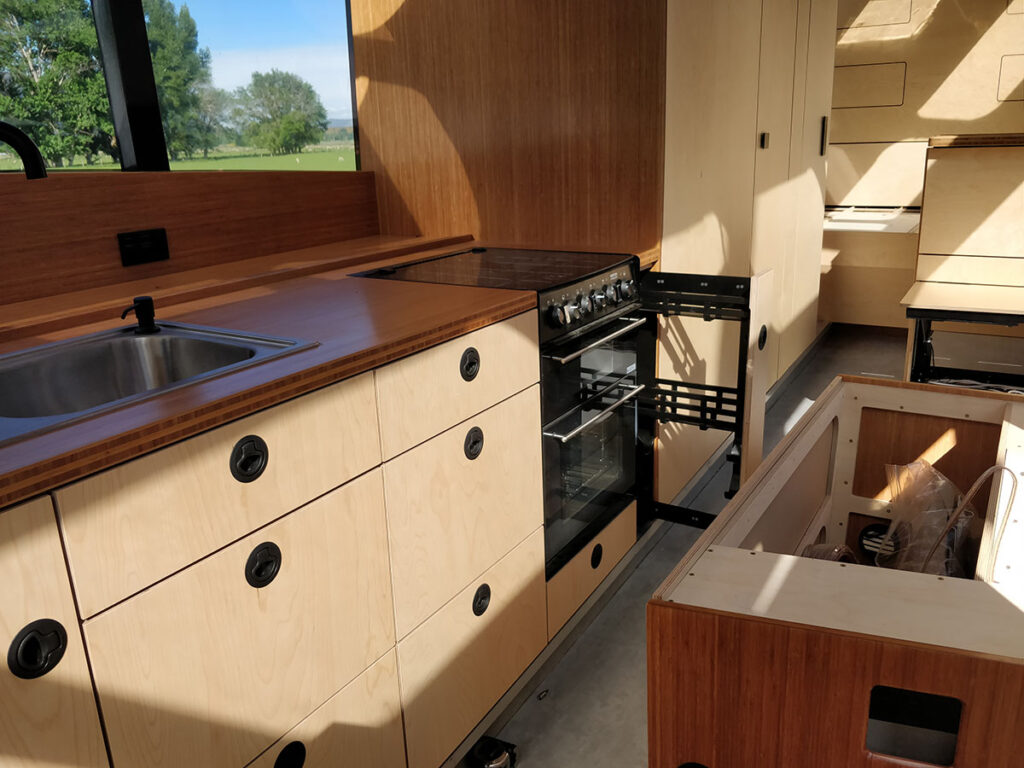
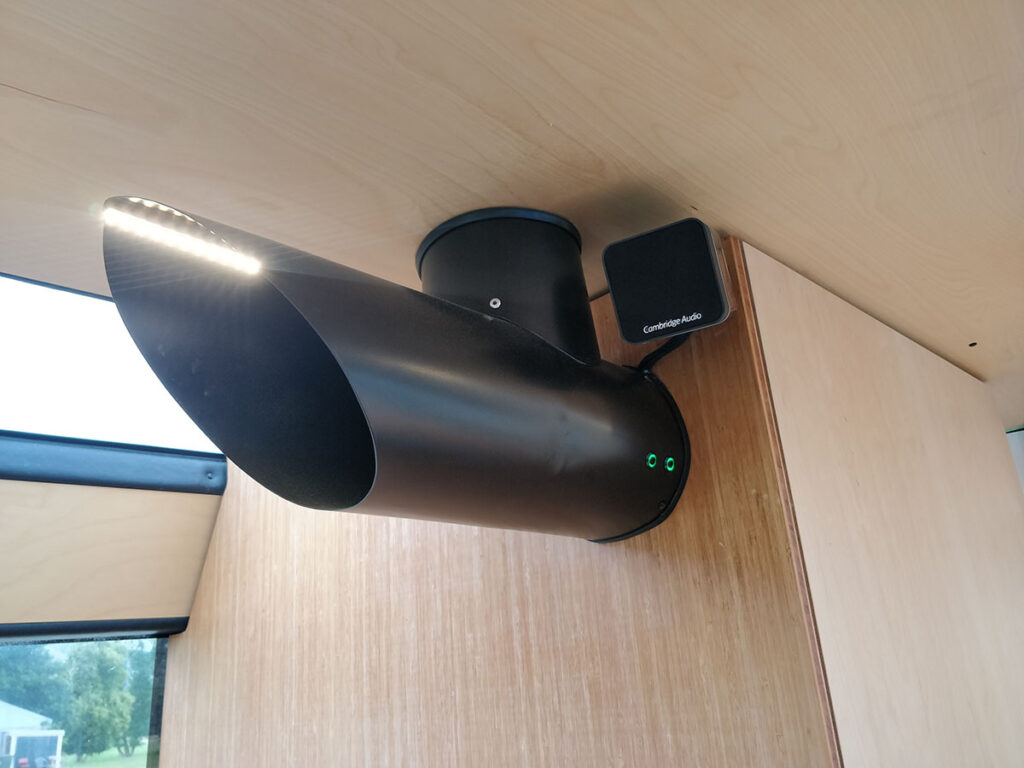
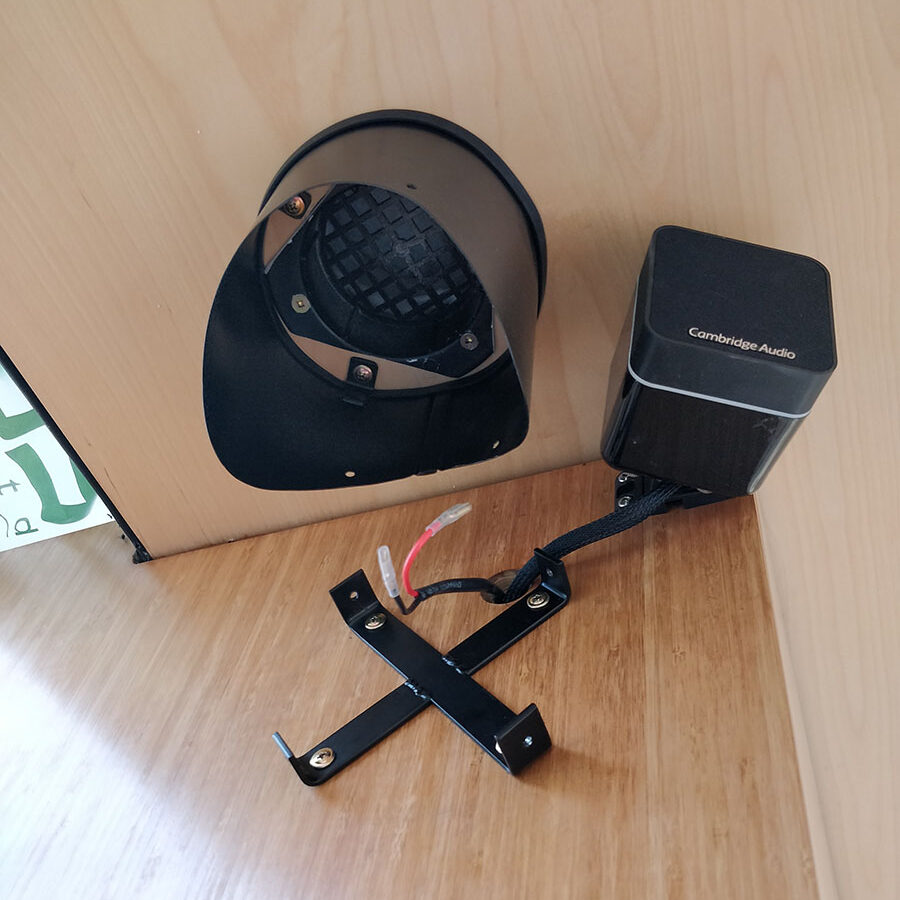
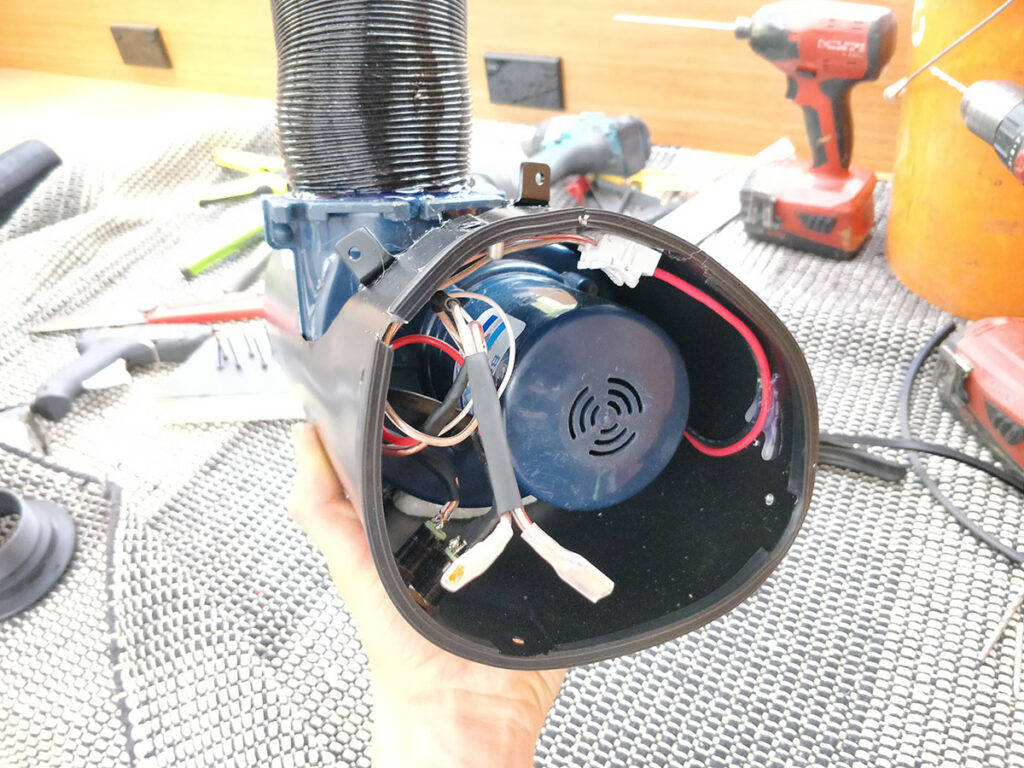
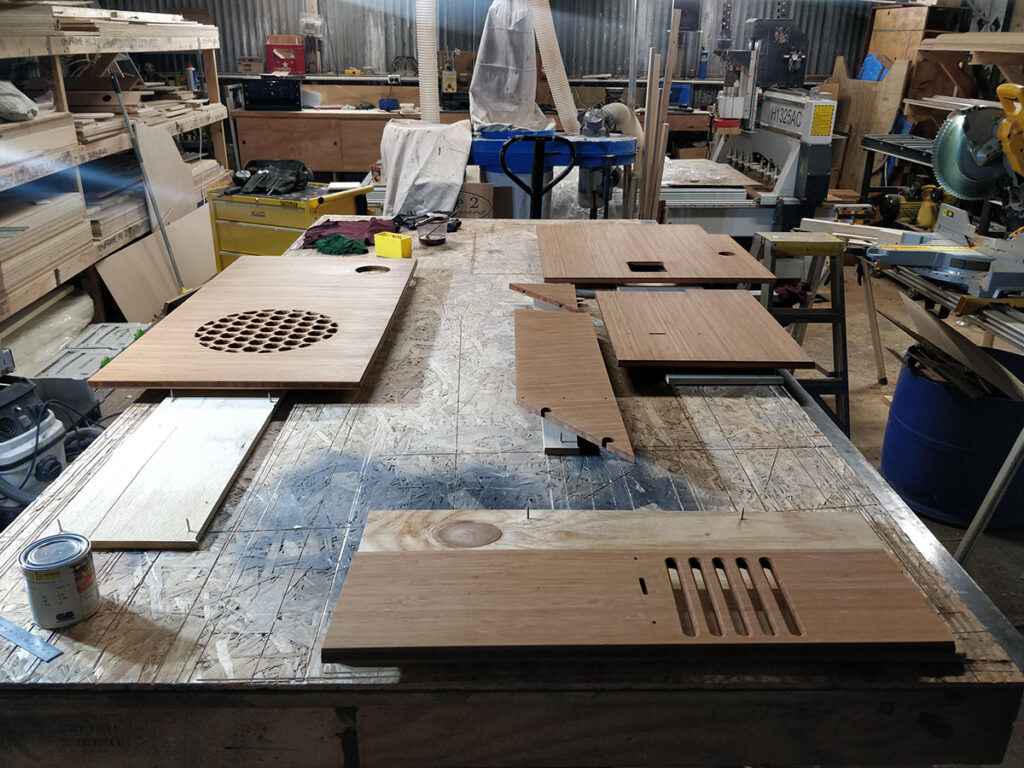
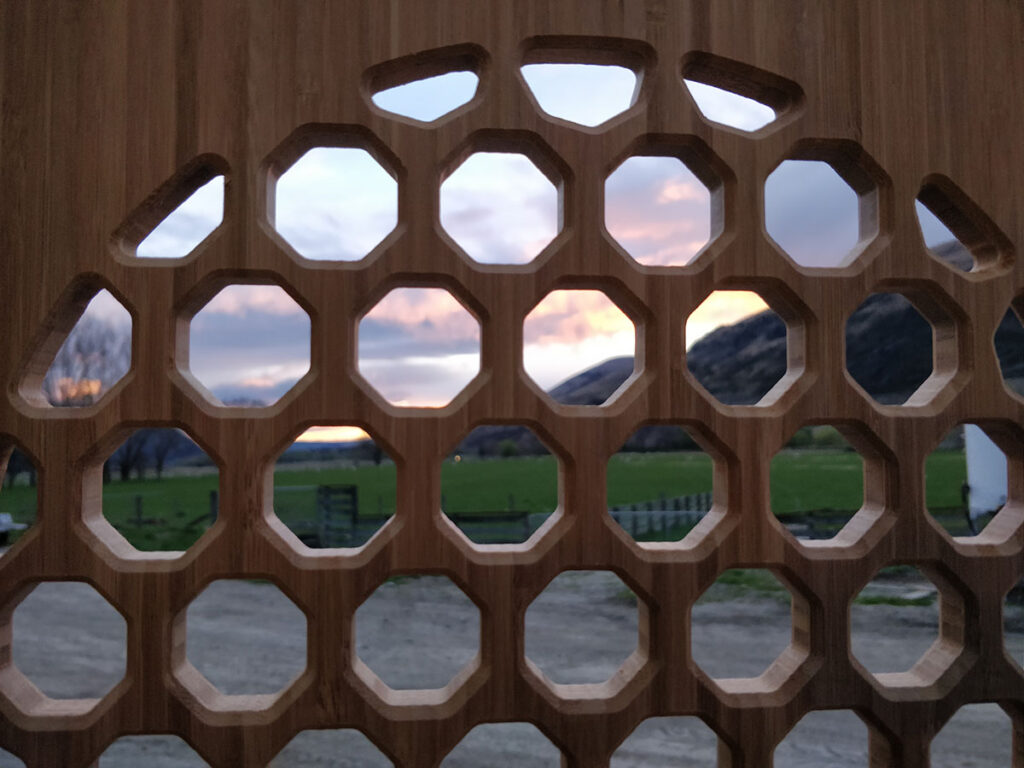
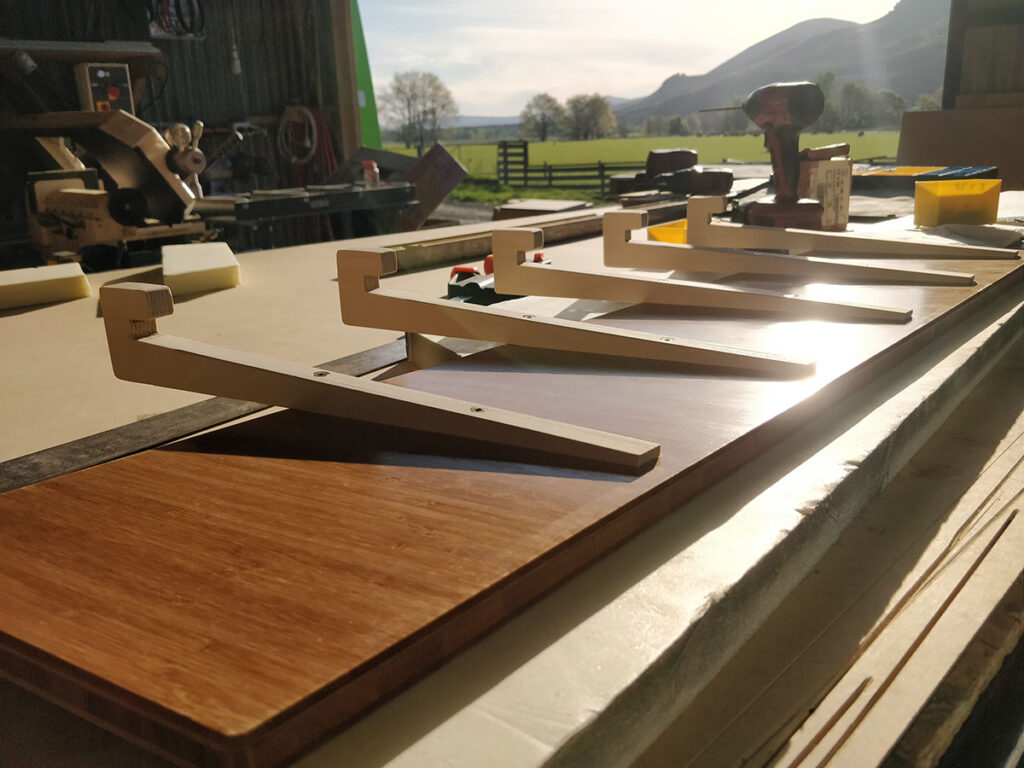
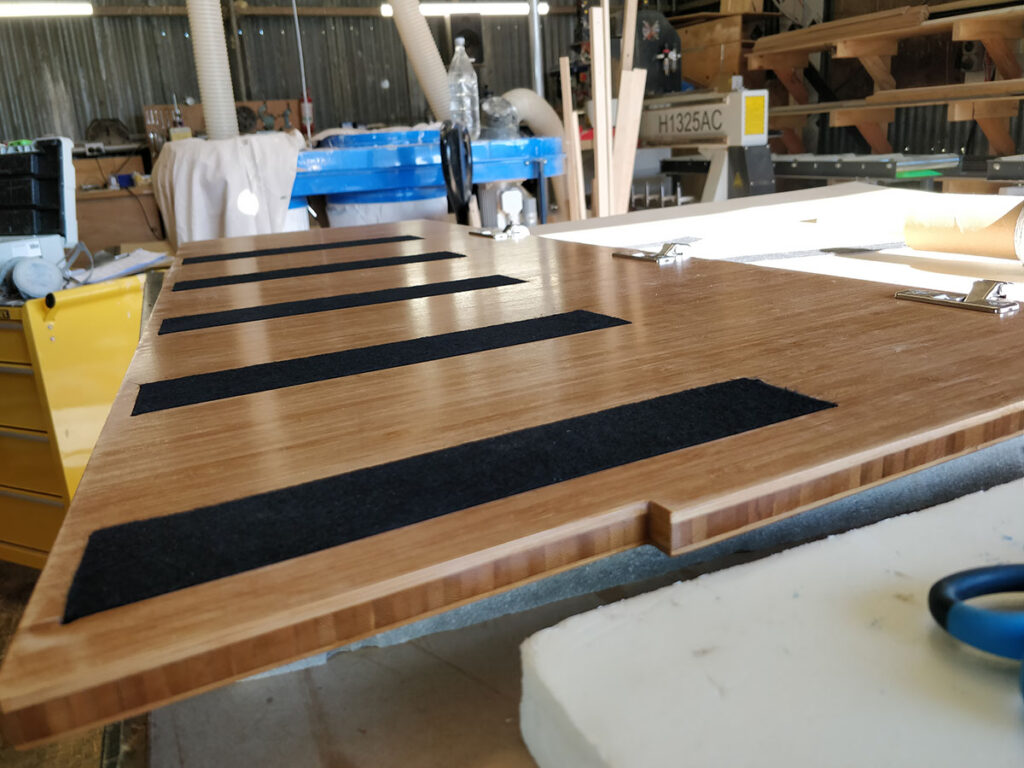
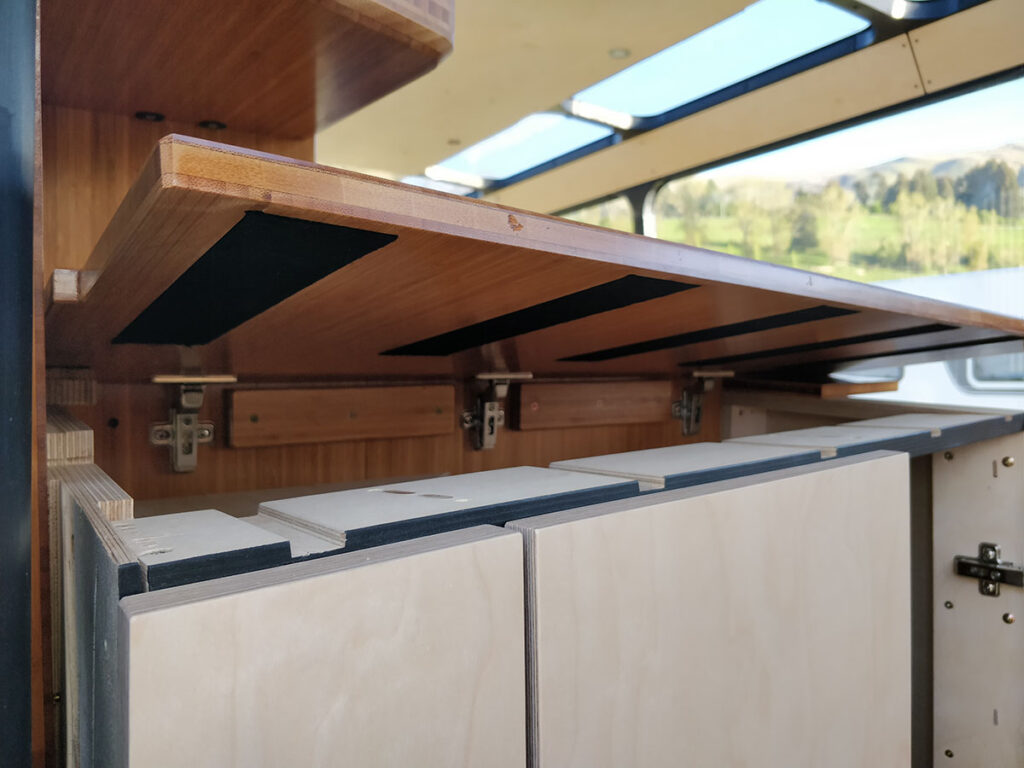
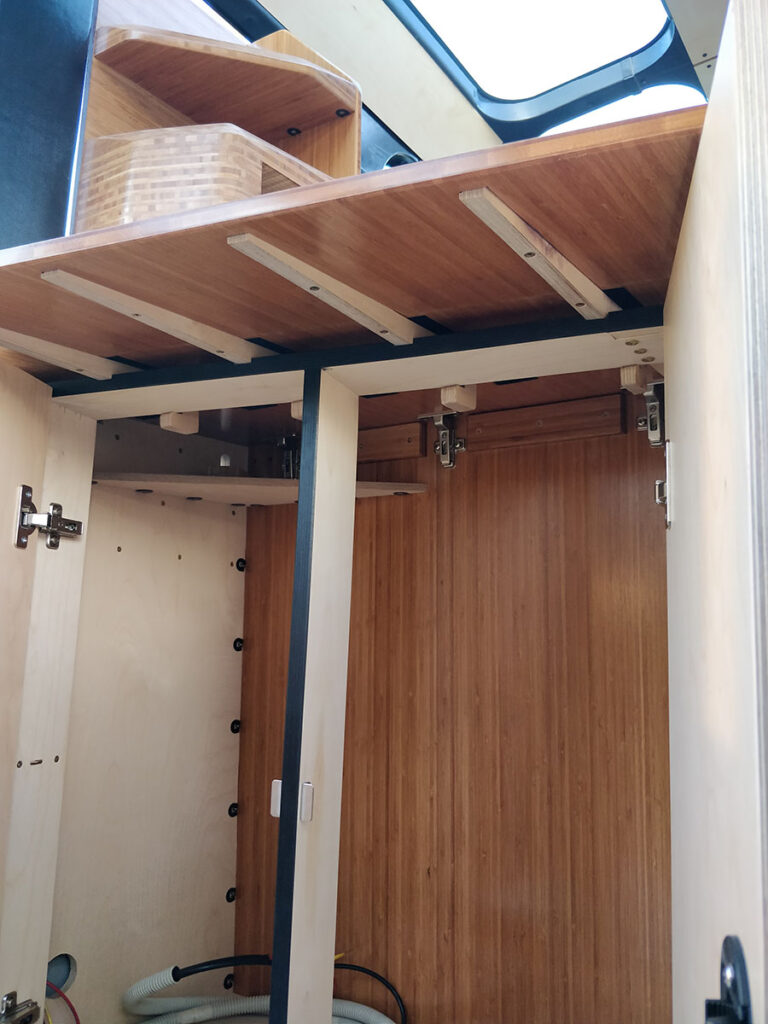
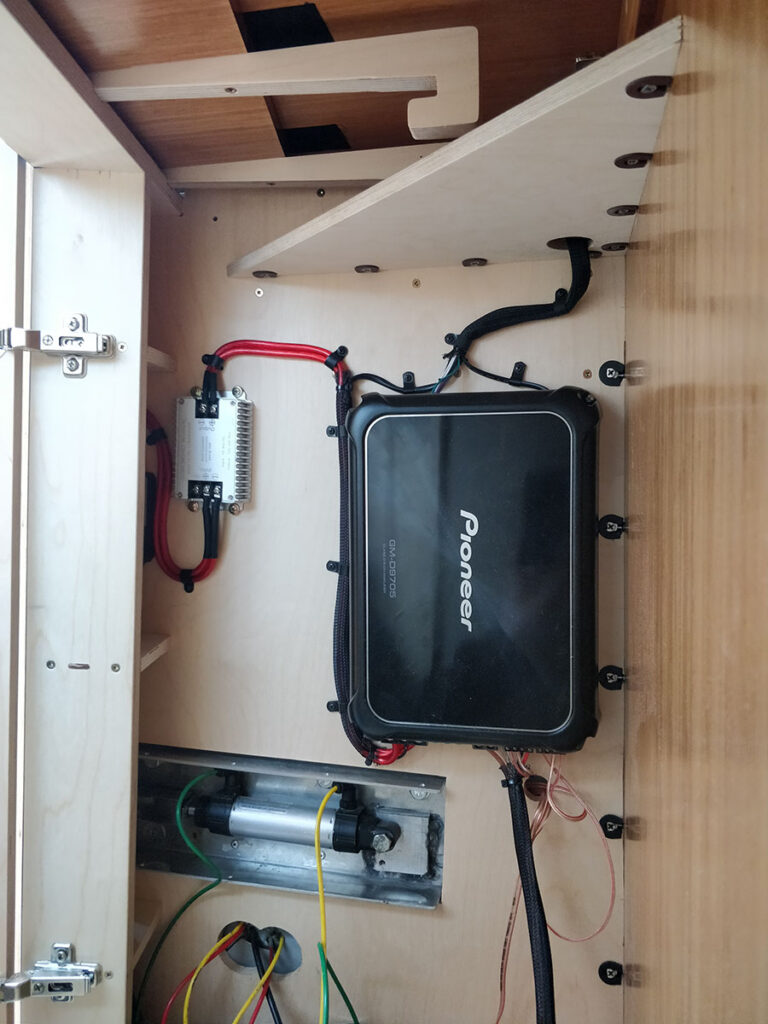
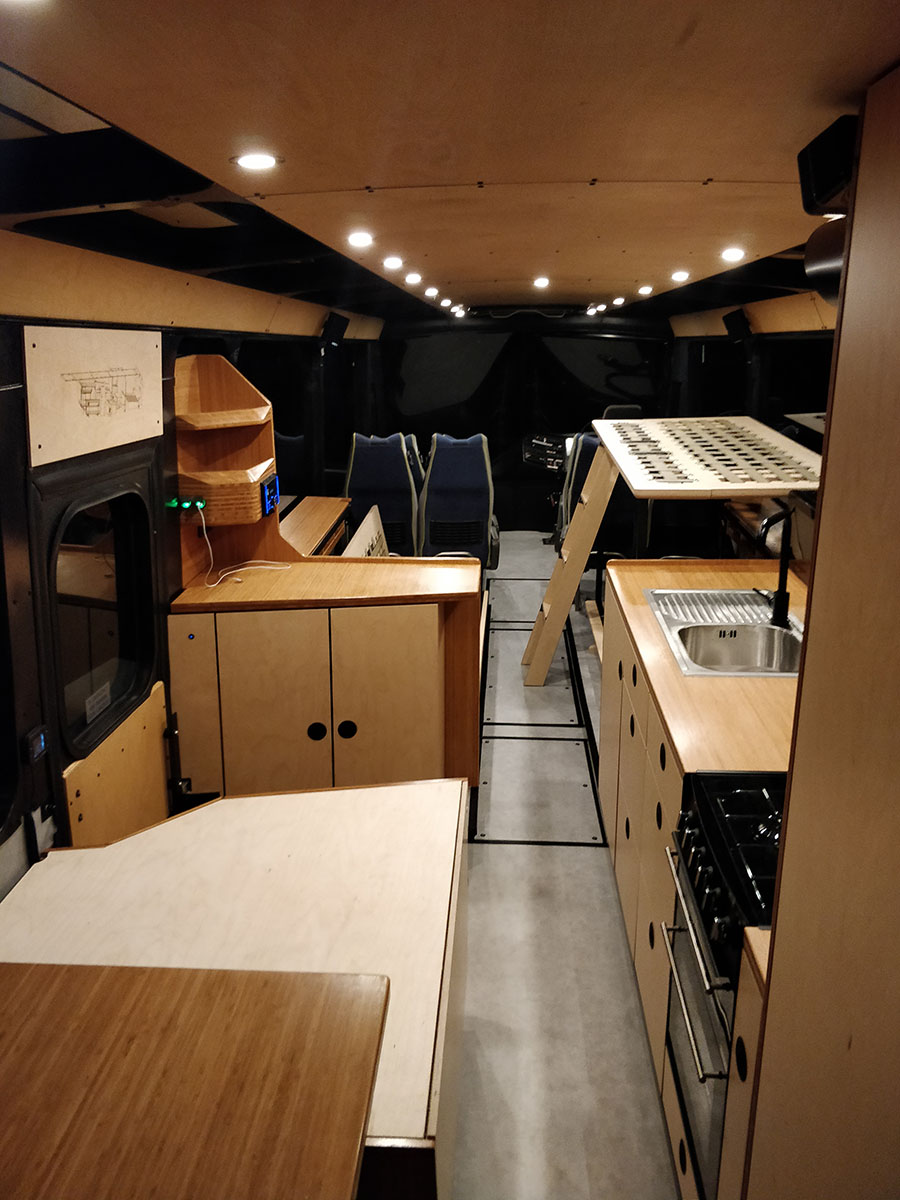
Kitchen carcass on a 3 degree slope like everything else in this bus.Services behind the kitchen. here is the Cali font water pump & a separate tank for the toilet flush.Carcass in lace, service area behind the kitchen.Kitchen Shelf Bamboo edge stack.Gluing up the bamboo stacked edges.Triple stacked Bamboo trim for the kitchen shelves and splash back edges.Gluing up the bamboo stacked edge of the kitchen splash back.Completed shelf edge detail. Sanded, stained and oiled.Dry fit of bamboo bulkheads, benchtop & splash back.Beautiful day for staining!Fitting the electronics into the kitchen splash back.Kitchen shelveskitchen bamboo features reflecting in the glass.now the panels are stained and installedservice area can be accessed by removing the drawers.Building the kitchen drawers.we designed and built a wrought iron slide out wine and spice rack to fit into the kitchen.Wine and spice rack on a Friday evening. will get powder coated black.completed, painted wine and spice rack installedKitchen pretty much finishedDoor & drawer fronts on.Completed extractor kitchen fan with downlight and some surround sound for good measure.Range hood fluInside the extractor fan housing is the 24V marine engine bay fan and switches for that fan and a built in downlight.
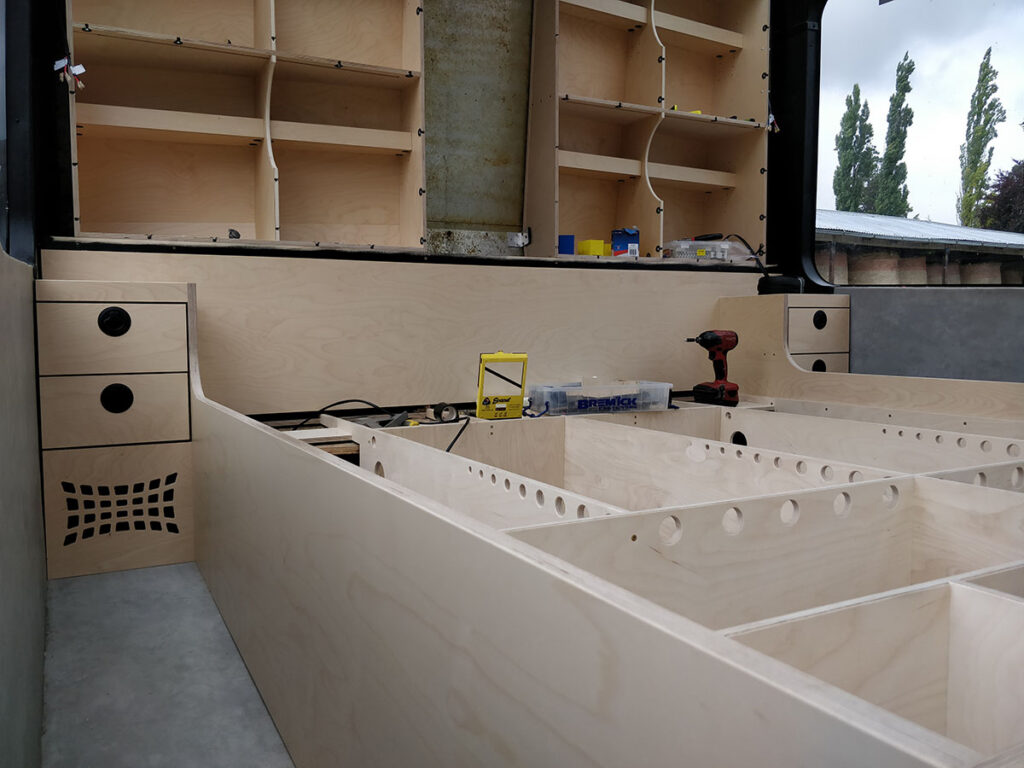
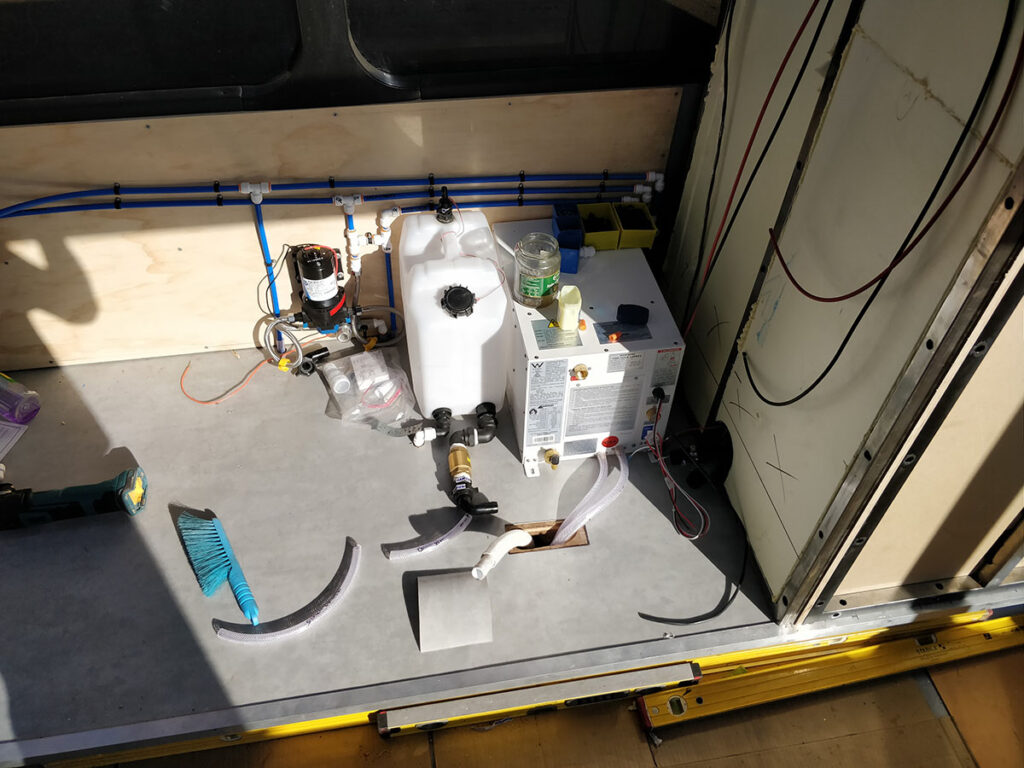
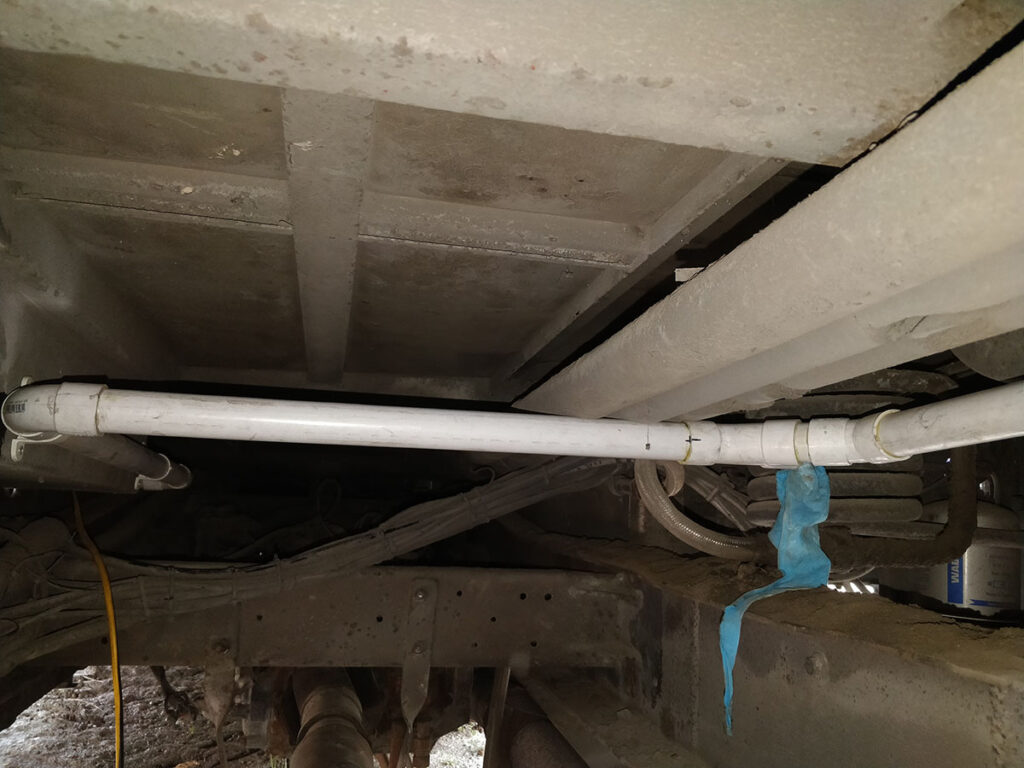
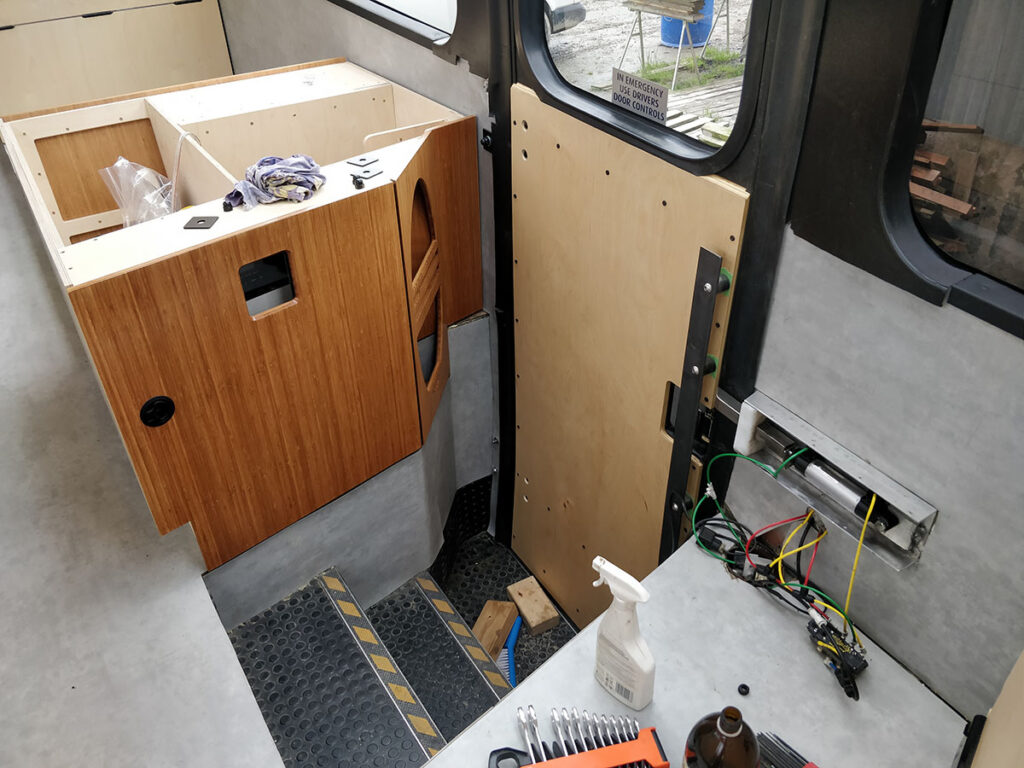
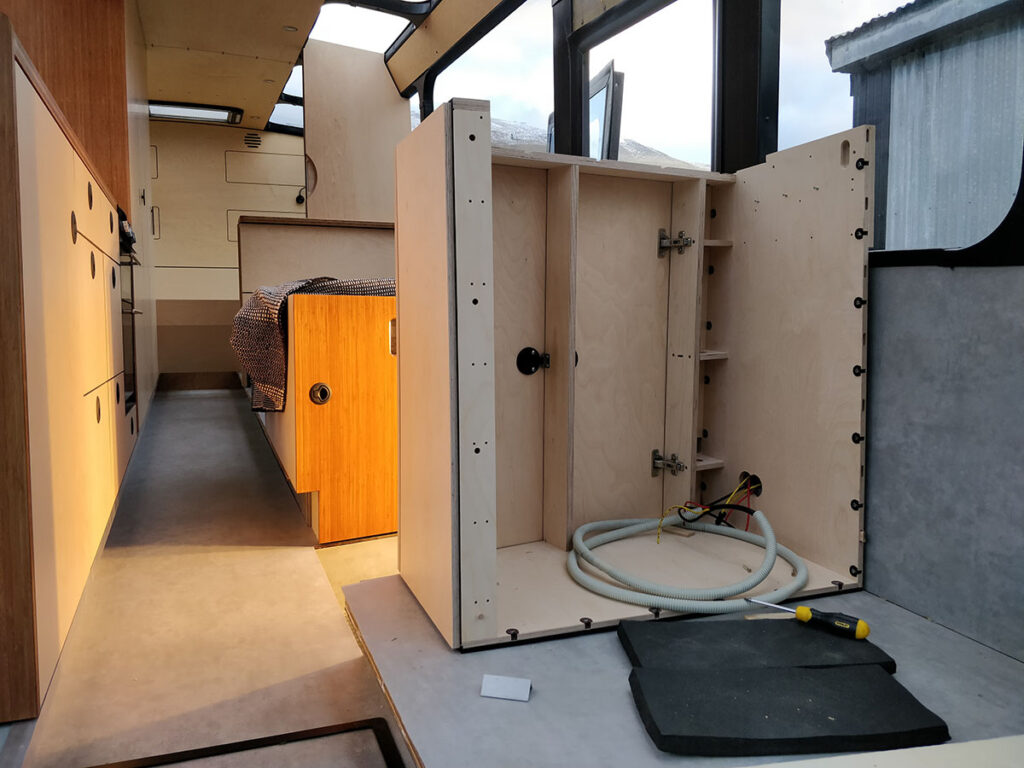
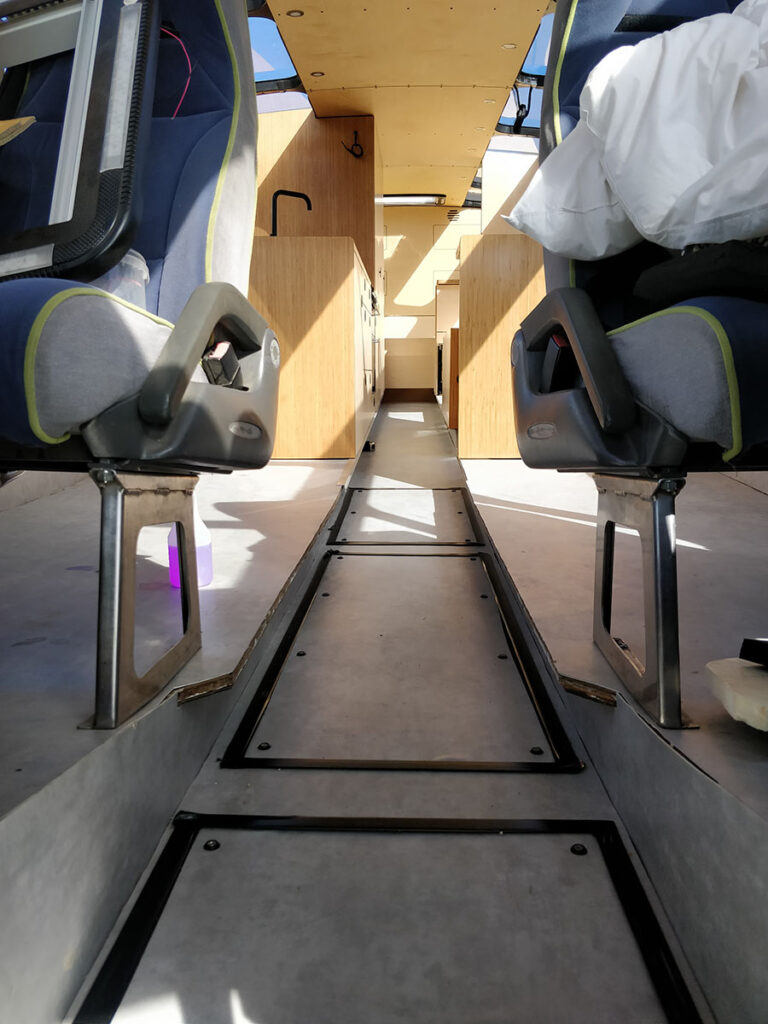
Meanwhile a lot of heroic work went on under the bus running wires, pipes, fitting tanks & bolting down furniture units. It’s not the most photogenic of places therefore there’s only a few dirty underworld shots.
Frame for grey and black tanks built an under floor into storage compartment.Grey water plumbing under the bus.
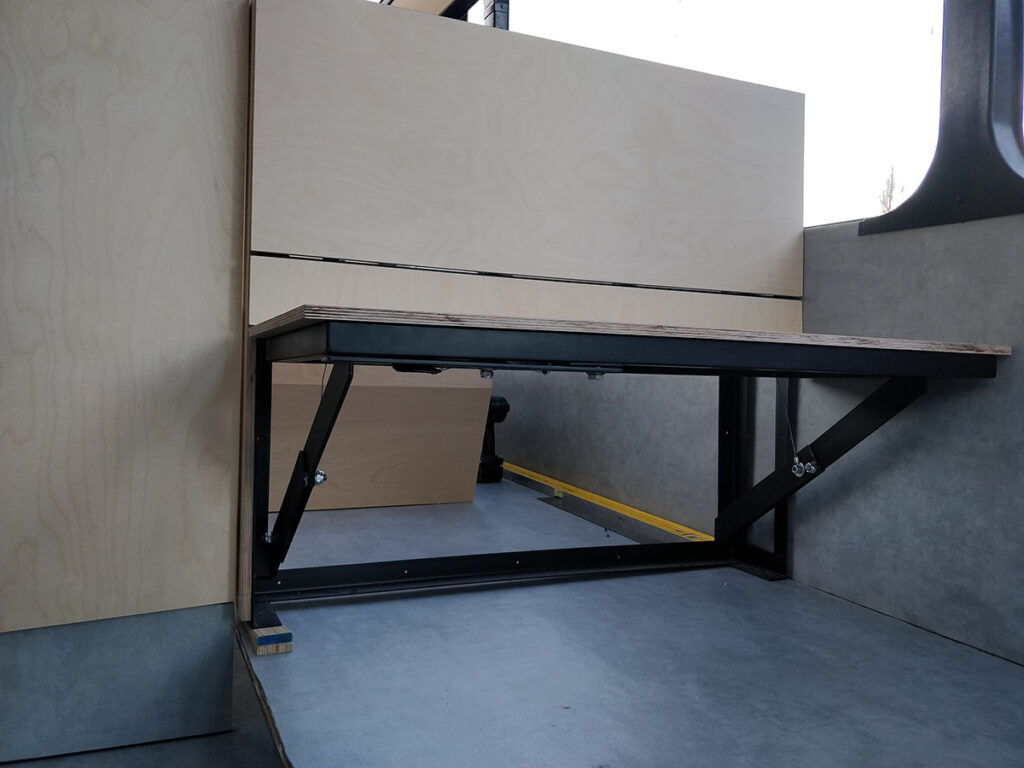
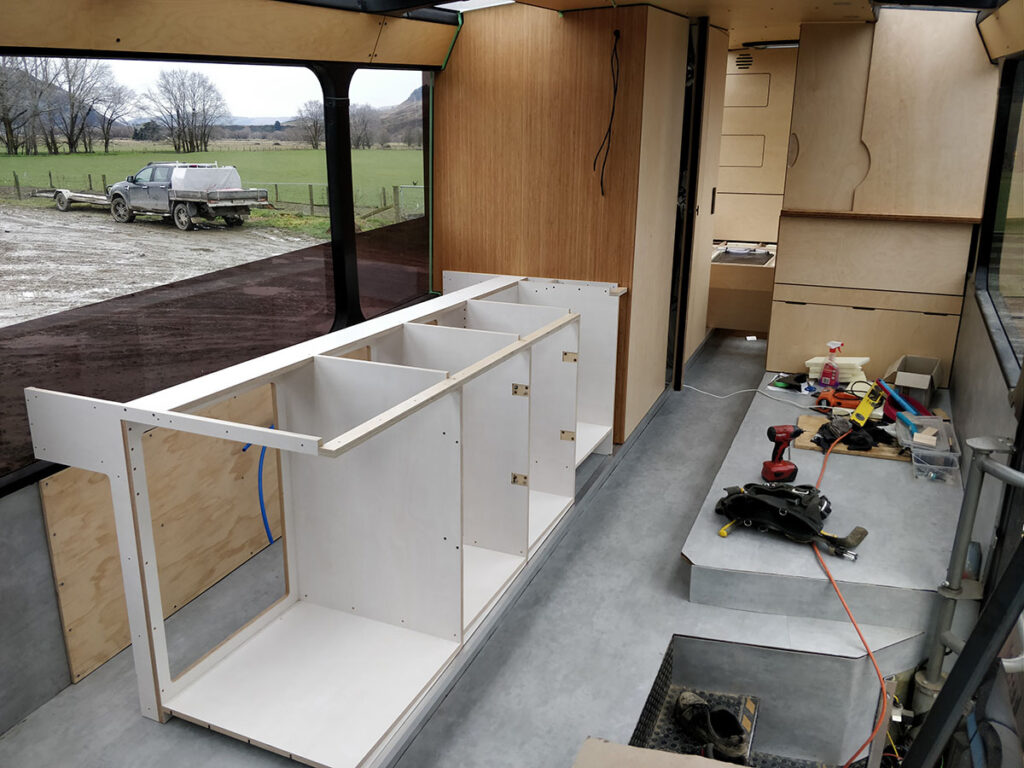
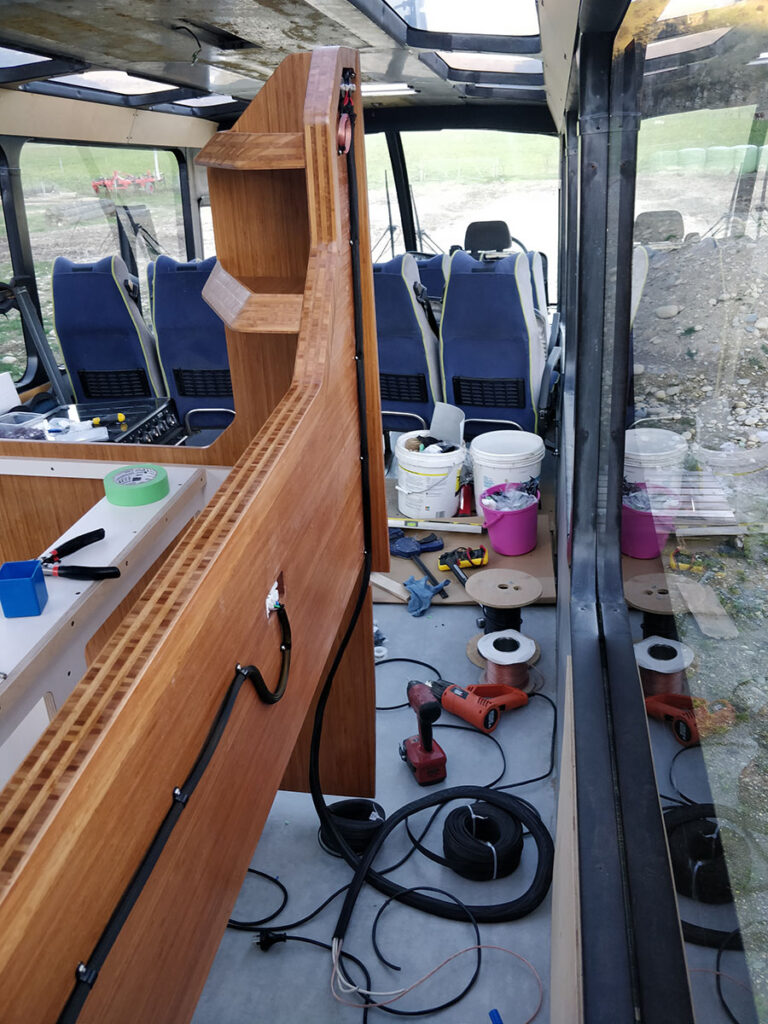
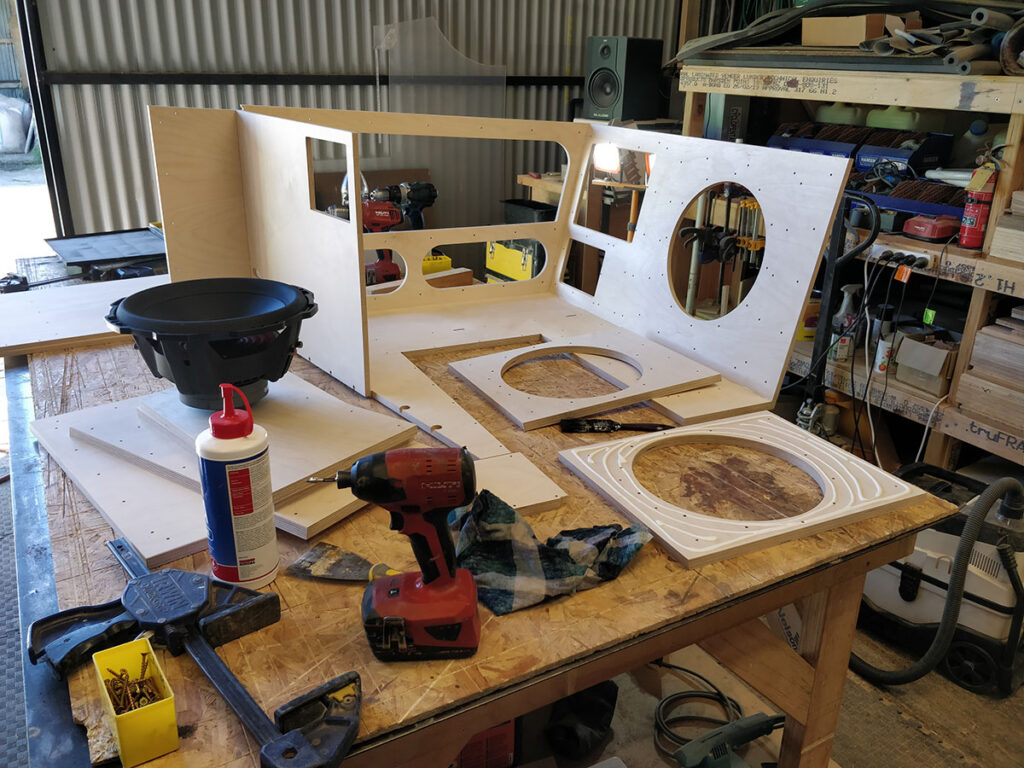
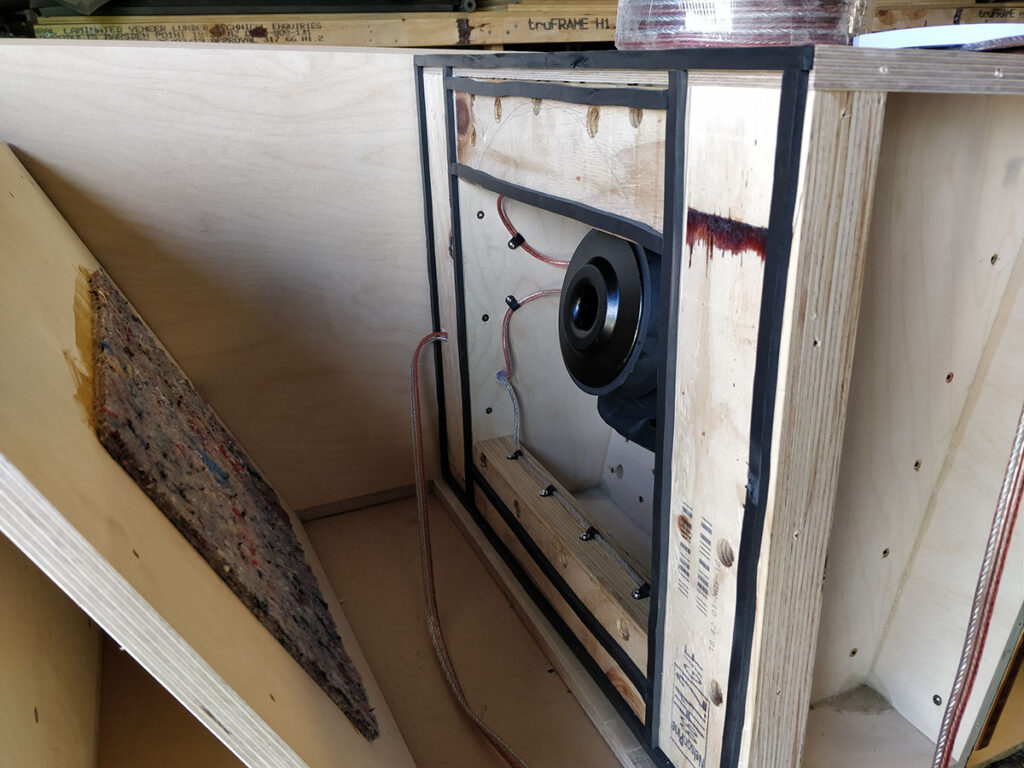
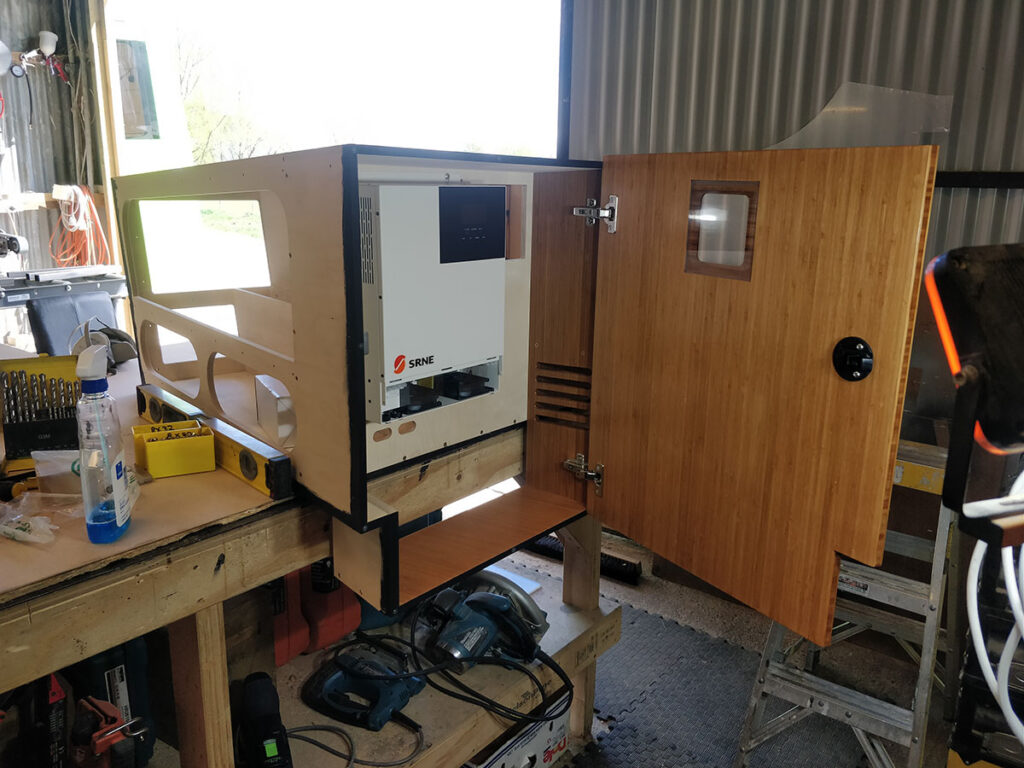
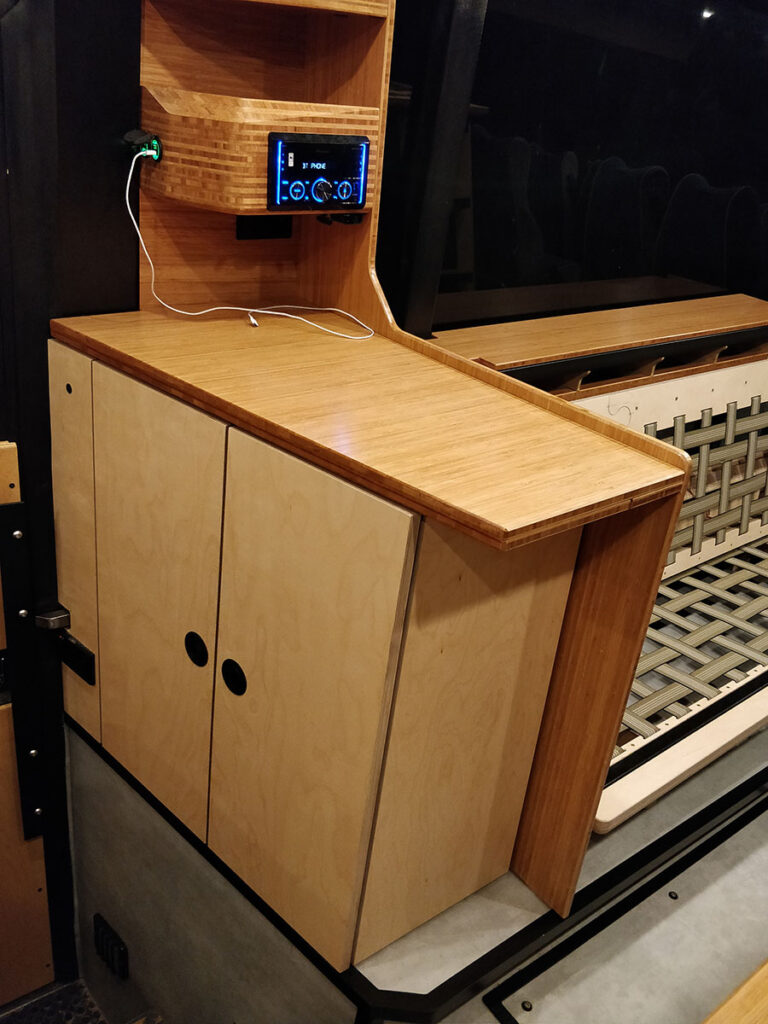
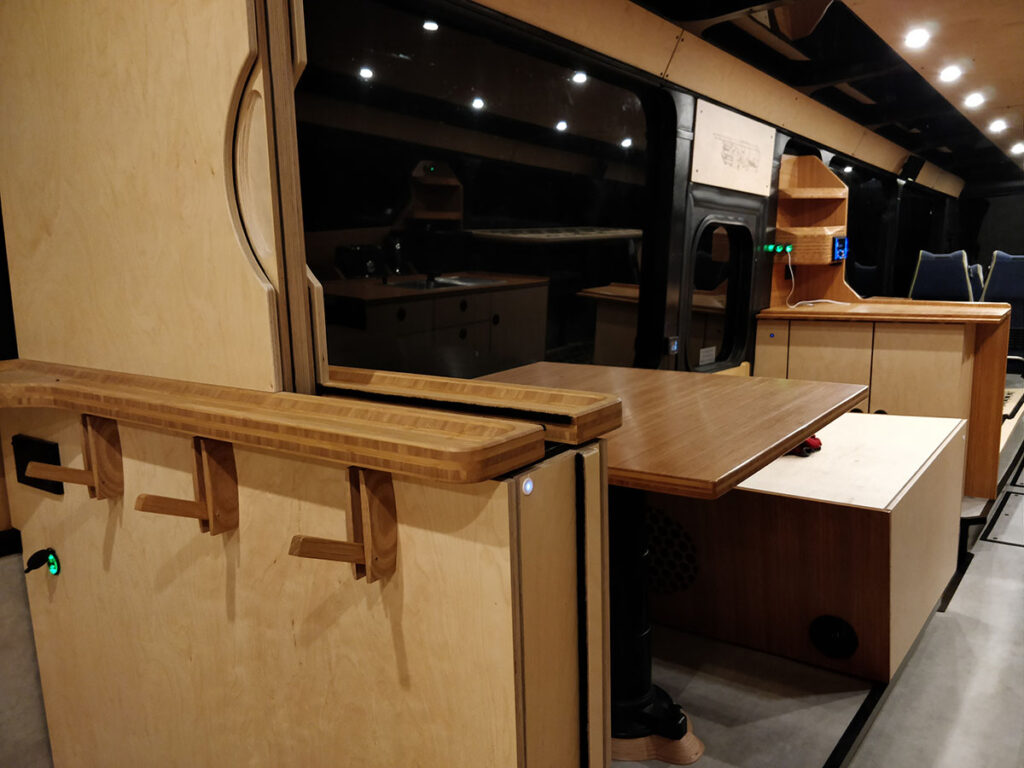
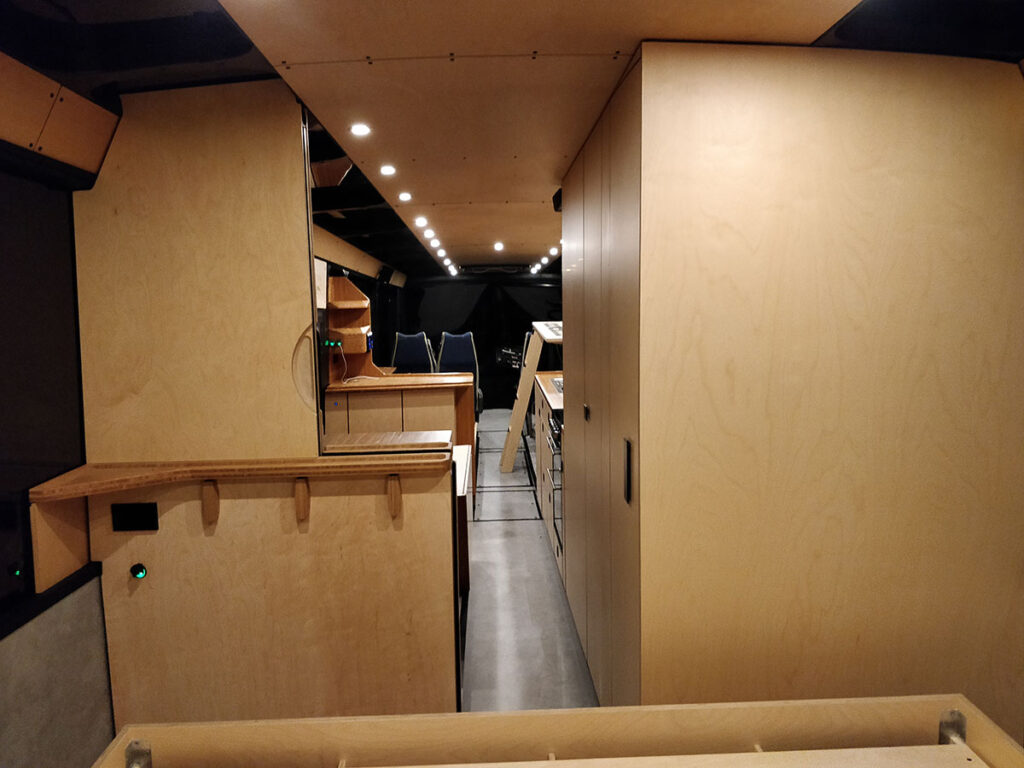
The next mish was the corner seat that when coupled with the dining table & the fold out seat from the seat/wall/door unit would turn into another bed when the table is lowered. this unit would house the diesel heater, solar hybrid inverter/charger unit, fuse boxes and mains breakers, the massive 200AH 24V Lifep04 battery & of course the 12” Rockford Fosgate subwoofer.
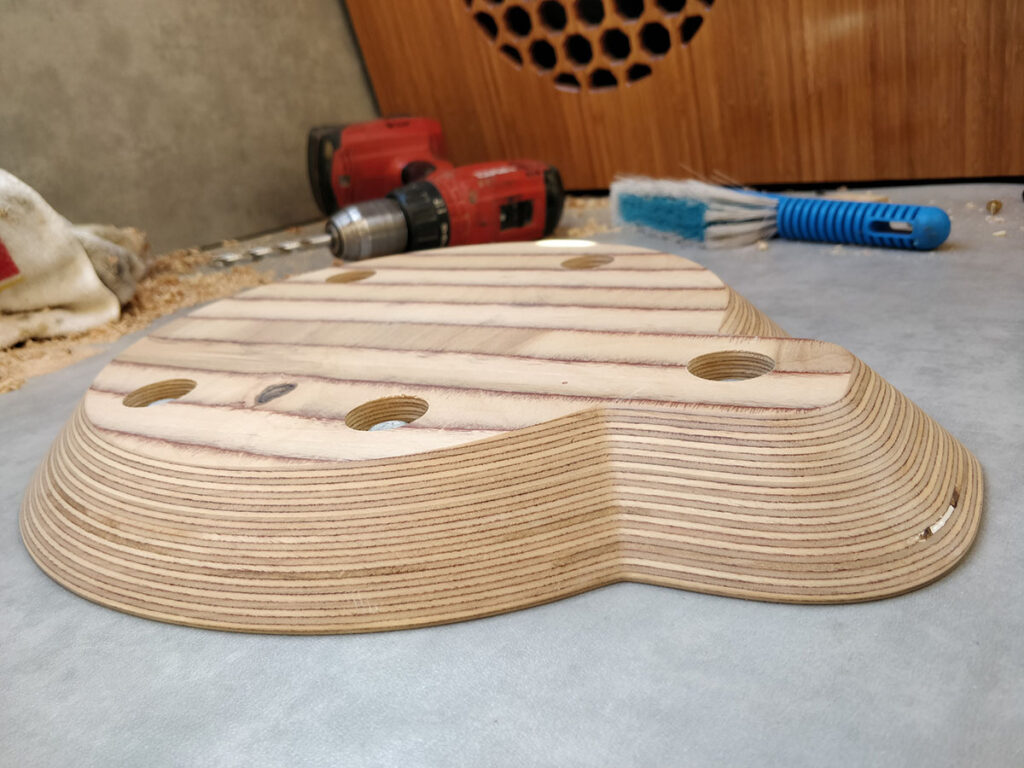
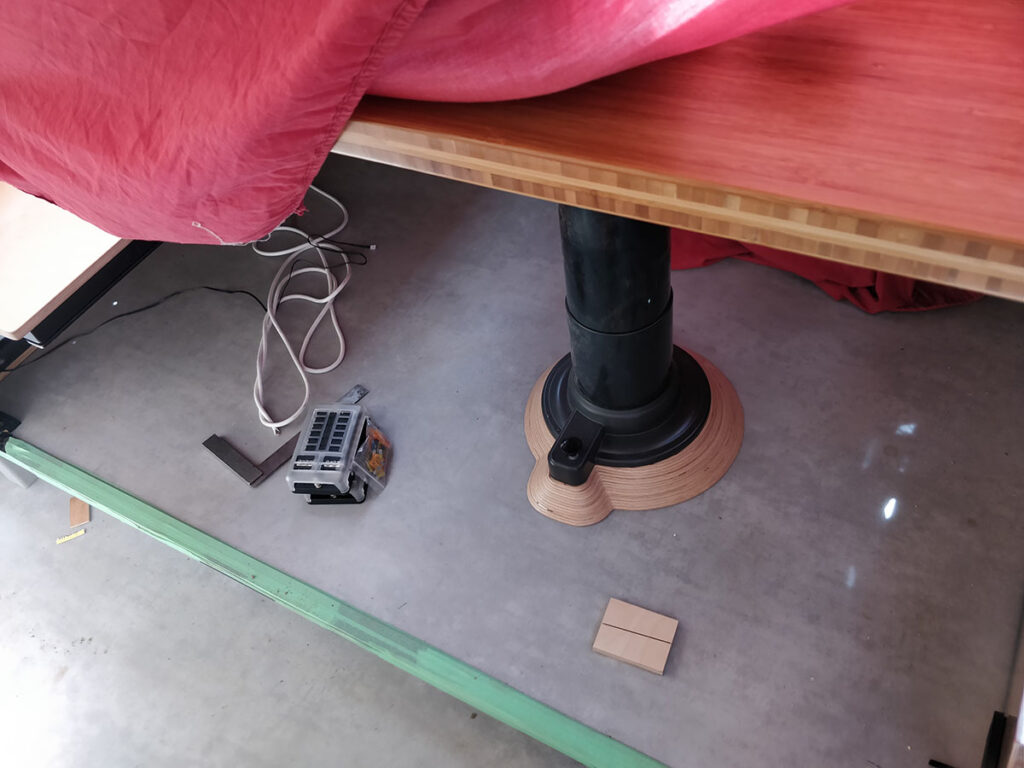
The carcass of the multi purpose corner seatPainting the negative detail The volume of the subwoofer enclosure has been carefully calculated to match the spec for that particular subwoofer in a sealed enclosure configuration.Machining the octagons into the bamboo subwoofer grill.Staining of the bamboo components for the corner seat.Bamboo subwoofer grillAcrylic window for peaking at the solar controller interface.The step in the cabinet blends it into the two different floor levels in the bus.looks like this.Scribing the negative detail groove against the wall and floor.The 3 degree CNC’d wedge to level up the table pedestal.The table pedestal mounted to it’s leveling wedge. Ventilation slots for the solar controller & diesel heater which pulls air through & some unique shelving.These units each side of the middle entry door run perpendicular to the floor @3degrees yet the kitchen joinery is level.
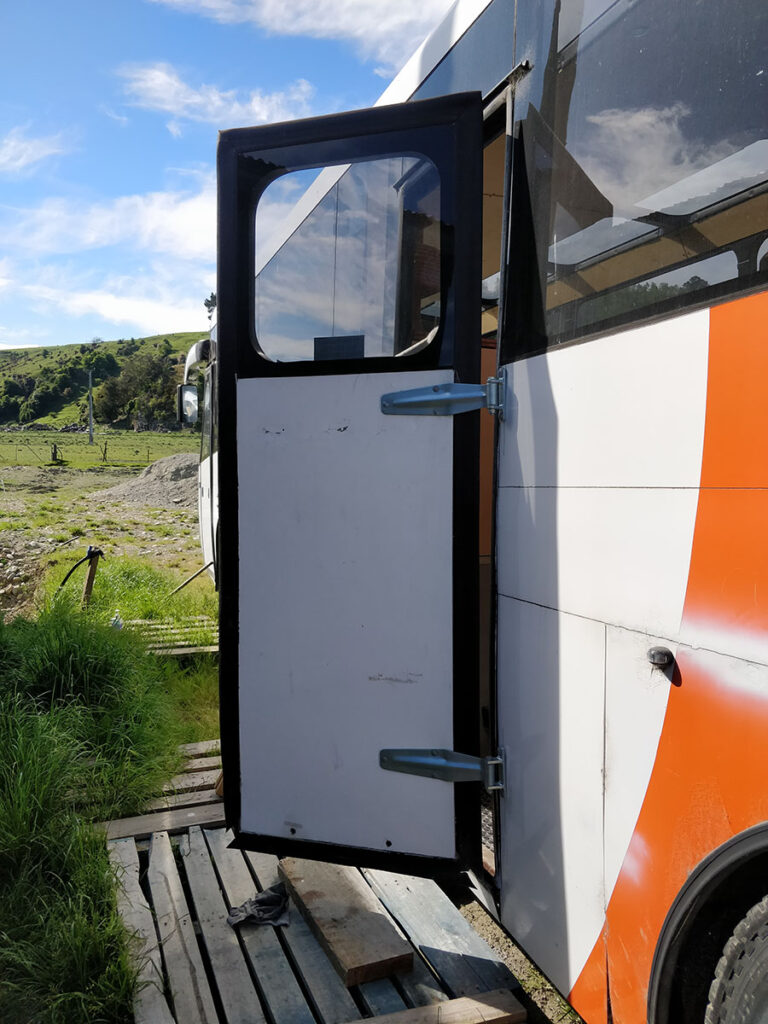
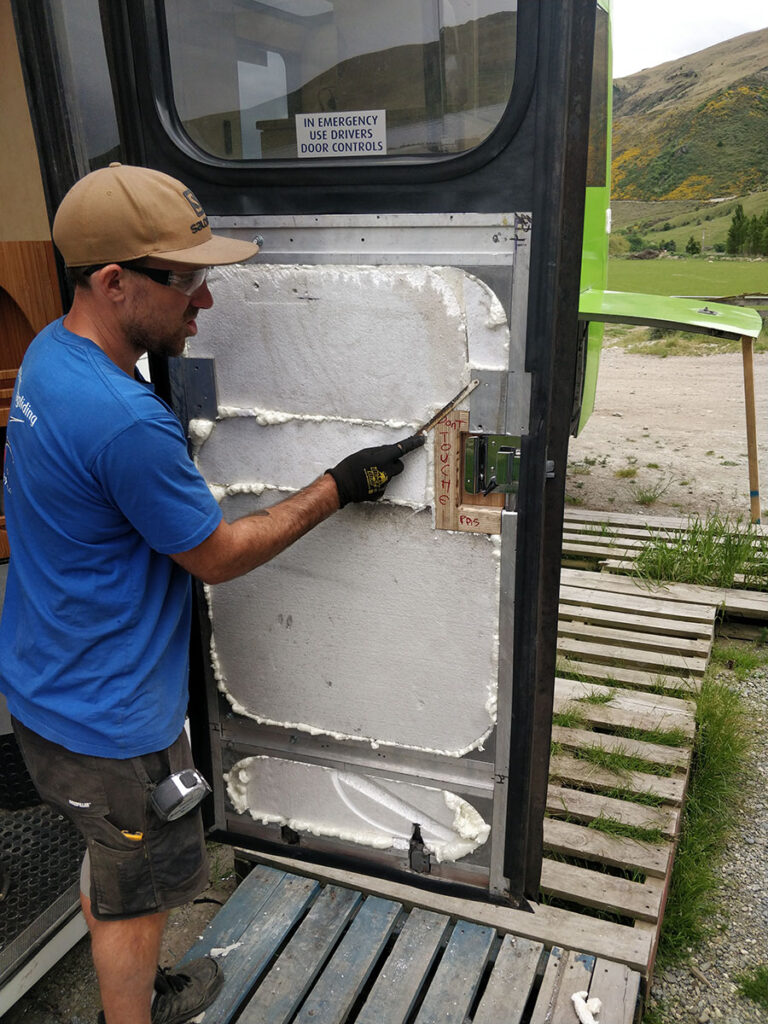
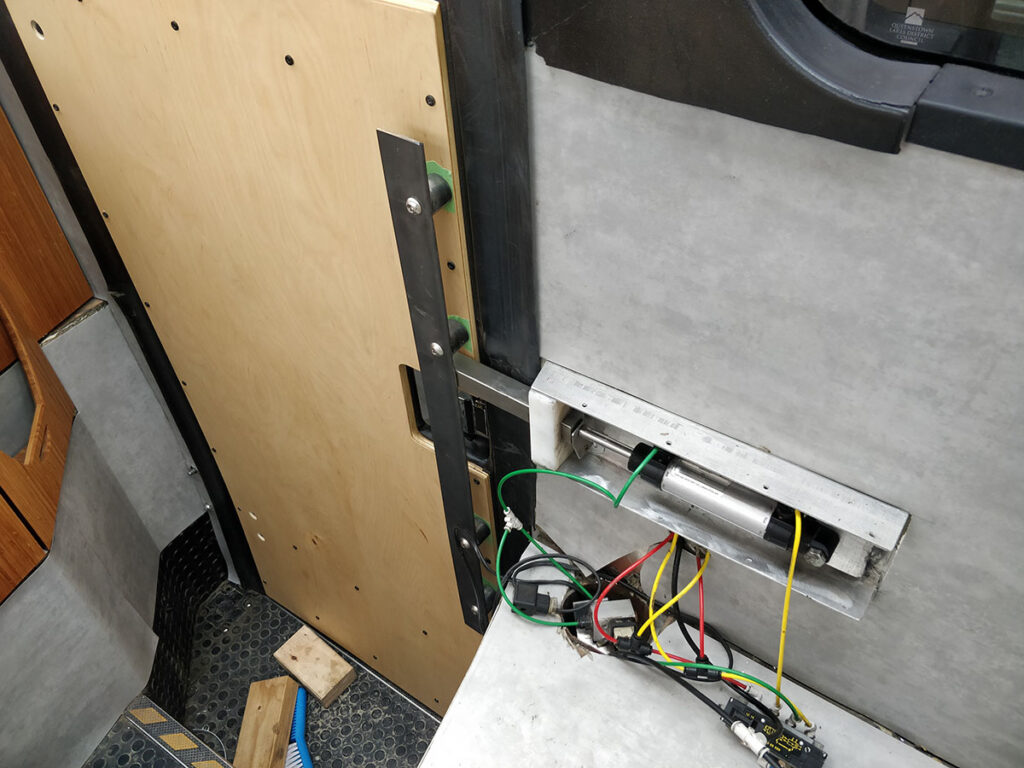
We also removed the middle door from it’s pneumatic opening system and put it on some hinges so it can work when the bus is off. We removed the double latch pin mechanism from the door & chopped it in half and mounted it on the wall instead & extended the latch pin to strike our the custom door handle to secure the door real good whilst driving. The latch pin is pneumatically operated still.
The door on some fixed hinges now rather than floating pneumatics.Leo fitting the door hardware & insulating the door.Leo has just fitted his door handle & rebuilt & mounted the pneumatic latch and mounted it on the wall.The pneumatic latch that engages with the door handle when the bus is driving. The handle will eventually get powder coated black.looks like this.
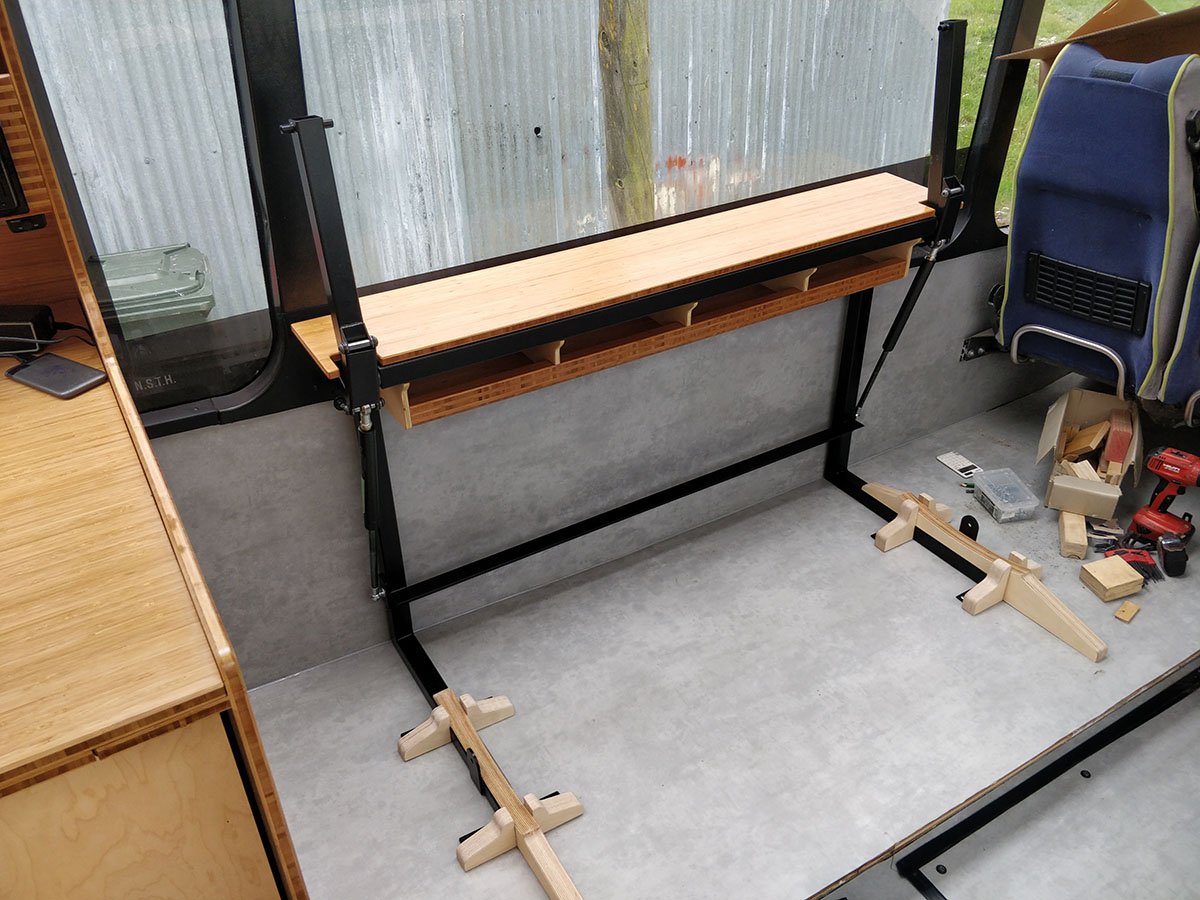
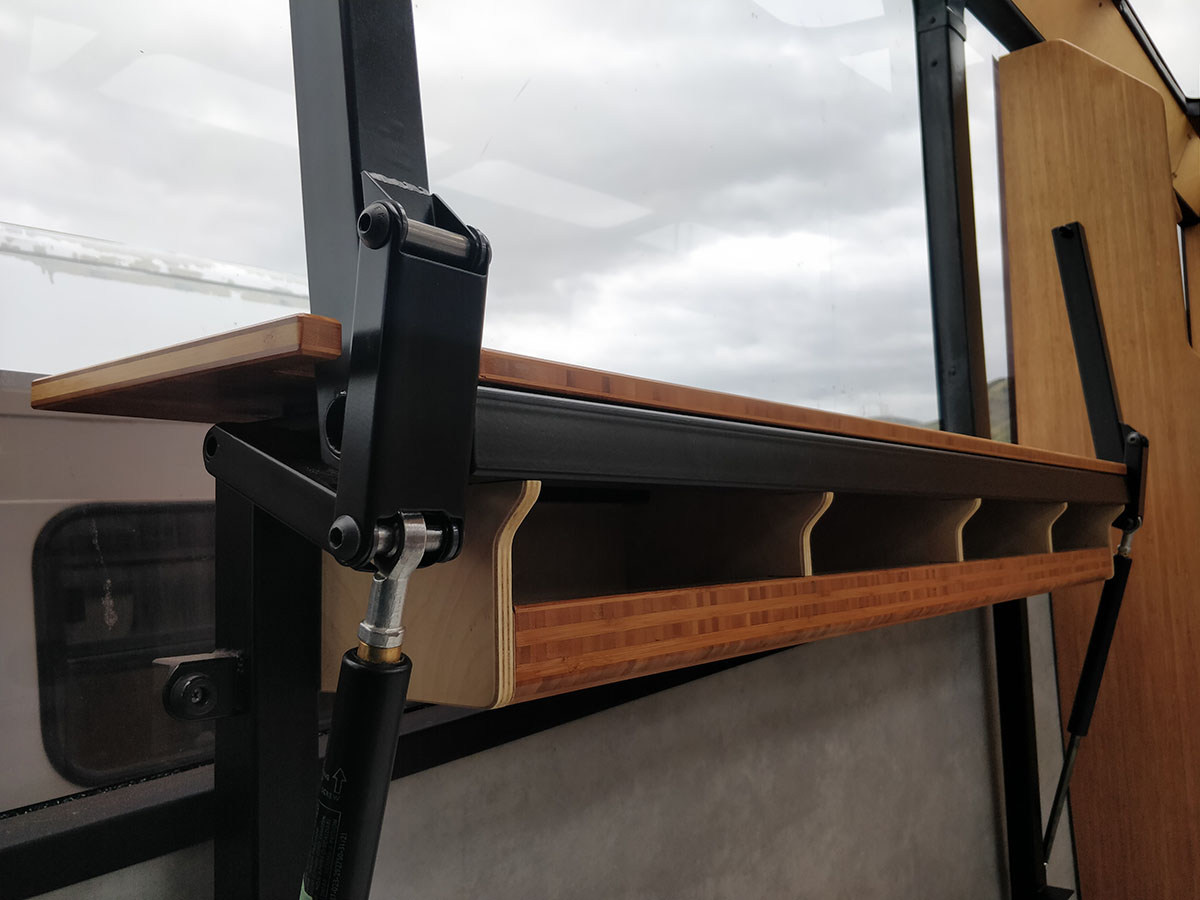
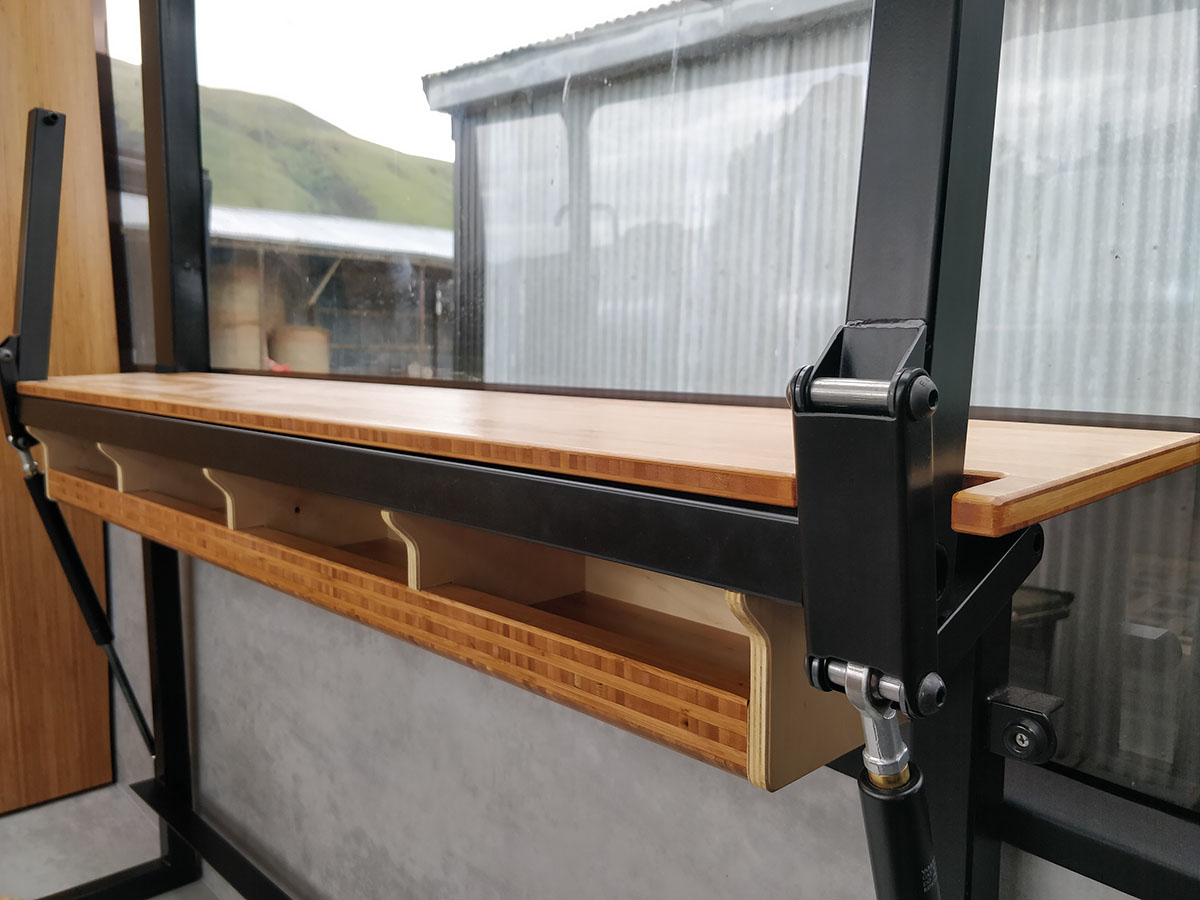
The next unit to be built opposite the corner bench seat, was to be able to function as an office stand up desktop & also could be used as an extra kitchen surface. It will house the audio amplifier and head unit to control the surround sound and also has an extendable worktop so the client can use it as a standup desk and take advantage of the deferent floor levels created by the steps. It also is a large storage unit for big items like backpacks & will conceal the pneumatic door pin mechanism.
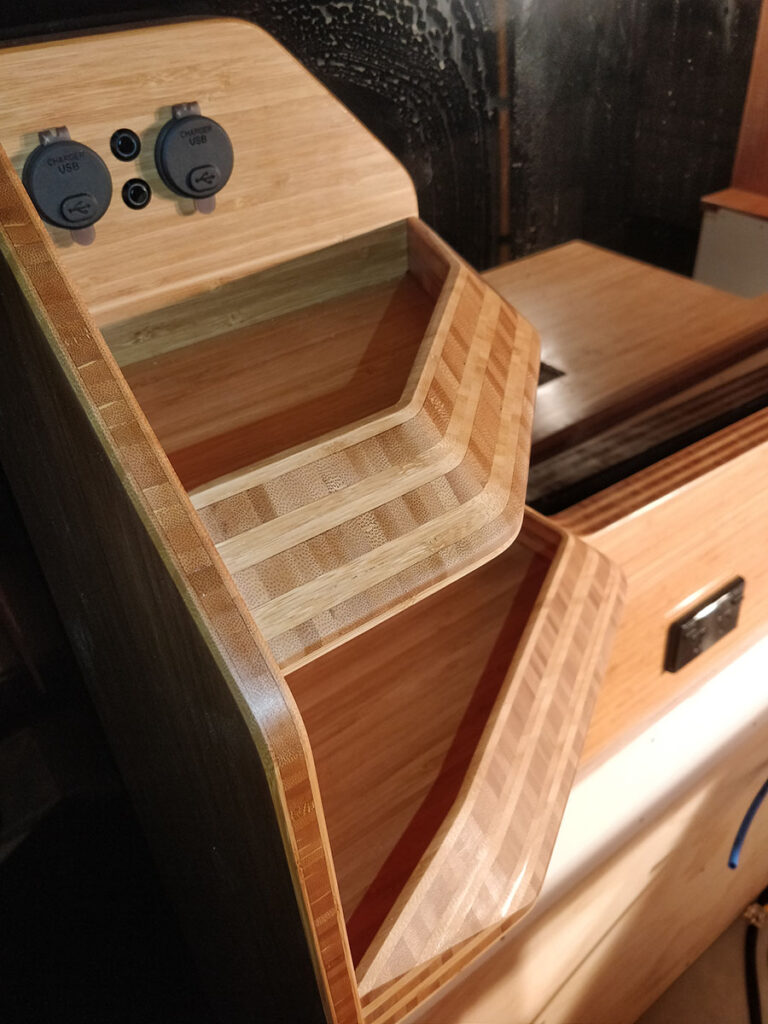
Machined parts all ready for assembly.Painting black where there will be a negative detail groove.Gluing up the head unit shelf.Stacked bamboo shelf to house the stereo head unit.The stacked Bamboo music console.See how it glisTens…Another beautiful day for some transformational staining!Desk unit before the bamboo bulkhead is fitted.The extension supports mounted on top of the extension surface. these will be waxed for smooth running.Recessed felt strips just barely proud on the main surface to allow the extension surface to slide underneath it without scratching.The desk top lifts a little to allow the extension to slide out.Completed with the extension surface in extended mode.Stereo amplifier & pneumatic door latch mounted inside the unitDesk unit with electronics fitted.The desk, kitchen & corner bench seat.
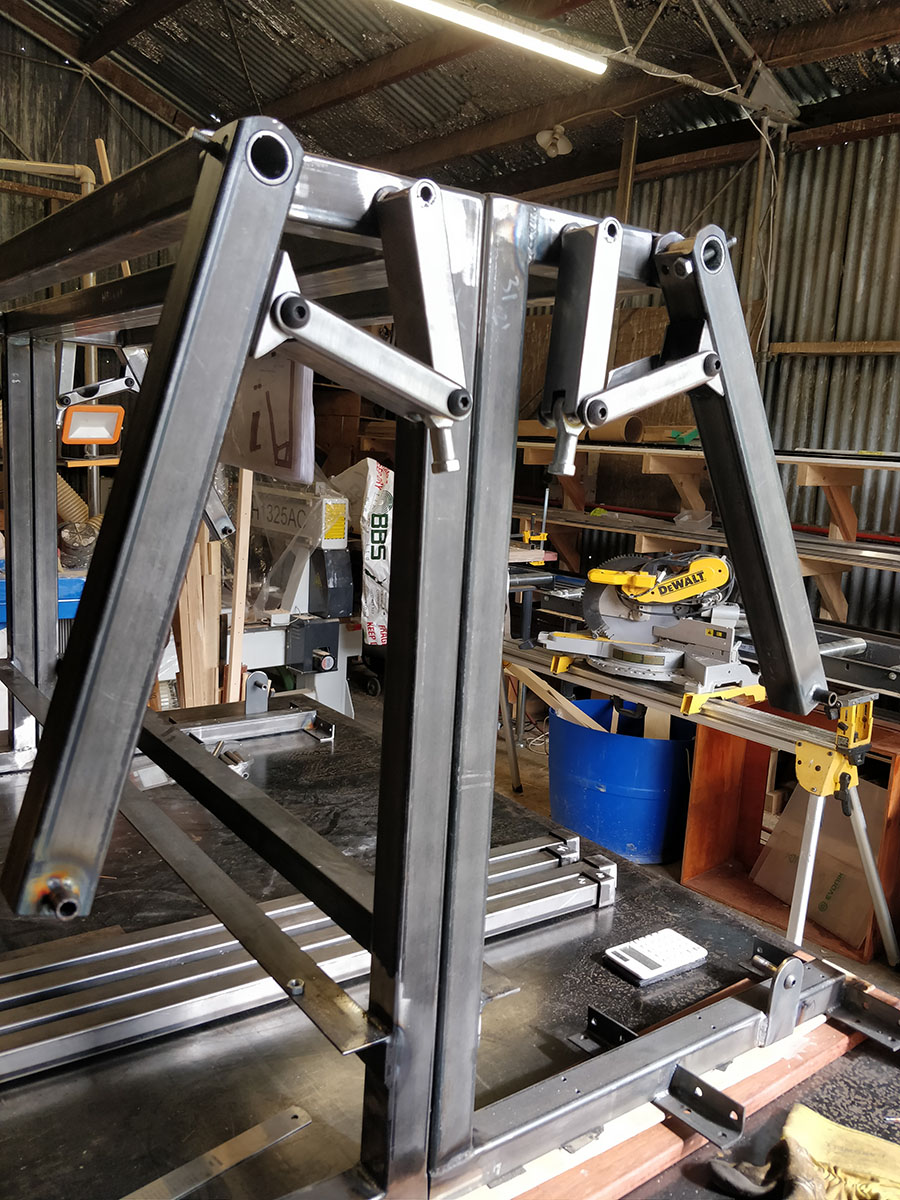
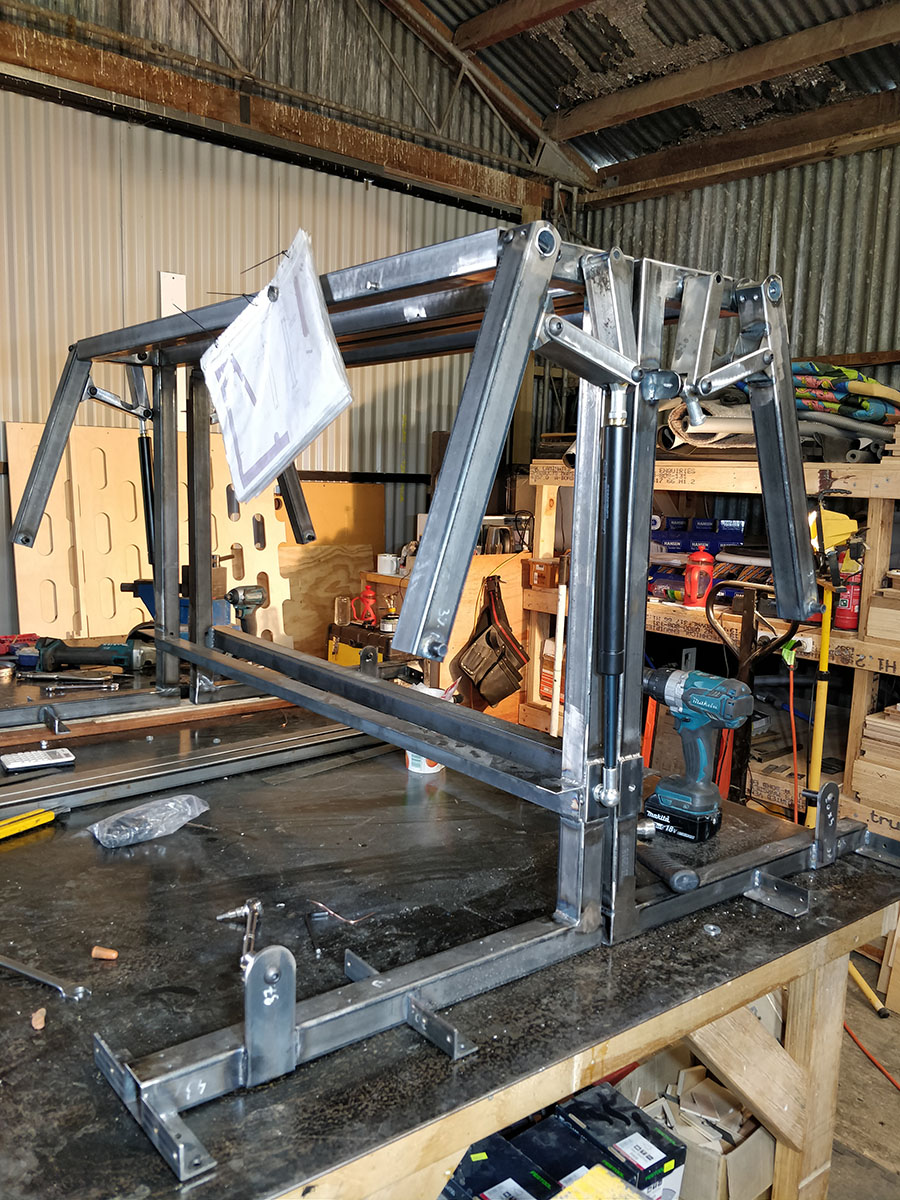
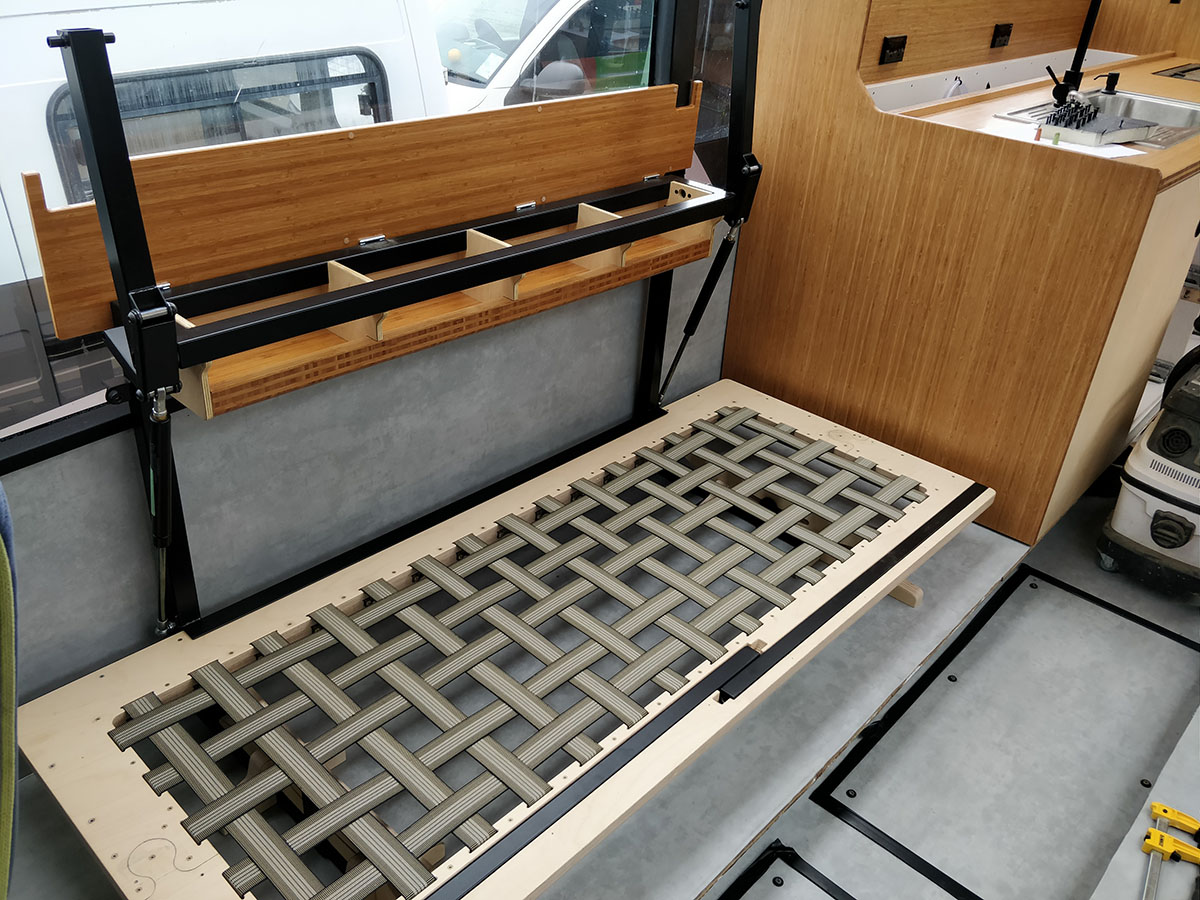
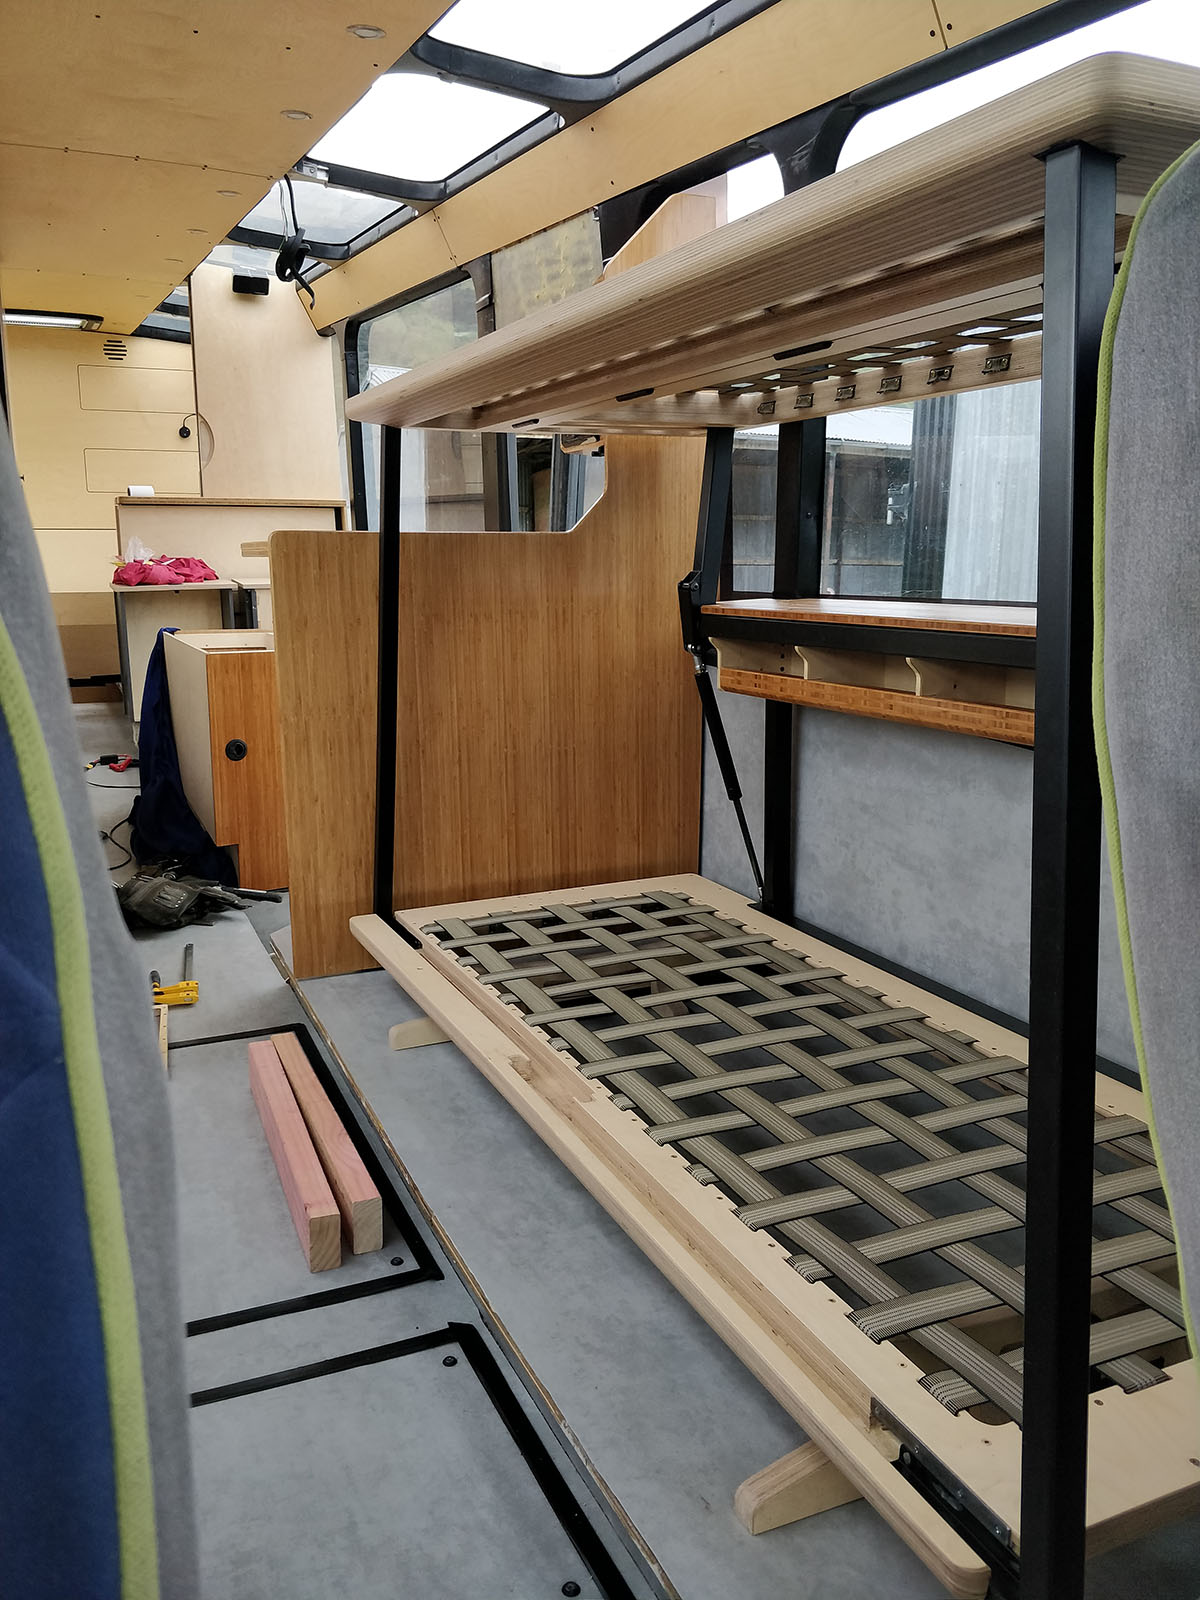
At this point we are starting to see the light at the end of the tunnel. The client wants to build two opposing bunk beds in the living room area that fold away and become couches. From an aesthetics perspective I didn’t want to see any permanent supports rising above the couch backrest level. I also didn’t want to hang things from the ceiling which would interrupt the clean ceiling line with attachment points. The client also wanted to incorporate an undercut edge detail on the sofa/bunks.
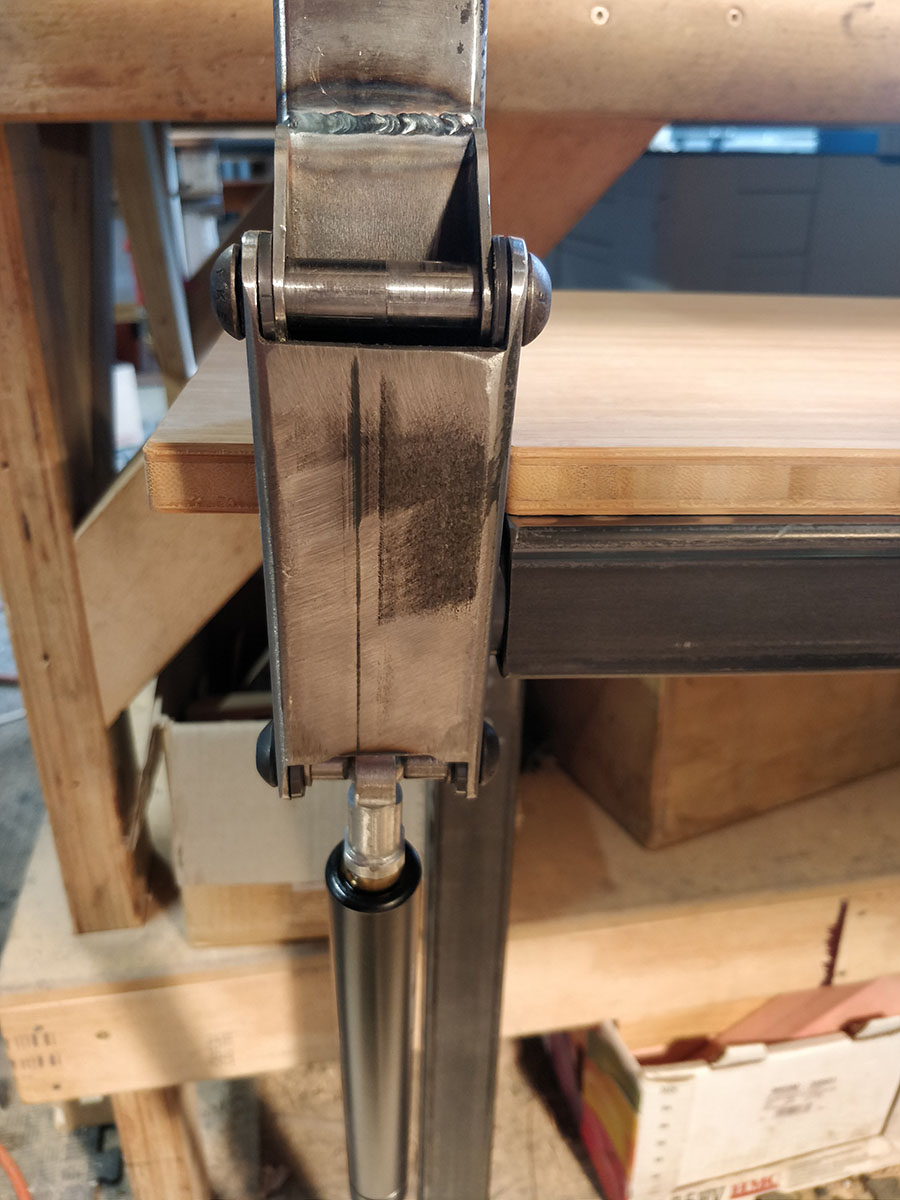
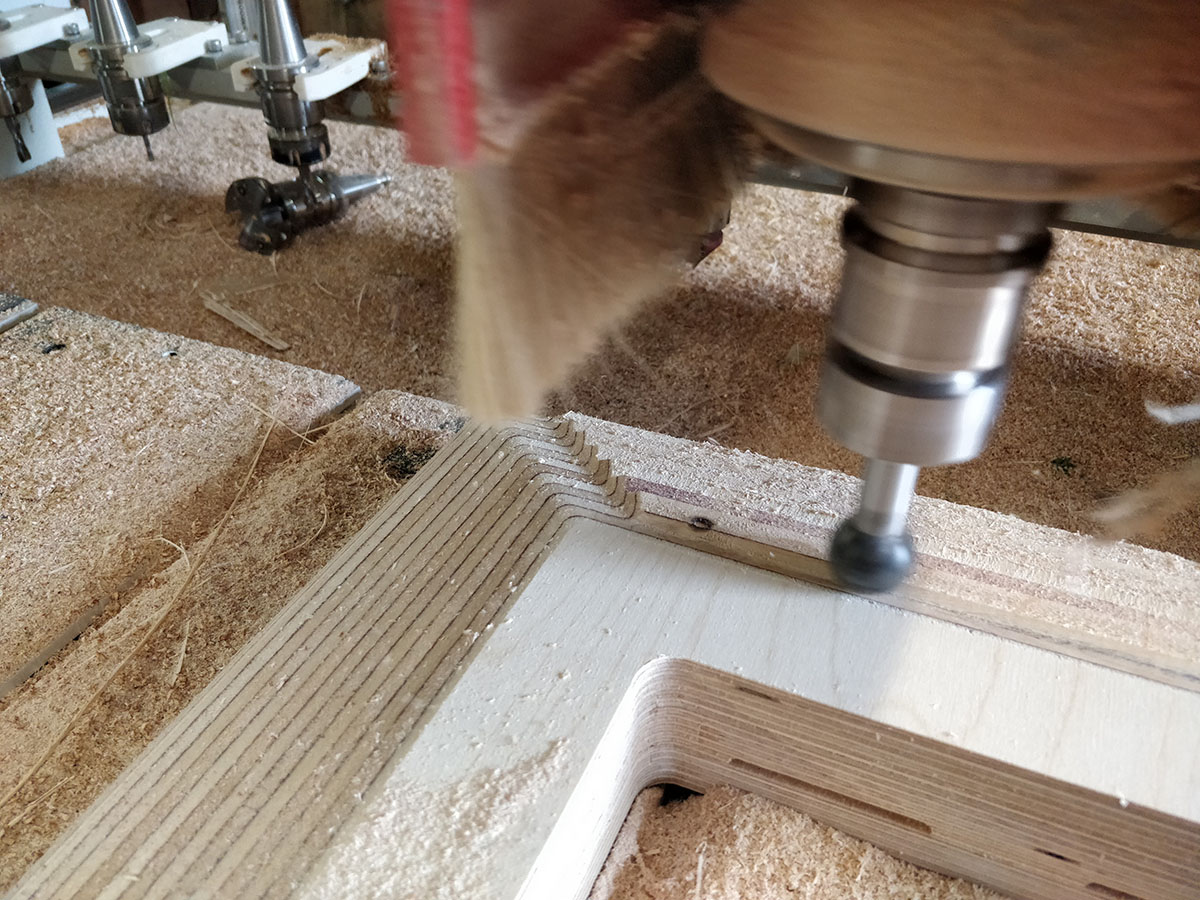
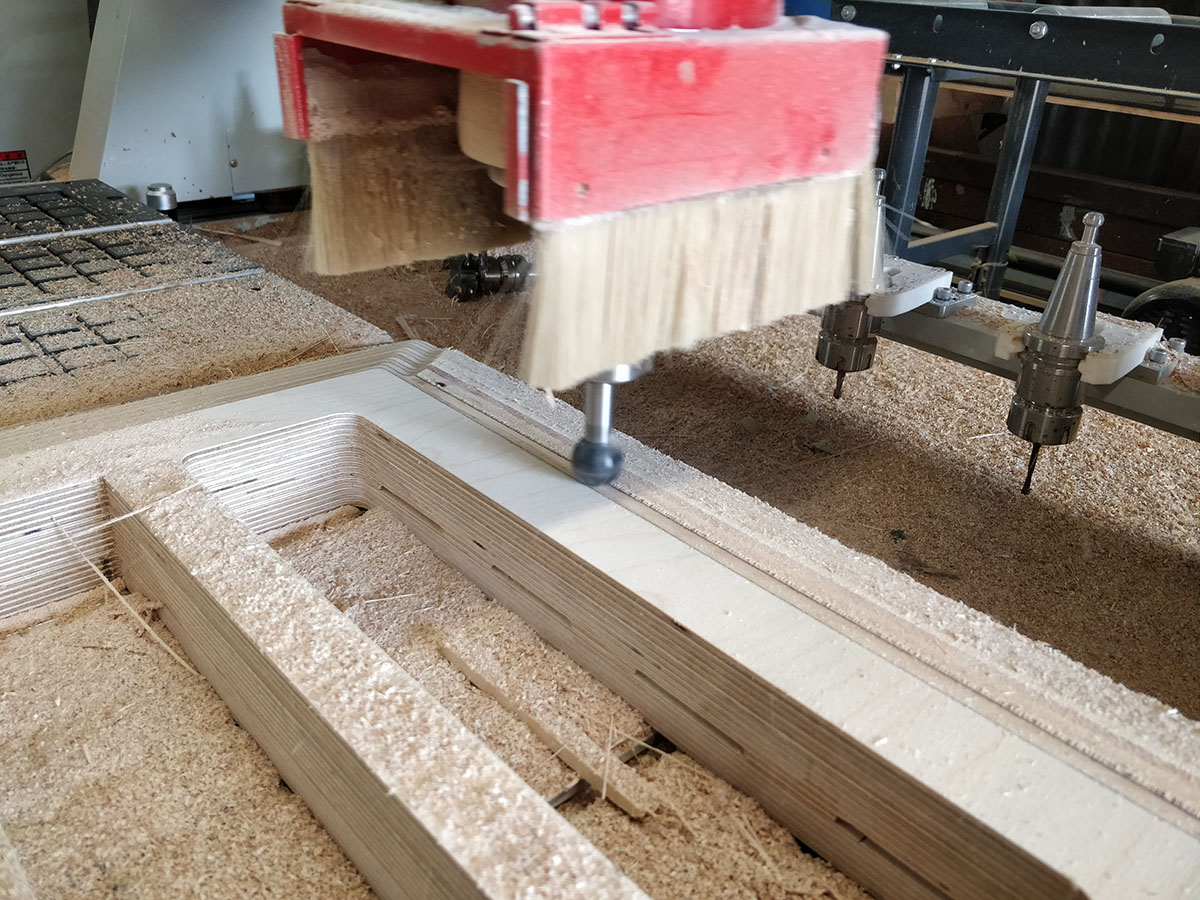
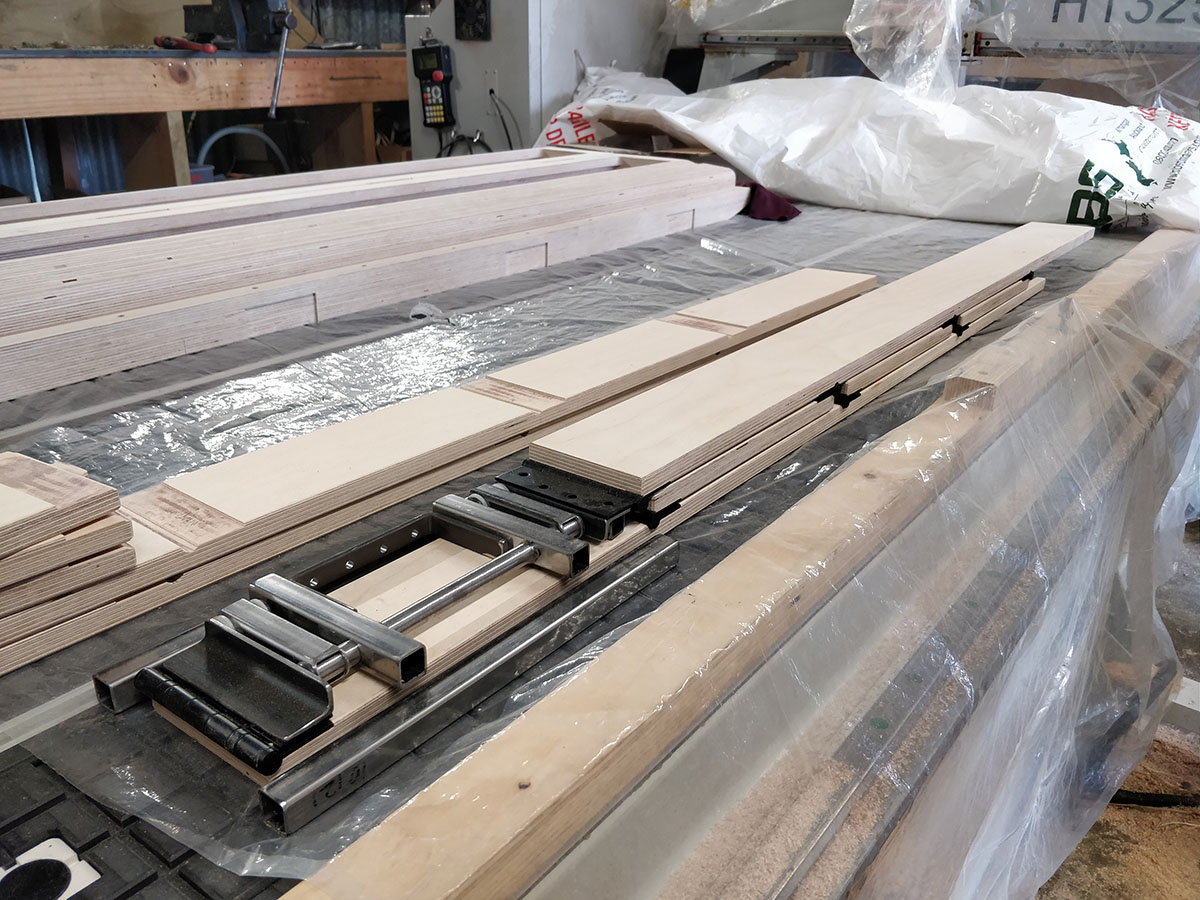
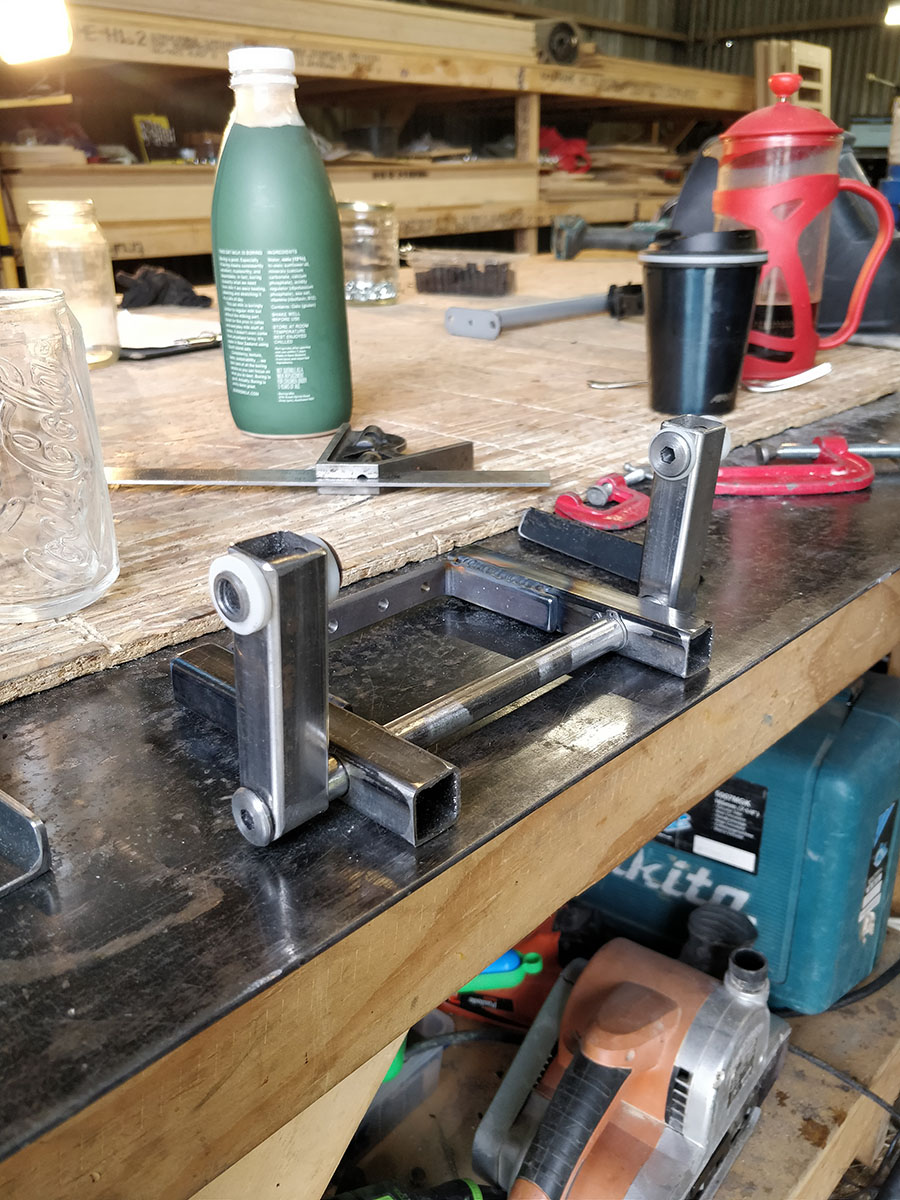
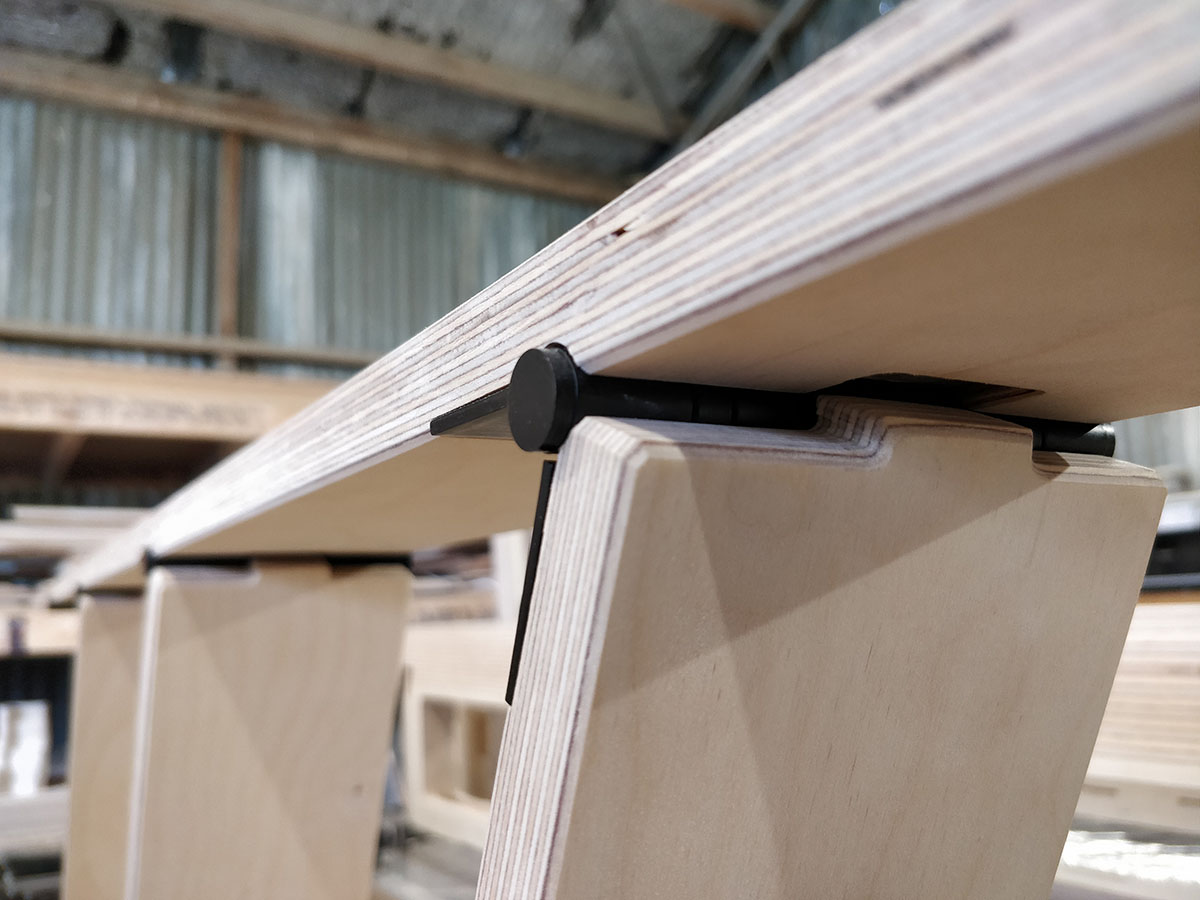
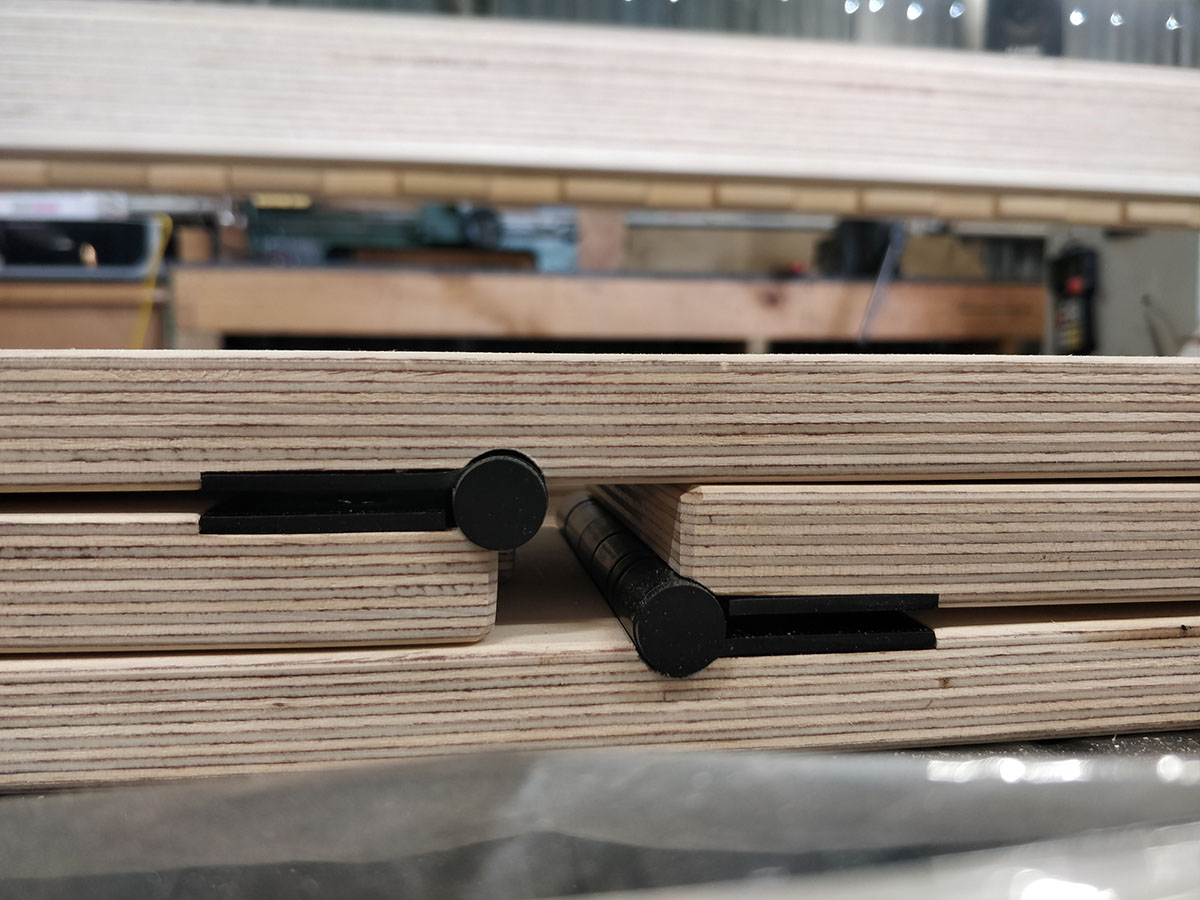
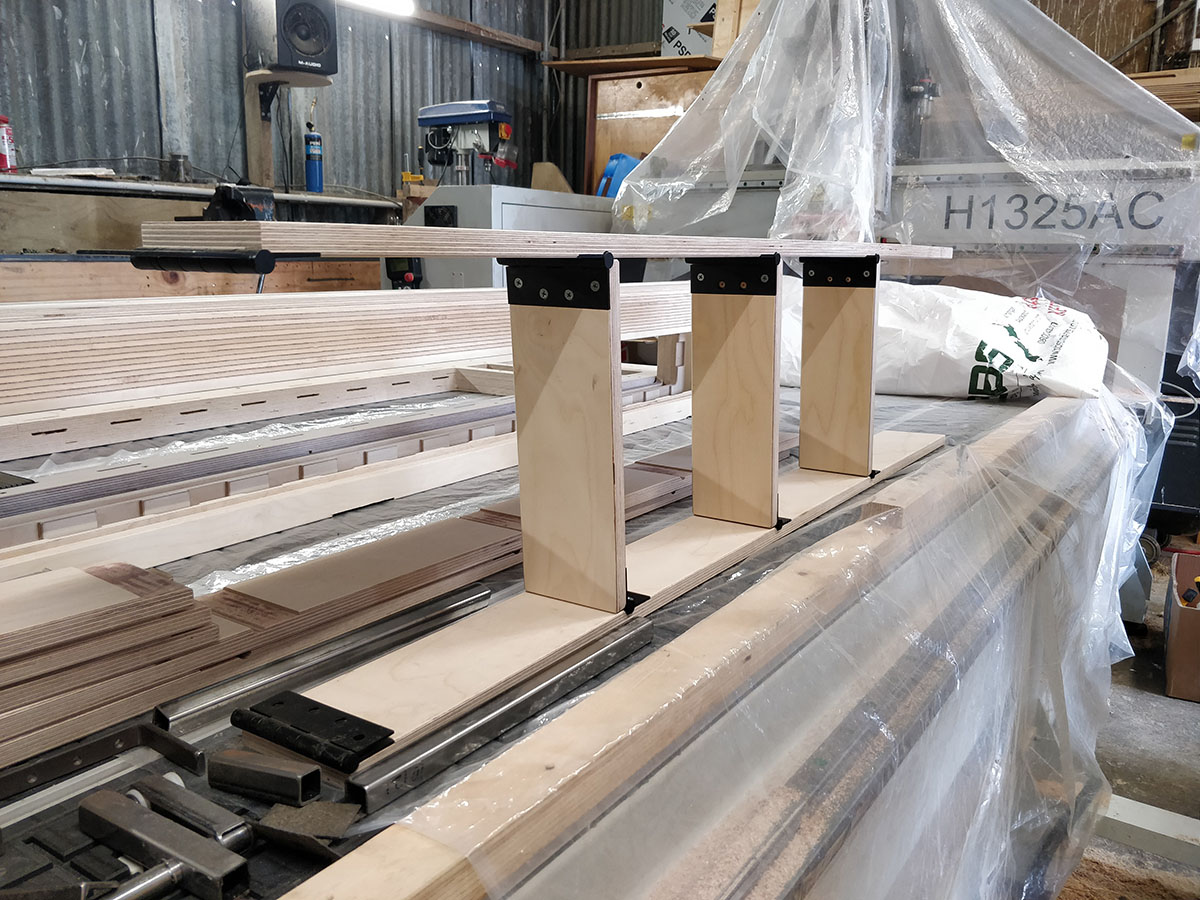
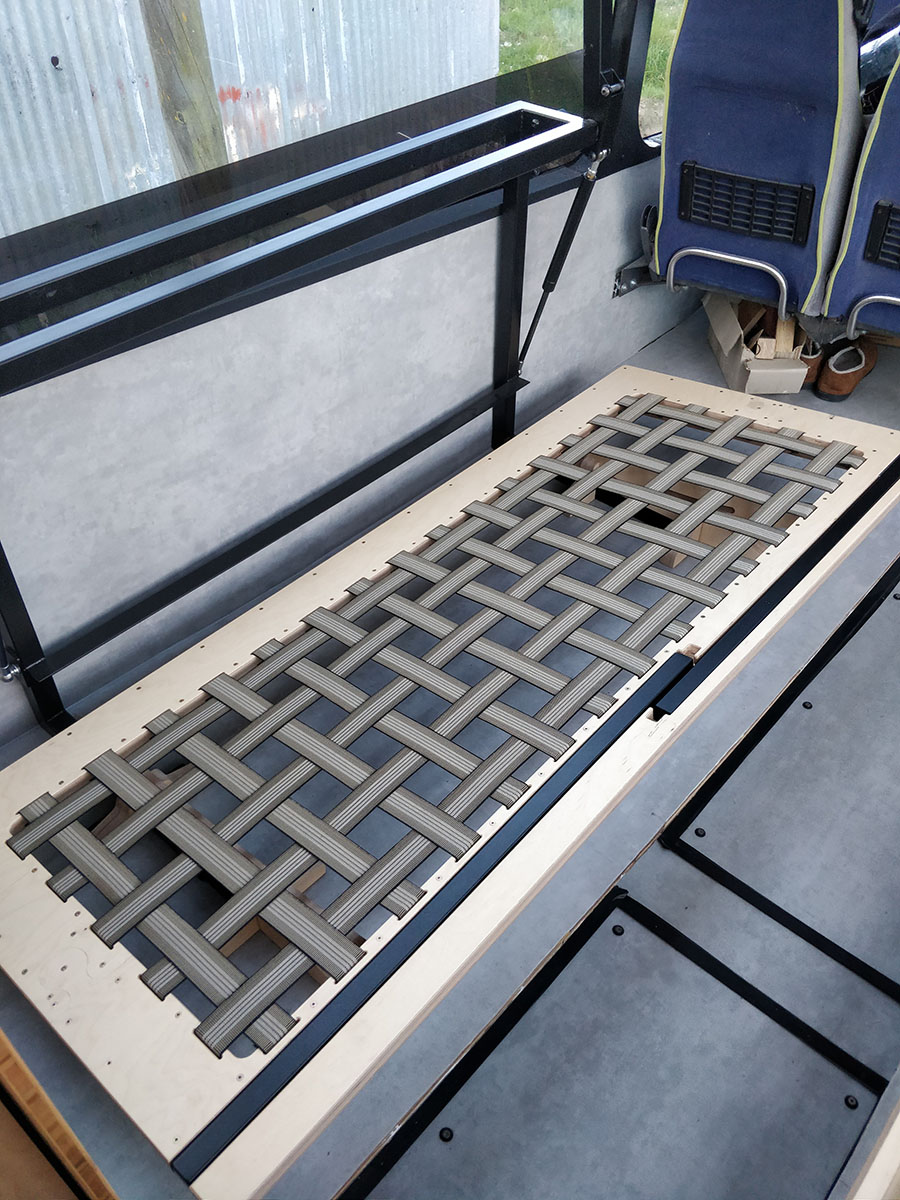
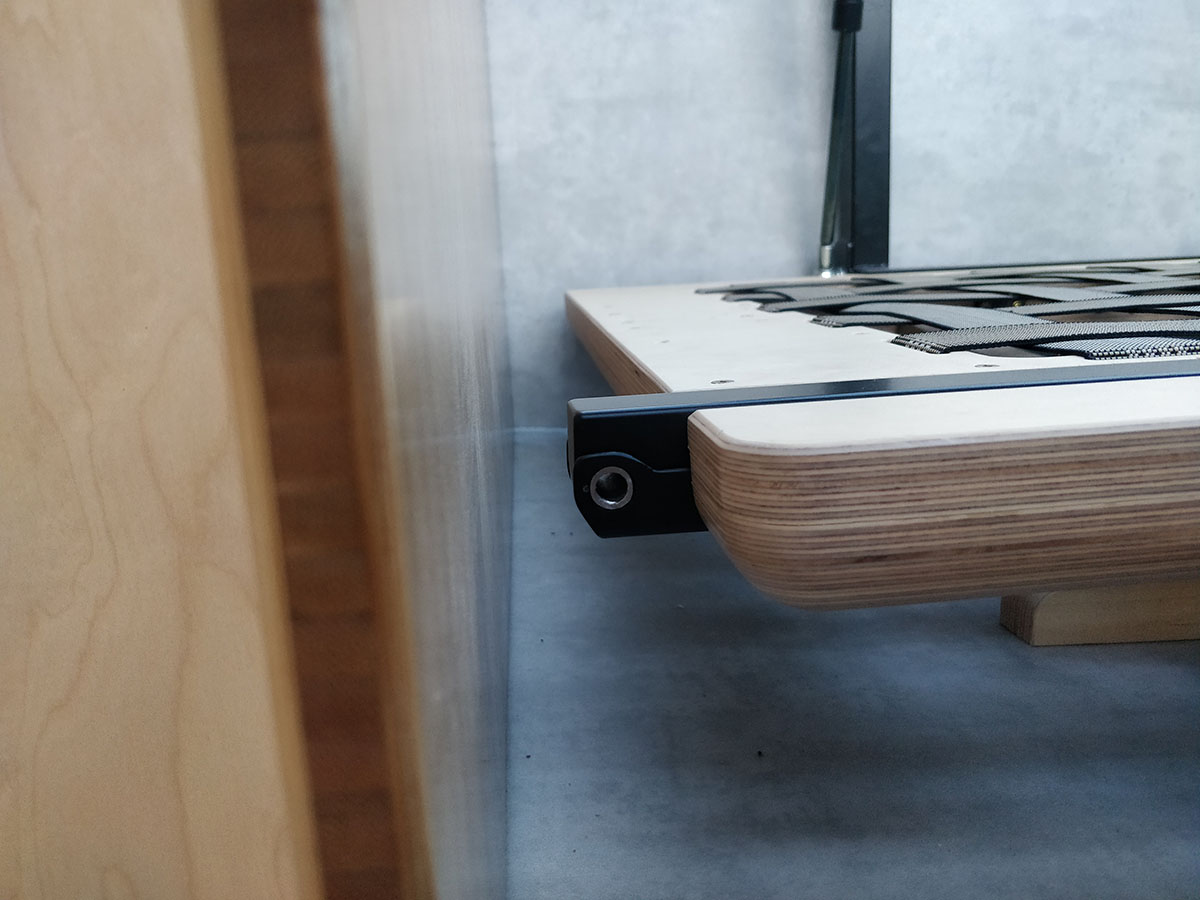
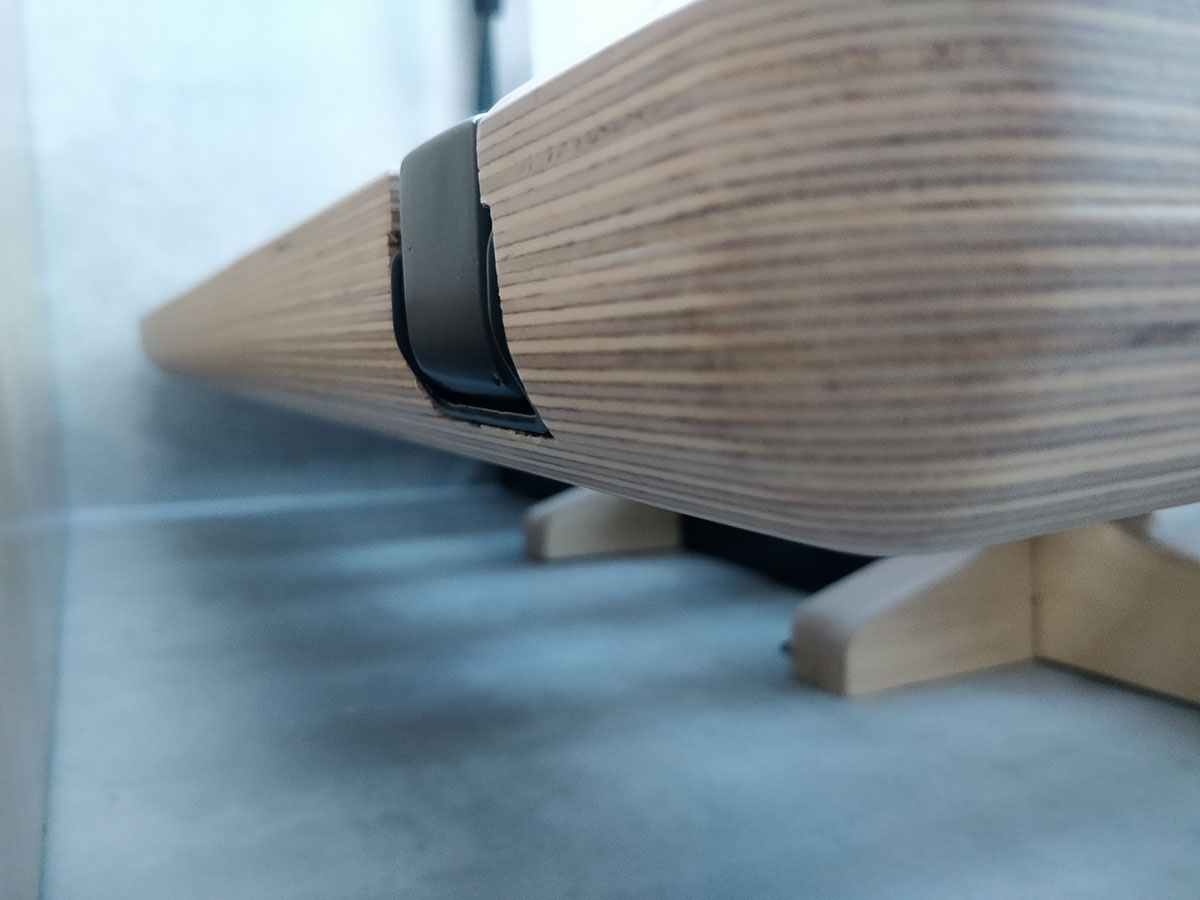
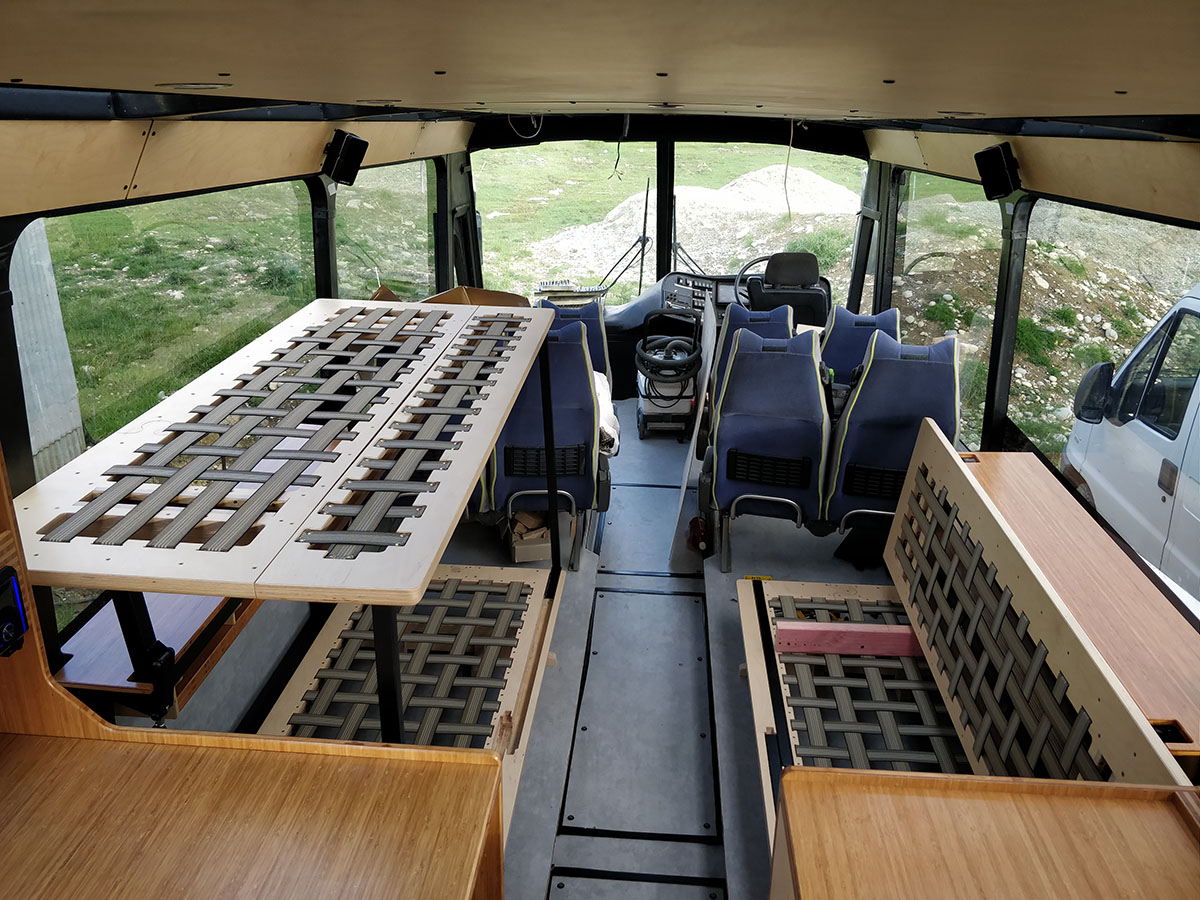
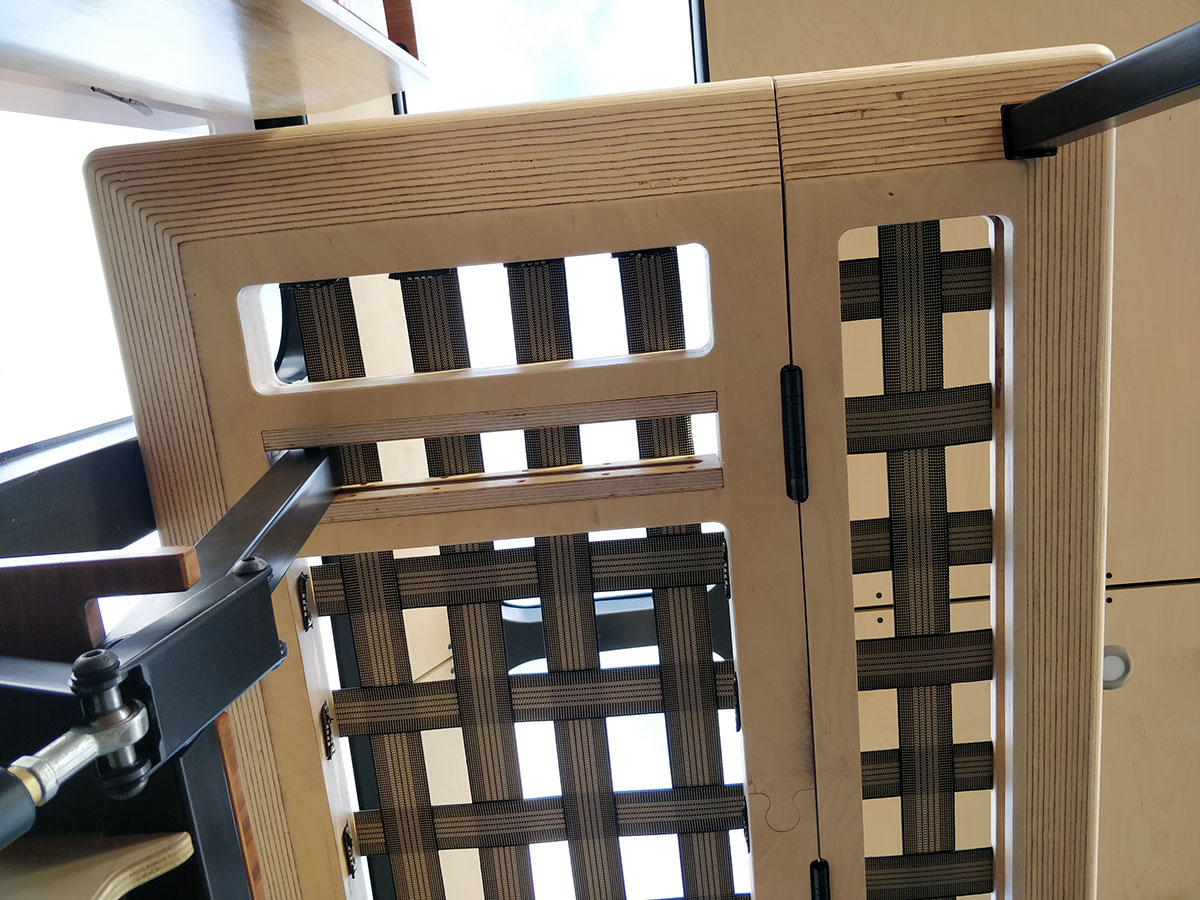
Machining the plywood sofa / bunk parts.Leo fabricating the sofa / bunk framesMechanical components of the sofa / bunk pentagraph hinges.Test fitting the timber foot connection to the steel frame and sliding couch base.Hinge link pivot point connection to the bunk lifting arms.Turning nylon bushings for the pivot points of the pentagraph hinge mechanism.Bunk lifting arms bolting onto the synchro shaft.Pentagraph hinges mounted to the lifting arms with the tie rod ends on the elbows ready for connection to the gas struts.Gas struts mounted. arms locked in closed position.Pivot points and nylon bushings.Leo gluing up the triple stack of ply parts that form the sofa & bunk bed bases.The glued up stack clamped straight whilst drying.Final CNC shaping.Once the glue has cured we put the sofa/bunk bases back on the CNC for further shaping of the final form with a ball cutter.Final shaping. the square pocket is to receive a bunk stay. The self aligning joints in the glued up ply components.The bunk stay stashing pockets in the lower sofa base.First workshop assembly test. was exciting. took a lot of work to get here.Bunk mode.They stay in it’s receiving pocket.Stowed stays with a little finger grab pocket.Arms raised, stowed bump stops installed.Sealing the timber sofa/bunk base components with a matt varnish sprayed on.Double stacked sofa/bunk foot components drying after sealing.All hands on deck. Carl and Marika came to help for a few weeks at this point.Side view couch modeThe sliding carriage mechanism that supports the top of the fold away top bunk ladder.The fold away bunk ladders attached to the ladder carriage.The ladder carriage intricacies.Folding bunk ladder. Rung support pocket.Folding ladder unfolded.Bunk frames back from powder coating and elastic supports woven into the couch frames now.Stowed position top bunk stay. Flush end detail.Top bunk stay slides out past bottom mattress in carriage before raising to support top bunk.Heaps flush. Flush az.Stay raised in support position. slides out a touch to clear bottom mattress.Fitting of storage shelfs into the sofa/bunk frame. also the feet that cradle the sofa base and allow its recline angle to slide back & forth.The pentagraph hinge turned out looking very nice once powder coated and contrasting with the bamboo.Nice timber & steel contrast.The top of the storage unit opens so one can access the compartments in couch mode.Bunk & Couch modesA bunk set up on one side, couch on the other.Bottom bunk zone.Looking up at the top bunk.The living room, still with room for 8 of the original certified passenger seats.undercut edge detail on the couch backrest / top bunk bed base.The couches in the living room and kitchen area clearly separated by the symmetrical bamboo bulkheads.Looking back. On the road around lake Wakatipu to get a COF.Looking at the fold out ladders now installed into the bunk beds.Ladder shotsThe ladder folds away and will stow in the front edge of the top bunk base held with straps that the upholster will complete.
It was a fun design and engineering challenge for sure! These bunk beds were a massive episode on their own. The gas struts on the arms take the weight of the upper bunk base components and assist you when setting it up by raising the whole lot for you, then you just have to put the stays under the front edge.
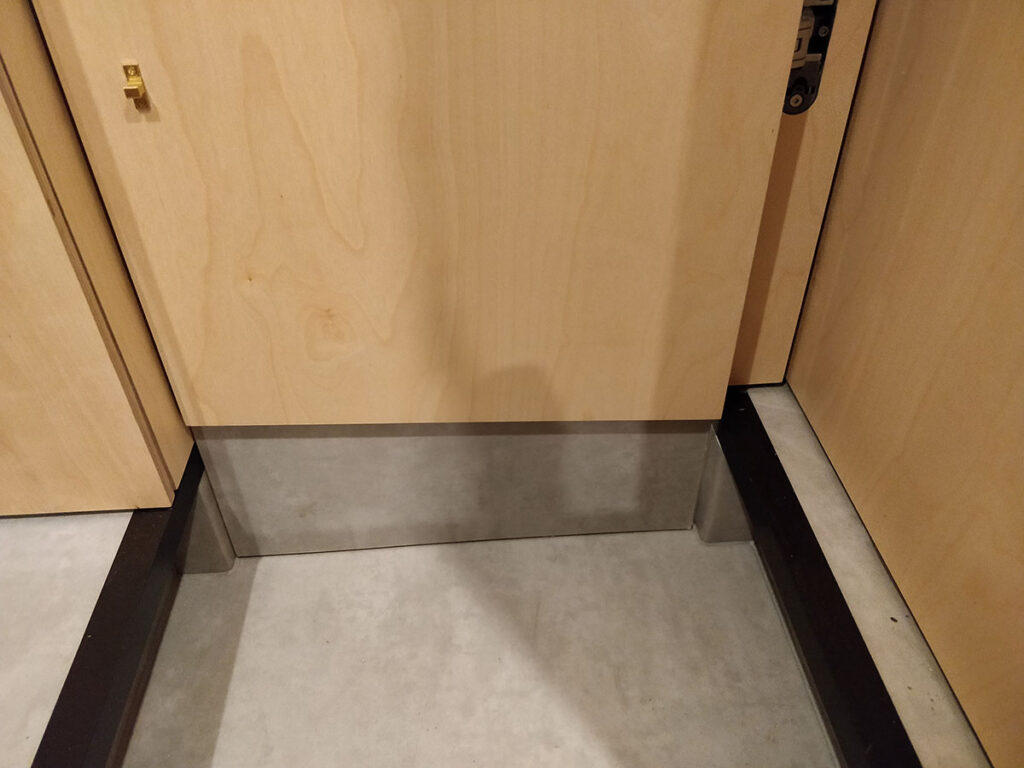
Then it was finishing touches. Bits of upholstery and fitting off the bathroom. The aluminum floor trim really made the whole thing come together when we got that back from the powder coaters. Leo and Carl made an awesome job of that floor trim. It was fiddley. Leo welded all of Carl’s miter joins together so they were in large one piece sections and looked super clean.
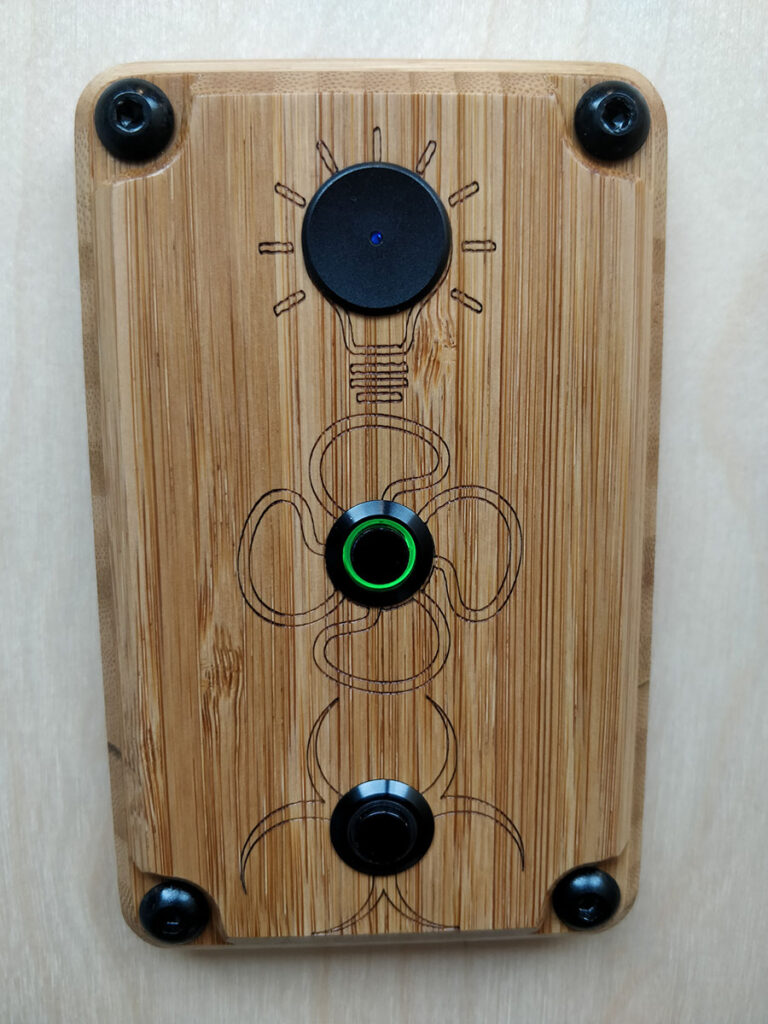
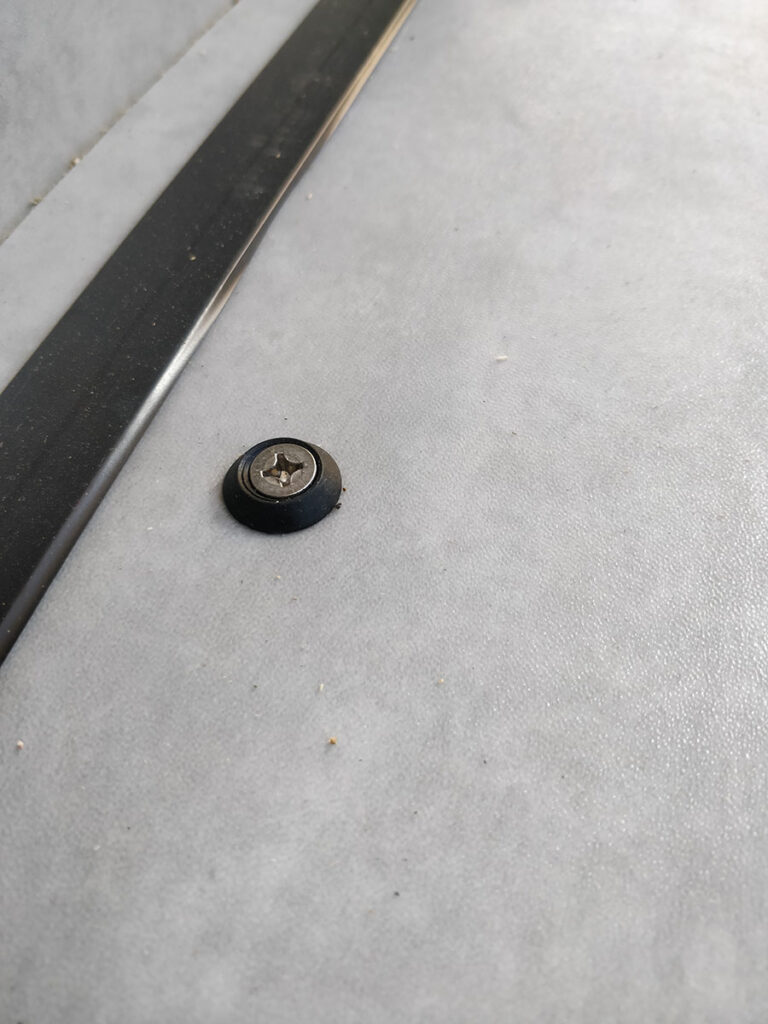
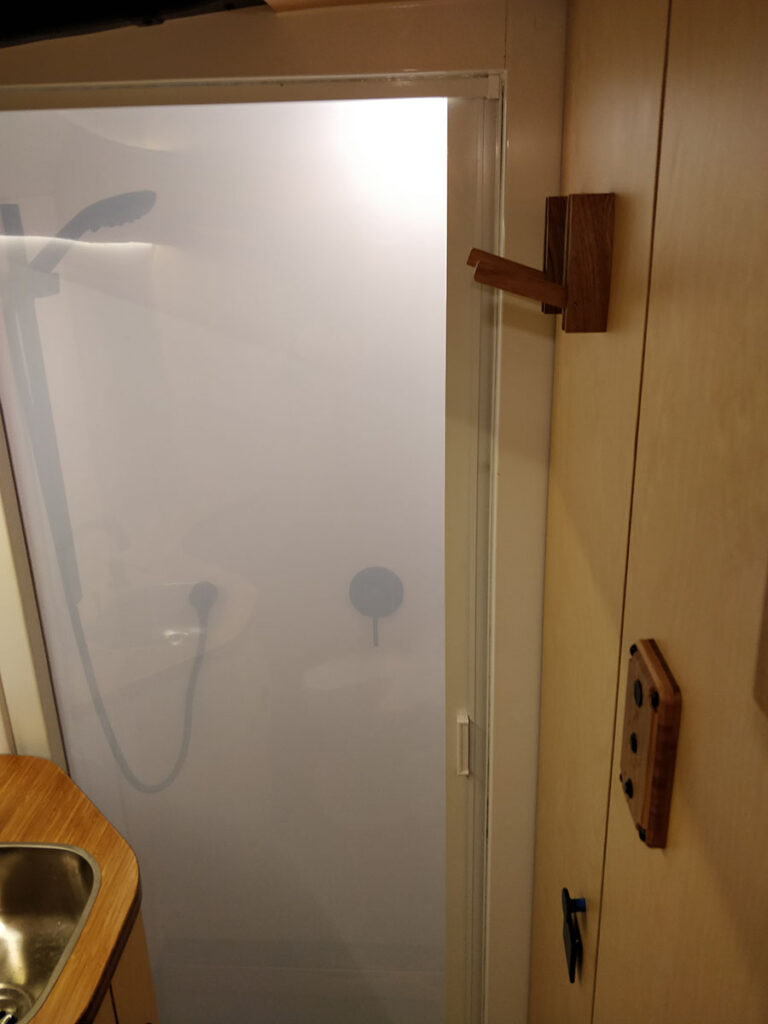
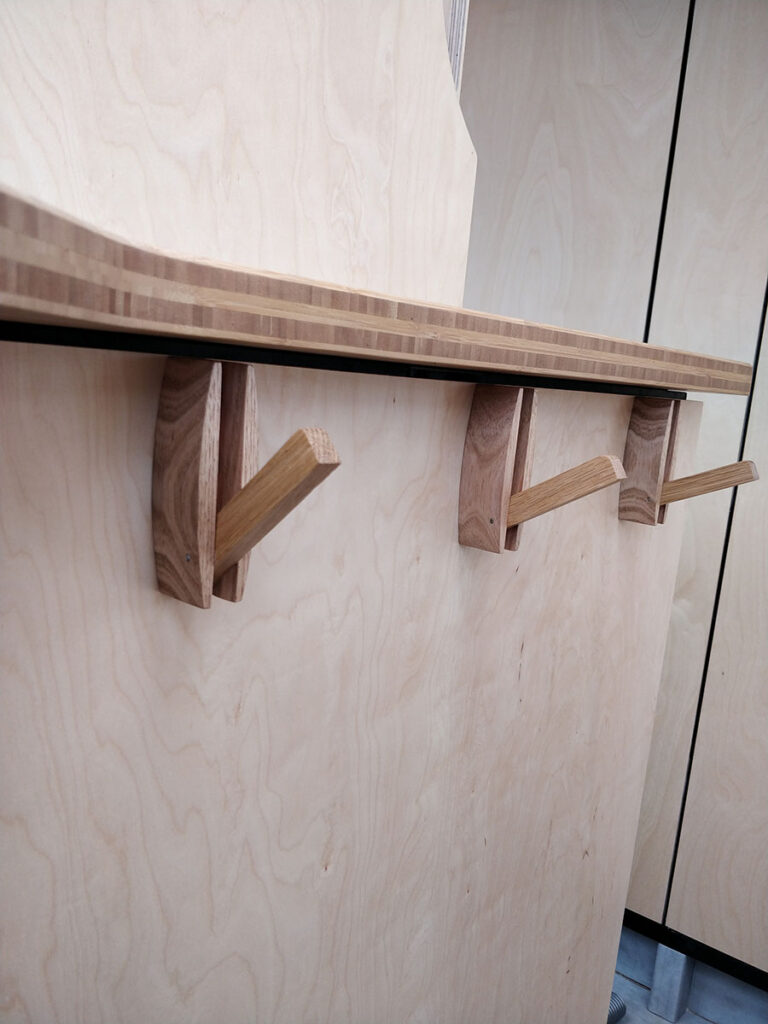
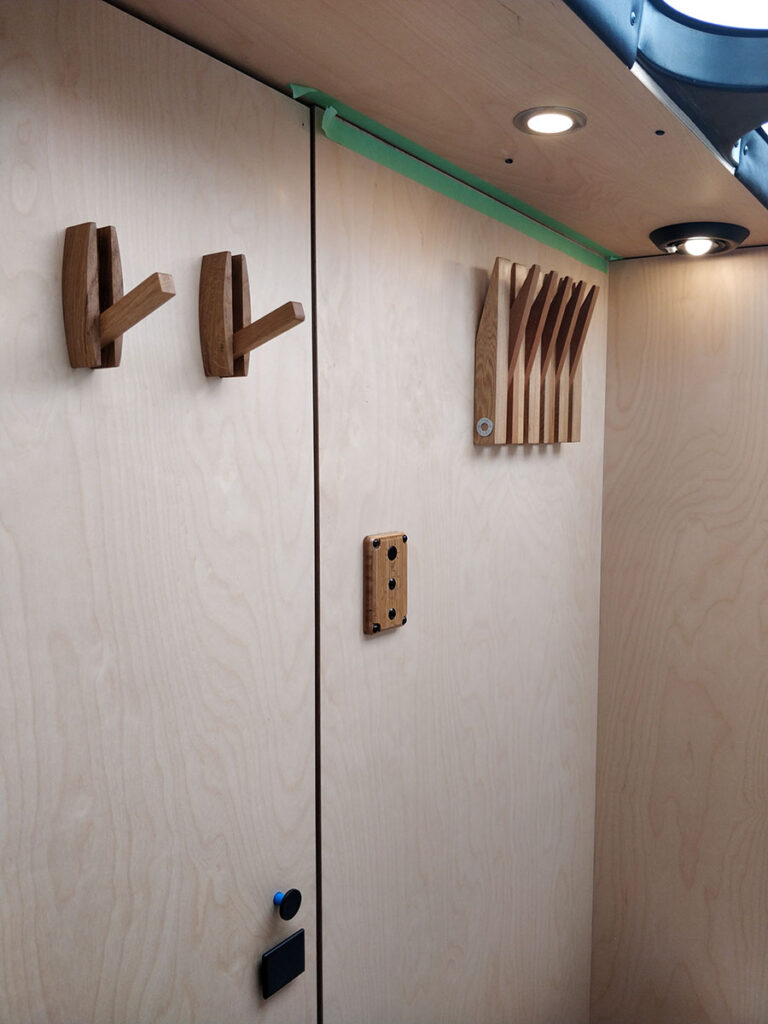
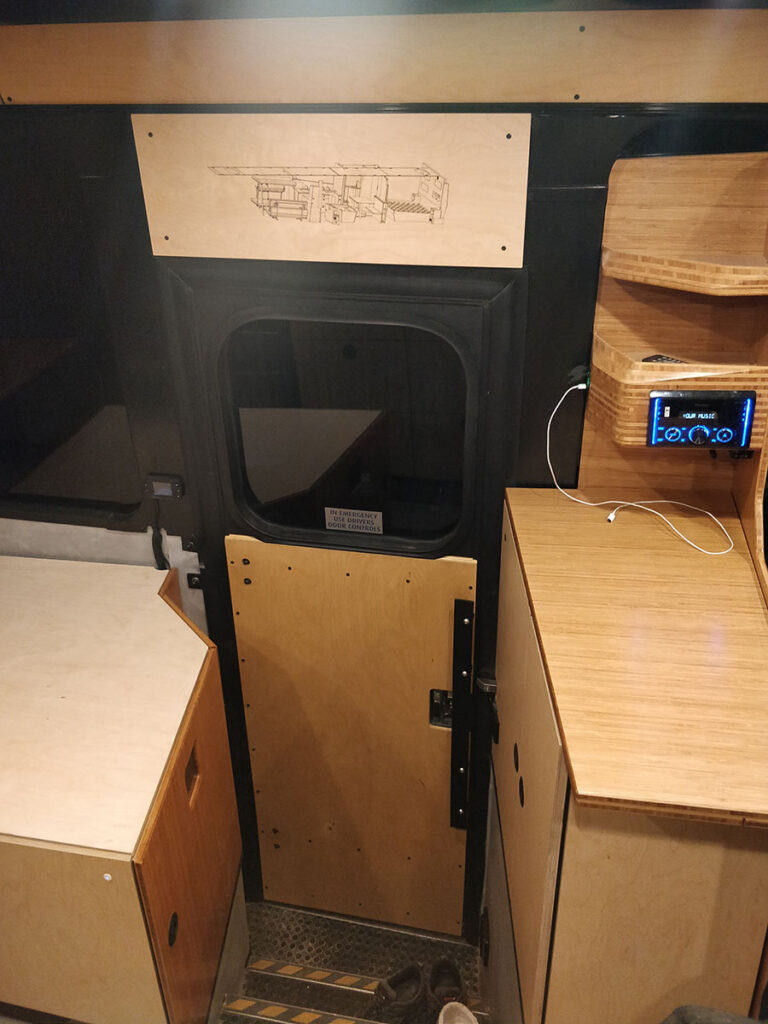
We also re built the engine hatches and had the frames sand blasted and re powder coated, then we replaced the latch screws and screw head seats.Re-built engine hatches looking real good compared to the ratty old frames and latch mechanisms.The Aluminum floor edge / noising carefully welded into a single piece. will get powder coated black.Floor noising welded up.Floor noising trim back from the coaters being installed.Floor noising trim back from the coaters being installed.Bottom of master bedroom door closed with the isle guillotine out & a bold black edge with the floor trim installed.Master bedroom looking forwards with both the cavity slider and bedroom doors closed. In the master bedroom looking forwards with just the main door shut.Coat/bag hooks installed on in the master bedroom on the wall. Made by “The Cusp”Looking forwards from the master bedroom.Looking into the Shower from the toilet with the opaque retractable shower door closed.Bathroom vanity with toilet roll holder installed into the cabinet door.The dining table can move up & down, forwards & backwards, left & RightKitchen appliances have little dividers to keep them in there placeCoat/bag hooks made by “The Cusp”More coat hooks by “The Cusp” in the bathroom.The nook in the stand up desk unit is for the fridge door to swing across the isle into.We made a laser engraving artwork of the completed interior design CAD model as a gift for the client.
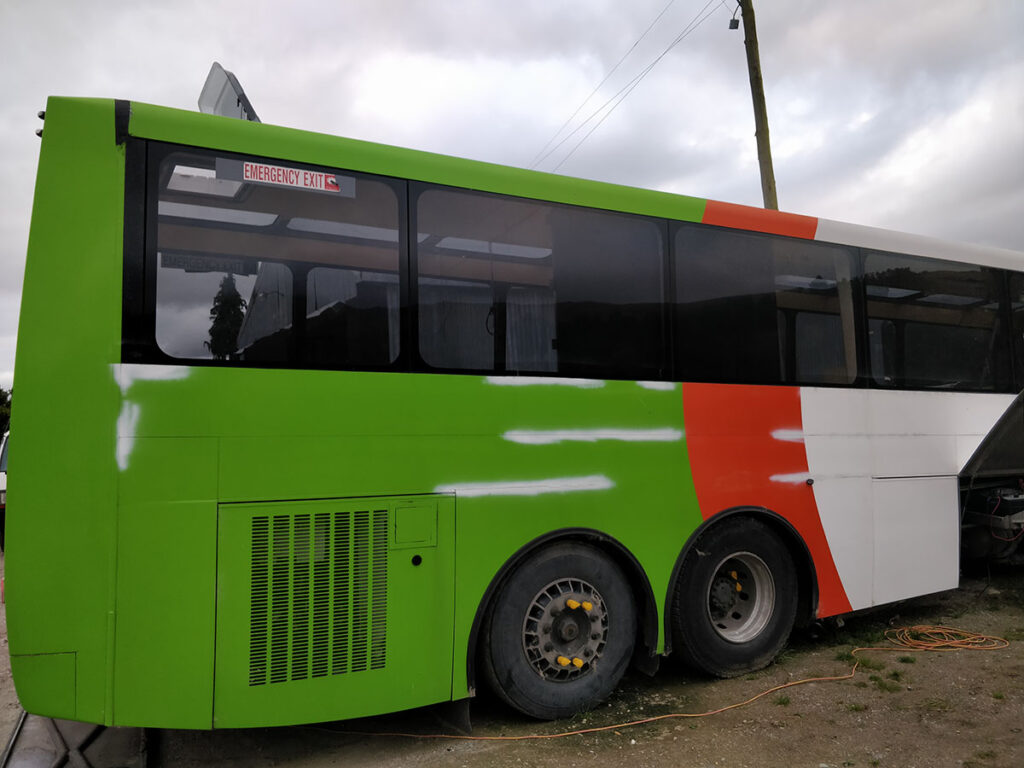
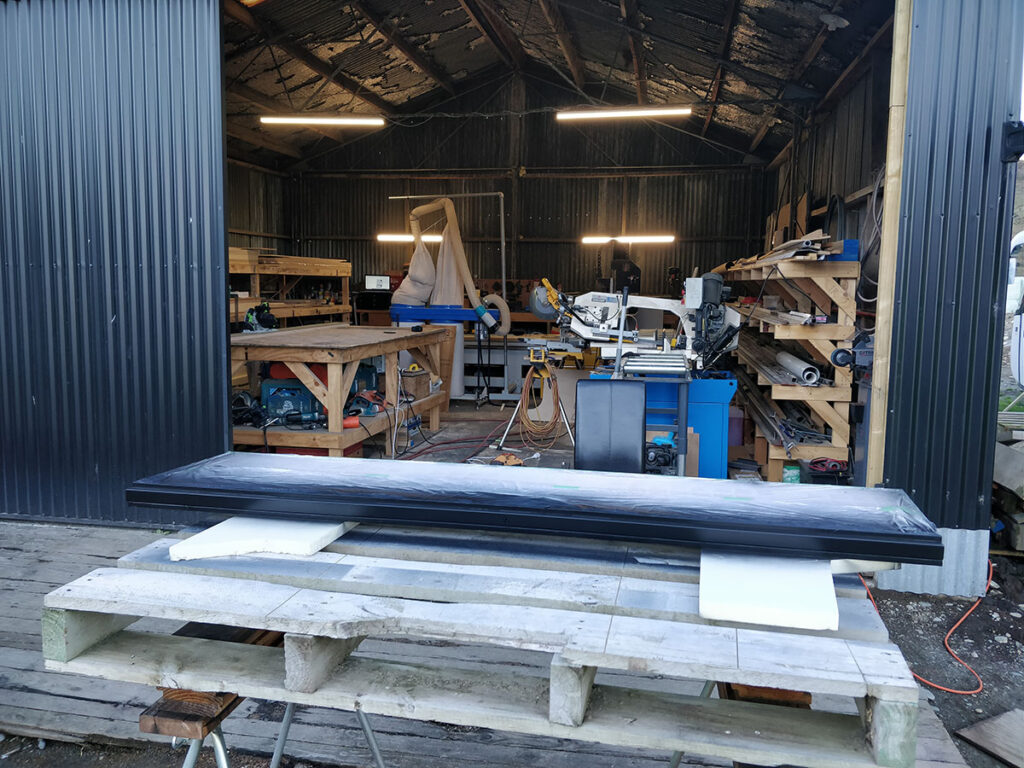
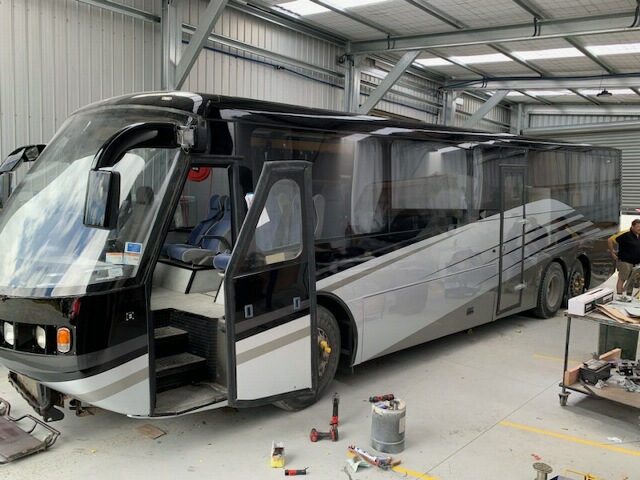
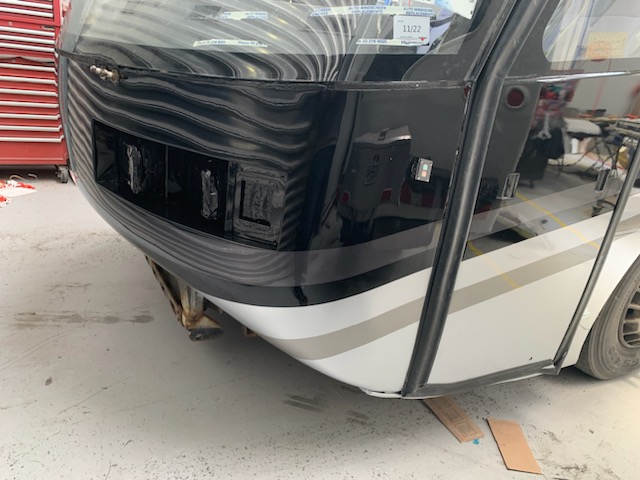
Chris (the owner) has since had the bus painted and send me these photo’s: